Frosted Nestabilities™
by Linda Duke
Create a lacy look by embossing Vellum with the new decorative Nestabilities™.
Supplies
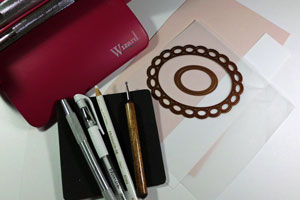
- Decorative Nestabilities™, Beaded Oval Nestabilities used here
- Classic Nestabilities™, Classic Oval Nestabilities used here
- Wizard™, or other Die cut machine
- Vellum Cardstock
- Light Colored and Neutral Cardstock
- Stamps, Crafty Secrets Cupcake Party used here
- Ink
- White Pencil
- White Gel Pen
- Paper Piercing Tool
- Vellum Tape and dimensionals
Step-by-Step
-
Step 1
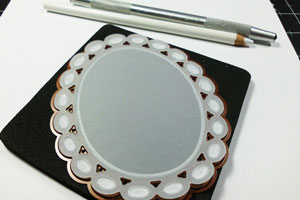
Cut your light colored cardstock as well as your vellum cardstock with your decorative Nestabilities die. Only the vellum piece has to be embossed with the Nestabilities.
Hint:
For this sample the biggest of the Beaded Oval Nestabilities was used.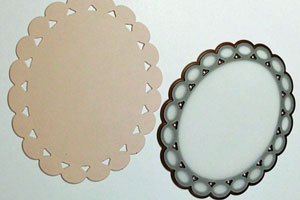
-
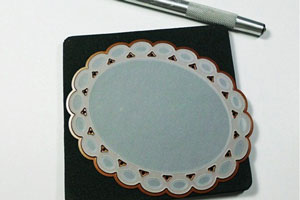
Step 2
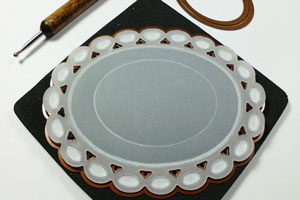
Place your die with the Vellum inside on your foam mat.
-
Use your stylus tool to emboss each of your scalloped beads.
NOTE:
Do not press hard, you will tear the vellum.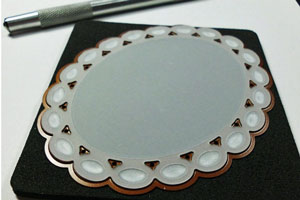
-
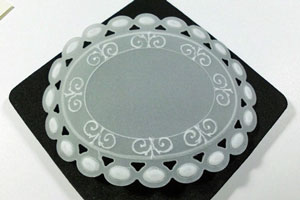
Step 3
Go back over your embossed areas with your stylus tool and white pencil.
-
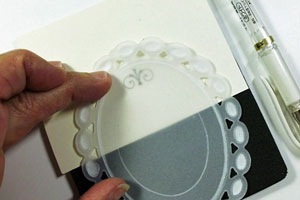
Step 4
Place a Classic Oval Nestabilities™ in the center of your Vellum piece and trace the outside of the die with your stylus tool.

-
-
Step 5
Cut and emboss your neutral colored cardstock with the same Classic Oval Nestabilities die.

-
Step 6
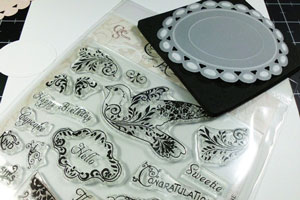
Pick a small decorative stamp.
-
Stamp the image on a scrap piece of paper.
Hint:
It doesn't matter what color ink you use. Use some water-based ink so it will be dry faster.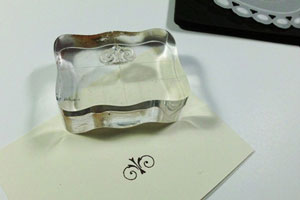
-
Step 7
Place your stamped image on your mat and your Vellum piece face down on your stamped image. Trace over the design with aWhite Opaque Pen.
-
Continue all the way around.
-
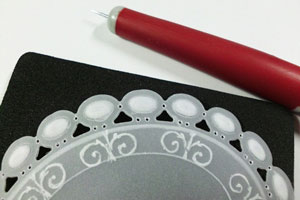
Step 8 (Optional)
For an added effect, pierce holes in paper.
-
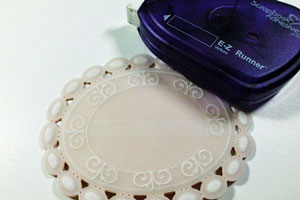
Step 9
Adhere your Vellum over your colored cardstock die cut.
-
Step 10
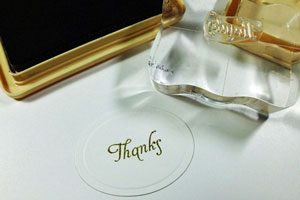
Stamp your sentiment on the neutral colored cardstock oval.
-
Step 11
Add dimensionals on the back of your cardstock oval.

-
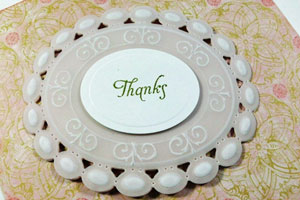
Adhere oval to the center of your vellum piece.
-
Step 12
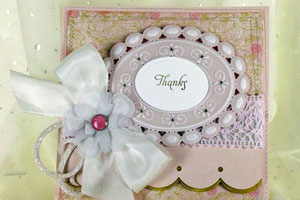
Finish your card.
Video!
Your Turn
You've seen the tutorial, now you try it! We've got a section of the gallery set aside for Frosted Nestabilities™. Try this technique, then upload your artwork to the gallery. Show us your creations!
***Please note - Internet Explorer/Edge is not a supported browser, and will not allow you to see the videos. Please use Chrome, Firefox or Safari to view our tutorial videos.

 *
*
Questions and Comments
We'd love to get your feedback or questions. Leave your comment below.
Hugs and smiles
Great idea.
To get another look, try using a gold pen on some of the white that you "pressed in".
Page 1 of 1 pages