Framed Diecut Decor
by Kelly Acheson
Frame your diecuts for a lovely decor item.

Supplies

- Cardstock (Stampin’ Up!® Crumb Cake, Whisper White and Lovely Lipstick used here)
- Patterned papers (SU All My Love Designer Series Paper used here)
- Dies (SU Large Letter Framelits Dies, Be Mine Stitched Framelits, Lovely Flowers Edgelits Dies and Stitched Shapes Framelits used here)
- Adhesive (Tombow Multipurpose Liquid Glue, Mini Glue Dots and Stampin' Dimensionals used here)
- Picture frame (sized to fit your project – 8” x 8” frame used here)
- Other supplies as needed to complete the project: (SU supplies used here: All My Love Ribbon Combo Pack, Silicone Craft Sheet, Stamping Sponge, Big Shot, Stampin' Trimmer, Scissors, Bow Maker)
Step-by-Step
-
Step 1
Choose a frame size. Measurements used here are for an 8” square frame. Your measurements may vary.
Cut 6 pieces of base layer cardstock at 2" x 2", 6 layering pieces at 1 3/4" x 1 3/4", and 6 pieces of patterned paper at 1 5/8" x 1 5/8". For the word piece - cut base cardstock at 6 5/8" x 2 1/2", layering cardstock at 2 3/8" x 5 5/8" and a patterned layer at 2 1/4" x 5 5/8". -
Step 2
Adhere all layers together.
-
Step 3
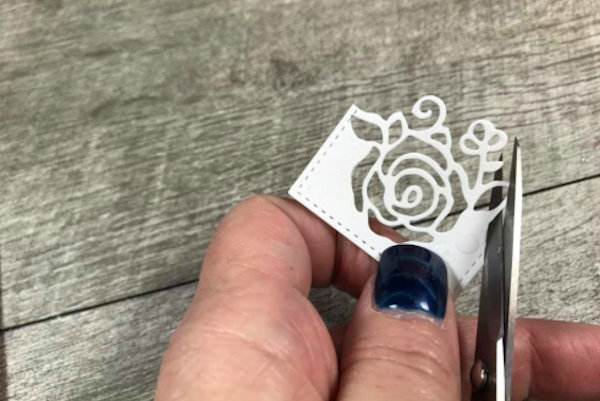
Die cut any images that you would like to add to your squares.
-
Trim to fit where necessary.
-
Step 4
Place all the pieces on an 8" x 8" layer of paper (or adjust to your frame size). Secure with adhesive.
-
Step 5
Add all die cut images to squares. Attach letters and other embellishments with strong dimensional adhesive.
-
Step 6
Place in frame to complete the project.


Video!
Your Turn
You've seen the tutorial, now you try it! We've got a section of the gallery set aside for Framed Diecut Decor. Try this technique, then upload your artwork to the gallery. Show us your creations!
***Please note - Internet Explorer/Edge is not a supported browser, and will not allow you to see the videos. Please use Chrome, Firefox or Safari to view our tutorial videos.

Questions and Comments
We'd love to get your feedback or questions. Leave your comment below.
Thanks.
Page 1 of 1 pages