Fold Over Box
by Liz Walker
Combine gift and card in one with this beautiful covered box.
Supplies

- Scoring tools
- Paper cutter
- Ribbon
- Cardstock for box base
- Decorative paper to embellish box and cover
- All-purpose glue
- Hot glue gun
- Scissors
- Other supplies as needed to complete the project (stamps, papers, and dies from Heartfelt Creations used here)
1 cut to 10" x 10"
4 pieces cut to 6" x 6"
2 cut to 6" x 3"
1 cut to 4" x 4"
8 cut to 4" x 3"
Step-by-Step
-
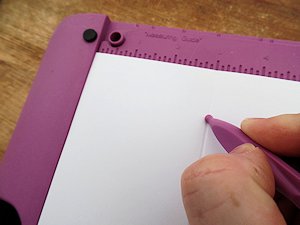
Step 1
Score both 6" x 9" pieces of cardstock at 3" along the long side.
-
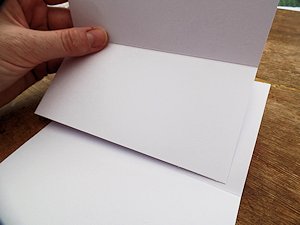
Step 2
Fold on the score lines. Adhere the 2 pieces of cardstock together with the 3" scored sections overlapping.
-
Step 3
Cut two lengths of ribbon, enough to adhere to the box, tie in a bow, and be able to retie.
Adhere each length to the center of each end of the white card.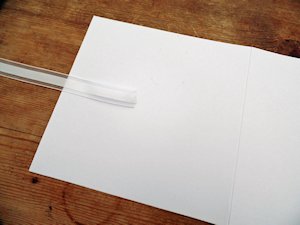
-
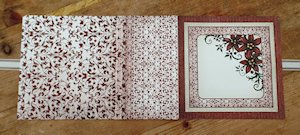
Step 4
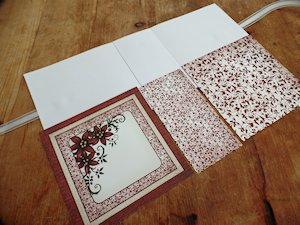
Adhere two 6" x 6" papers and a 6" x 3" piece over the sections of the white card and ribbon.
-
Step 5
Turn over the outer box and adhere the other two 6" x 6" papers and 6" x 3" paper to the card.
-
NOTE:
Ensure the matching paper to the lid is placed onto what will be the base.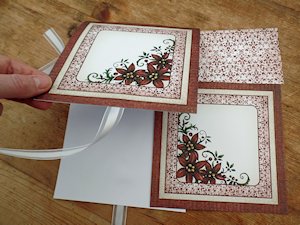
-
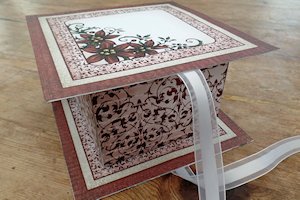
Step 6
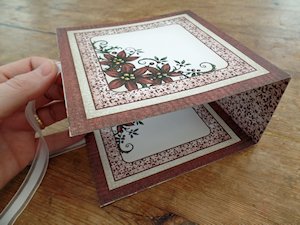
The outer box is complete and will sit like this when the inner box is in place.
-
Step 7
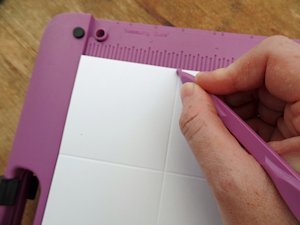
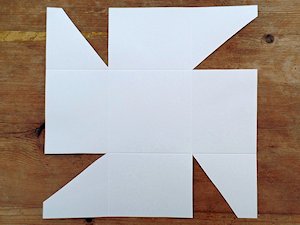
Score the 10" x 10" piece of white cardstock at 3" along each side.
-
Step 8
Cut into the corners of the white card to create tabs to form a box.
-
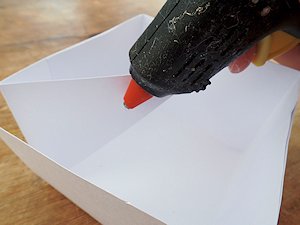
Step 9
Fold in along the score lines and adhere the tabs with hot glue to form the box.
-
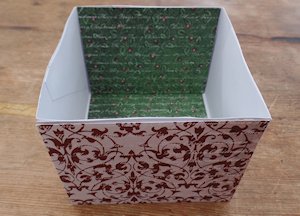
Step 10
Cover the box with the 4" x 4" paper (inside bottom) and 4" x 3" papers (sides, inside and out).
-
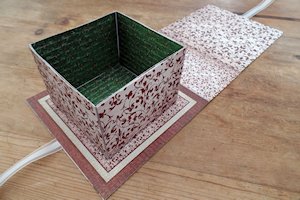
Step 11
Center and adhere the box to the base of the outer piece.
-
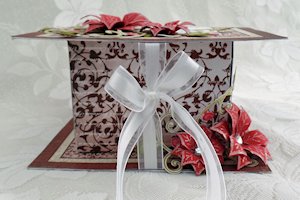
Step 12
Fold over the outer box and it is ready to decorate.
-
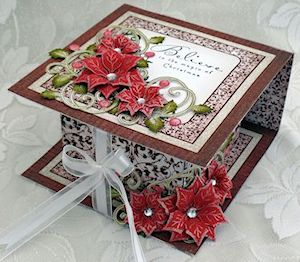
Step 13
Complete the project. The sample was completed using a Christmas sentiment, embossed die cut poinsettias and holly swirls.
-
Video!
Variations
-
You can easily change the dimensions and closure of the box. Decide how large or small you want your inner box base to be (where you will put the gift). For the outer cover, add on at least 1/2 to the width and length measurements of the box. When cutting the card, double these measurements, and add the depth of the sides for the middle scored section of the outer. On the outer box piece, score the width, then the depth, and then the width along the long side of your card for the size box you require. Cover in exactly the same way.
For an alternate closure, cut a width of paper. For the sample, the paper is 1" X 12". Adhere to a topper and fold around the box, adhering to the topper on the other side. This creates a band that holds the box in place and slides on and off the box.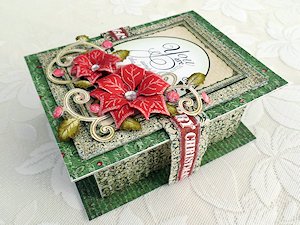
Your Turn
You've seen the tutorial, now you try it! We've got a section of the gallery set aside for Fold Over Box. Try this technique, then upload your artwork to the gallery. Show us your creations!
***Please note - Internet Explorer/Edge is not a supported browser, and will not allow you to see the videos. Please use Chrome, Firefox or Safari to view our tutorial videos.

Questions and Comments
We'd love to get your feedback or questions. Leave your comment below.
Page 1 of 1 pages