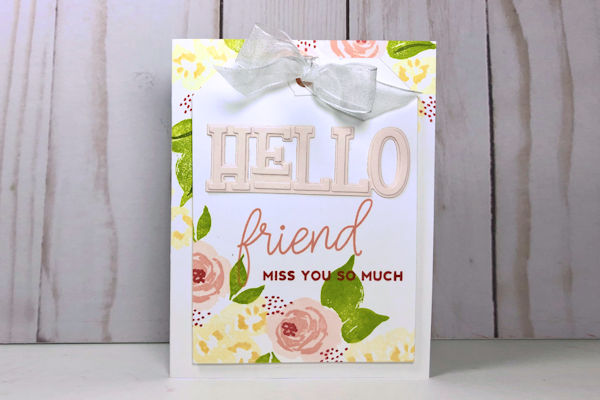
Floral Tag Card
by Becky Roberts
Stamp a matching base and tag for a pretty layered card.
Supplies
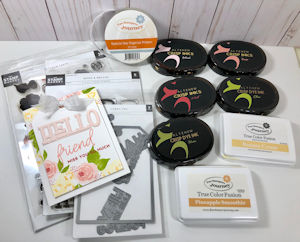
- Cardstock base and quarter sheet (Fun Stampers Journey Whip Cream and Bazzill Pale Rose used here)
- Stamps (Blossom Party from The Stamp Market used here)
- Dies (Hello Serifs Dies, Jumbo Tag Dies from The Stamp Market used here)
- Ink pads (Altenew Crisp Dye Ink in Olive, Moss, Blush, Rouge and Velvet and Fun Stampers Journey Banana Cream and Pineapple Smoothie used here)
- Ribbon (Special Day Organza from Fun Stampers Journey used here)
- Adhesive (Tombow Multi-Purpose Liquid Glue and Foam Squares used here)
Step-by-Step
-
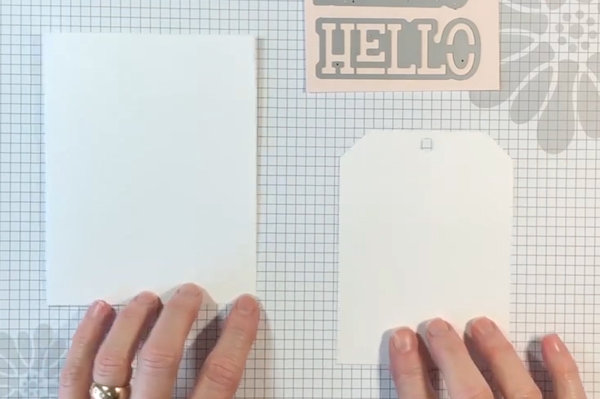
Step 1
Cut card base to 5-1/2” x 8-1/2”. Score at 4-1/4” and fold in half. Cut a quarter sheet of cardstock to use for the tag.
NOTE:
A die was used for the sample tag here. To make your own tag, cut the cardstock to 3-3/4" x 5". Cut one corner off at an angle. Use the offcut piece as a template for the opposite corner so the angles will match. -
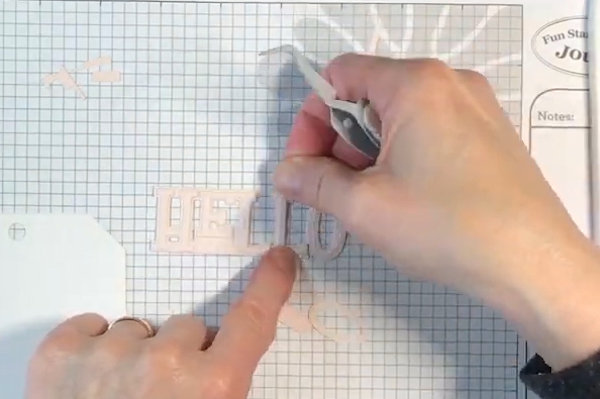
Cut a word die from a smaller piece of cardstock. (Assemble if needed and let dry.)
-
Step 2
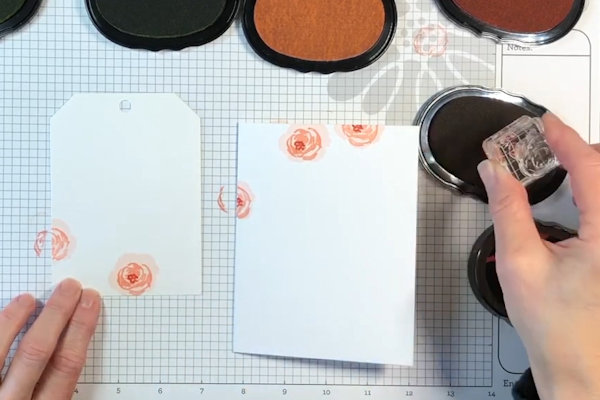
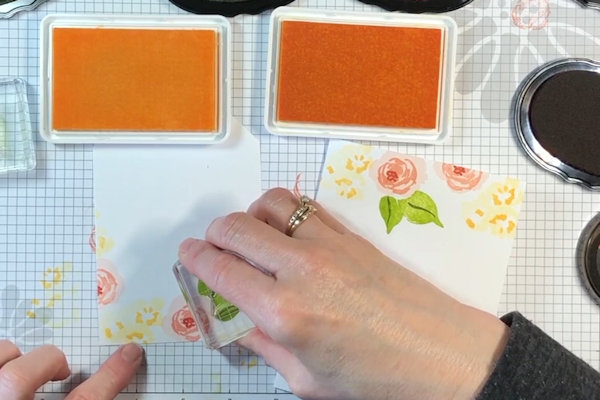
Stamp flowers on the top of the card base and the bottom of the tag.
-
Stamp leaves and filler images to fill in blank areas.
-
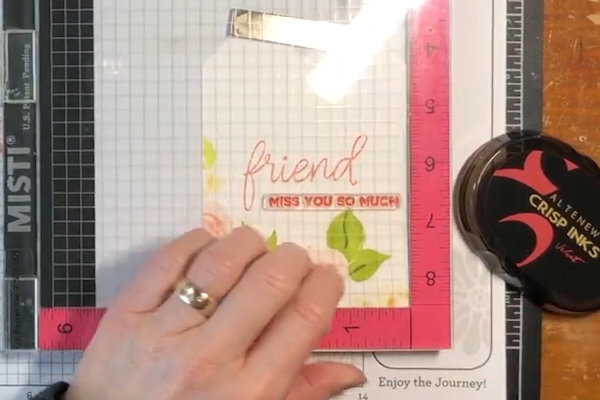
Step 3
Using a stamp positioner, position the tag in the platform and arrange stamps as desired.
-
Stamp in coordinating ink.
-
Step 4
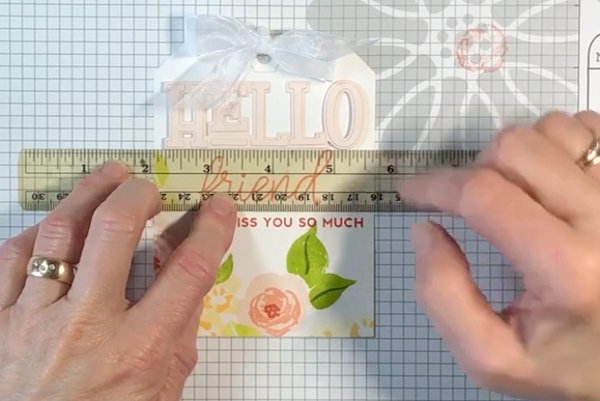
Adhere the die cut to the tag.
-
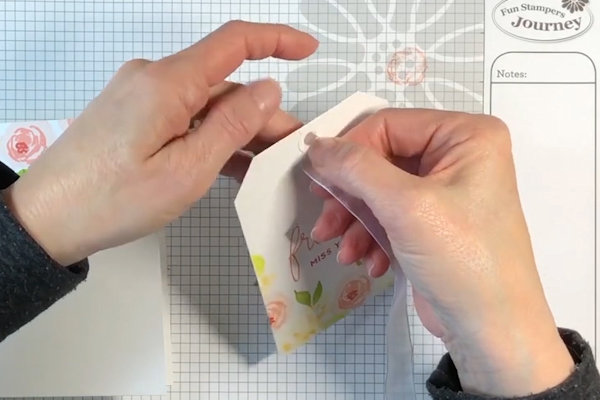
Step 5
Add a hole reinforcer and tie ribbon through the hole and into a bow.
-
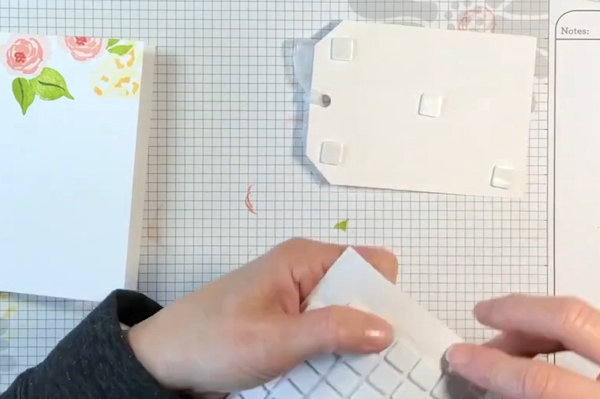
Step 6
Add foam squares to the back of the tag and adhere it to the card front.
-
Step 7
Complete the card.

Video!
Your Turn
You've seen the tutorial, now you try it! We've got a section of the gallery set aside for Floral Tag Card. Try this technique, then upload your artwork to the gallery. Show us your creations!
***Please note - Internet Explorer/Edge is not a supported browser, and will not allow you to see the videos. Please use Chrome, Firefox or Safari to view our tutorial videos.

Questions and Comments
We'd love to get your feedback or questions. Leave your comment below.
Page 1 of 1 pages