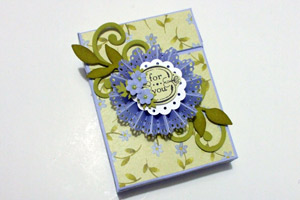
Flip Top Box
by Susan Culotti
Create a box with a flip top like a Crayola Box.
Supplies
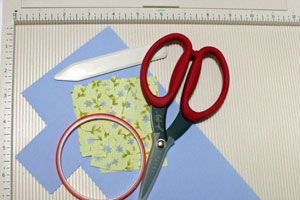
- One 4 1/2" x 10 3/8" piece of cardstock
- One 4 1/2" x 2" piece of cardstock
- Patterned paper (optional)
- Scoring tool
- Scissors
- Sticky strip or other strong adhesive
- Embellishments
Step-by-Step
-
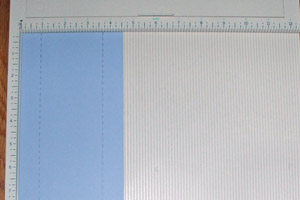
Step 1
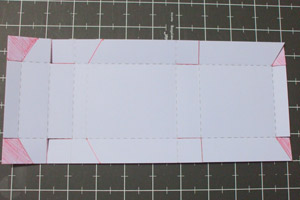
Score down the length of the 10 3/8" cardstock strip, 7/8" in from each edge.
-
Step 2
Rotate cardstock strip one-quarter turn and score at 1/2", 1 1/2", 2 3/8". 2 7/8", 6 1/8", 7”, and 9 7/8.
Note that the scores at the 2 7/8" mark and the 9 7/8" mark run only between the previously scored lines, and not across the entire strip.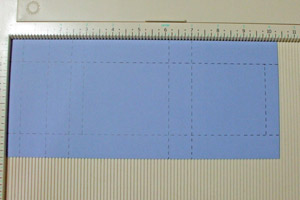
-
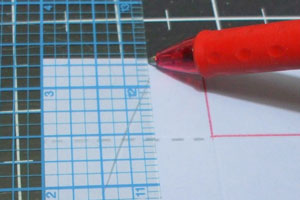
Step 3
Cuts are made along lines indicated in red in the photo. To get the angled cuts, mark 1/2" below score lines at 1/2" and 2 7/8", then draw a line from the mark up to the score line. The cuts at the far right (which will become the box front) are from the corner to the 9 7/8" score line.
-
Trim away areas shaded in red and discard. Fold along all scored lines. All folds are to the inside except the score at 2 7/8", which goes to the outside – this is the “hinge” of the box lid.
-
Step 4
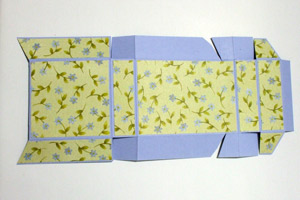
Add patterned papers or stamping to the outside of the box, if desired. Cut the patterned paper 1/8" smaller than the area they are intended for.
-
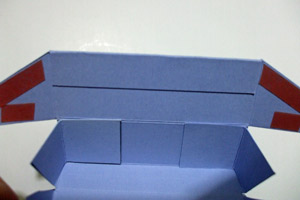
Step 5
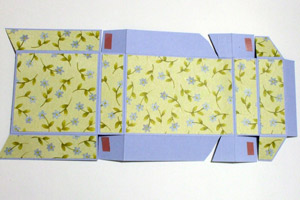
Add small pieces of sticky strip to the tabs, as shown above.
-
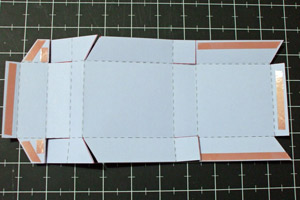
Flip entire project over and put sticky strip on the areas shown above, which are the outside edges of the box and lid, and a small “lip” that reinforces the edges, as well.
-
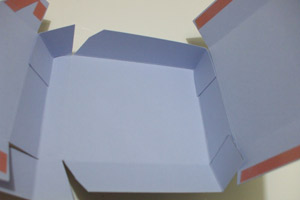
Step 6
Remove liner from sticky strip on tabs, fold them to the inside and stick them down to form the top and bottom on one side of the box. Repeat for the other side.
-
Also remove liner from sticky strip on each end of strip and fold to inside to form reinforcement.
-
Step 7
Remove liner from flap and press to outside of lid. Repeat for other side. Also remove liner from box sides and press them into place.
Tip:
Line up bottom edges first, then continue up remainder of box side.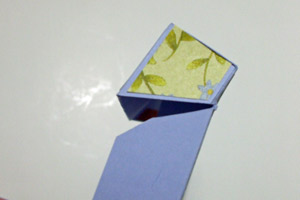
-
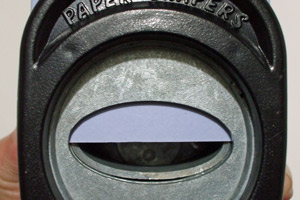
Step 8
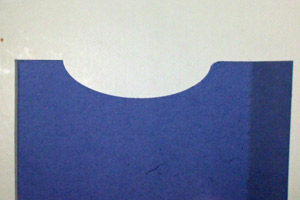
Score 4 1/2" x 2" piece of cardstock down each short side, 7/8" from each edge. Using a punch or scissors, make a curved cutout in center of 4 1/2" edge. Round any sharp points with scissors, if needed.
-
-
Step 9
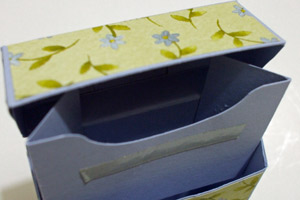
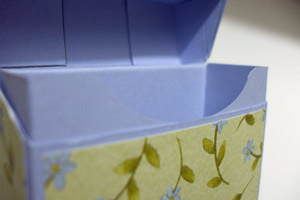
Put sticky strip on each flap and on the front of this piece, 5/8" down from top edge. Remove liner from strips, fold flaps to back and tuck entire unit into box until the top edge of the flaps is in line with the hinge of the box as shown above right. Unfold flaps and stick to inside of box sides and front. This piece is what holds the box shut.
-
-
Step 10
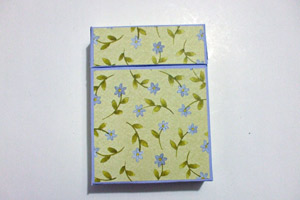
Your box is now finished.
-
Embellish as desired.
Video!
Your Turn
You've seen the tutorial, now you try it! We've got a section of the gallery set aside for Flip Top Box. Try this technique, then upload your artwork to the gallery. Show us your creations!
***Please note - Internet Explorer/Edge is not a supported browser, and will not allow you to see the videos. Please use Chrome, Firefox or Safari to view our tutorial videos.

Questions and Comments
We'd love to get your feedback or questions. Leave your comment below.
I was wondering what weight of card stock was used in making this adorable box? It's funny, but I had saved my little flip- top box in which tea bags come, in order to open it up and use as a pattern. Instead, you posted a tutorial and did all the work for me.
I find that it is very difficult to find a heavyweight generic card stock to make boxes with. Last year, when my son got married, I made 130 boxes for the engagement party favours, filled with tealights stamped with tissue paper. The card stock I used did the job, but it would have been much easier to work with and be more sturdy to have found the heavier one.
I would welcome any suggestions and/or tips. Needless to say again and again, but you are awesome!
Thanks,
Bela
Thanks for your kind words!
I used Kraft cardstock from Stampin' Up! I think it's 80lbs weight. I don't like heavier cardstock then that, but that's really personal preference. There is quite a lot of different cardstock out there in 110lbs.
Hugs and smiles
Page 1 of 1 pages