Flap Fold Card
by Julie Davison
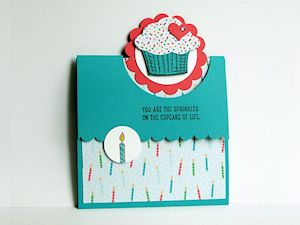
Create this fun tent card with a flap closure.
Supplies
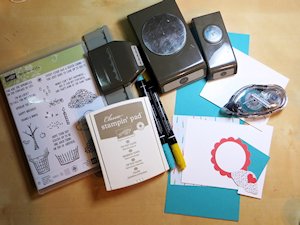
- Cardstock cut to 4-1/4" x 11"
- Paper trimmer
- Scoring tool
- 2 1/2 inch circle punch or die
- 1 inch circle punch
- Adhesive
- Foam dimensionals
- Other supplies as needed to complete the card (Stampin’ Up! Supplies used here: Inks (Tip Top Taupe, Bermuda Bay marker, Crushed Curry marker); cardstock (Bermuda Bay, Watermelon Wonder, Whisper White); Cherry on Top designer paper, Scallop Edge Border Punch, 2-3/8” Scallop Circle Punch, 1-3/4” Circle Punch, Tree Builder Punch, Itty Bitty Accents Punch Pack, Rhinestone Jewel Accents)
Step-by-Step
-
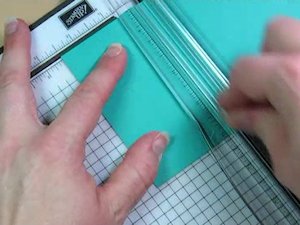
Step 1
Score 4-1/4” x 11” cardstock at 2-1/2” and 6-3/4”.
-
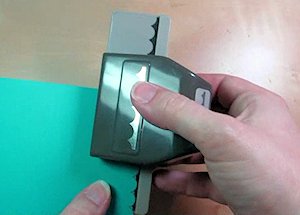
Step 2 (Optional)
Create decorative edge along 4-1/4”x 2-1/2” section of card base.
-
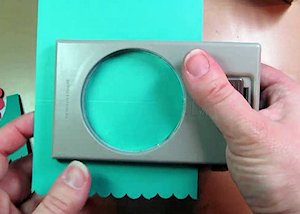
Step 3
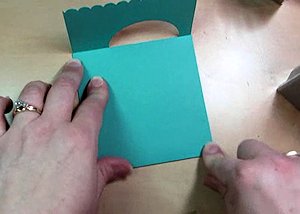
Use a 2-1/2" circle punch or die to create the window. Slide the punch all the way in and center over the score line.
-
Step 4
Fold on all score lines. Check to make sure card will close without the cardstock bowing, and trim a little off the bottom end of the cardstock if necessary.
-
Step 5
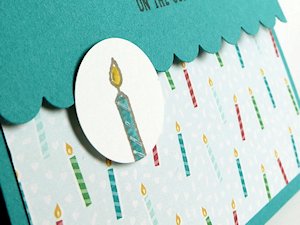
Decorate as desired.
(In the sample, the front layer is 4" x 4". The cupcake embellishment is layered on a 1-3/4" circle punch and 2-3/8” scalloped circle punch.)
-
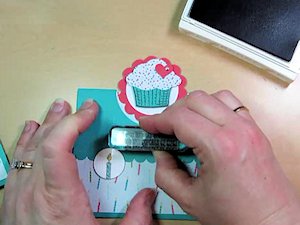
To add the main image, add adhesive to the card front through the window and then add embellishment.

-
Step 6
Embellish the inside of the card.
(Sample: 3 3/4" x 3 3/4" Whisper White cardstock with 1" x 3-3/4" Designer Paper.)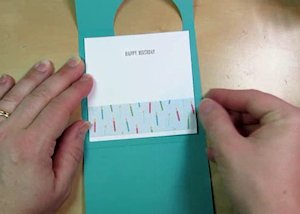
-
Step 7
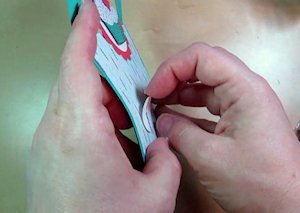
Create a small embellishment with a 1” circle punch or similar size/shape. Attach to the card front with a foam dimensional at the bottom, so the top of the embellishment overlaps the flap without adhesive.
-
The flap will tuck inside the embellishment, which keeps the card closed.
-
Step 8
Stamp a greeting across the flap of the card.
-
Step 9
Complete the project. Card will fit in a standard A2 envelope.
Video!
Your Turn
You've seen the tutorial, now you try it! We've got a section of the gallery set aside for Flap Fold Card. Try this technique, then upload your artwork to the gallery. Show us your creations!
***Please note - Internet Explorer/Edge is not a supported browser, and will not allow you to see the videos. Please use Chrome, Firefox or Safari to view our tutorial videos.

Questions and Comments
We'd love to get your feedback or questions. Leave your comment below.
What a cute idea this is!
Page 1 of 1 pages