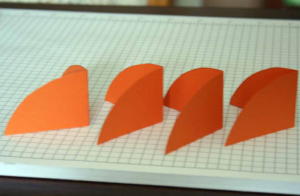
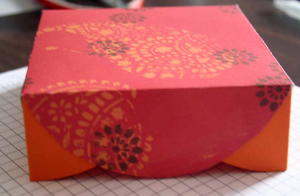
Five in one Template Box
by Beate Johns
Use an envelope template to create a scalloped lid for this box.
Supplies
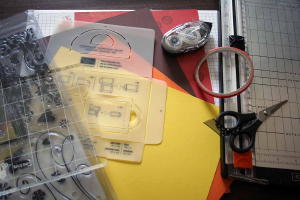
- Paper cutter with scoring tool
- Ruler with 90 degree marking
- Stylus Tool
- Scissors
- Sticky Strip™ or other double-sided, extra-tacky tape
- 7" Square of Patterned Paper (here Magnolia from My Mind's Eye™ )
- 8 1/2" Square of matching patterned paper or cardstock for the box bottom
- 4" Strip of matching patterned paper or cardstock for lid corner
- Stamps
- Cardstock or Cardboard to make a template
- Ribbon
- Five in One Template from Stampin' Up!™
Step-by-Step
-
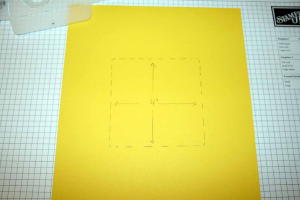
Step 1
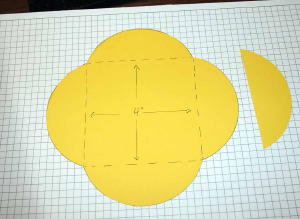
Draw a 4"x4" square on your scrap cardstock/cardboard for your pattern.
-
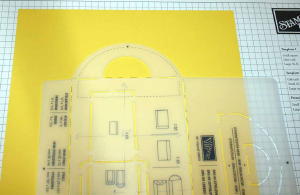
Step 2
Line up the round envelope flap from your template with your 4x4 square and trace it on your square.
-
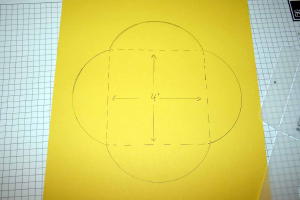
Step 3
Repeat Step 2 on each side of your square.
-
Step 4
Trace the flap of the envelope template to make our corner template.

-
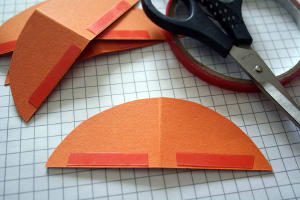
Step 5
Cut out both pieces. This completes the template for the lid.
-
Step 6
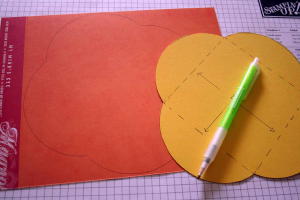
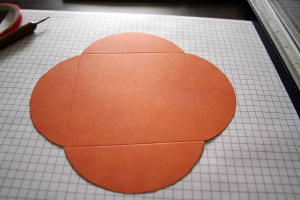
Trace your newly made template on the back of your patterned paper.
-
Step 7
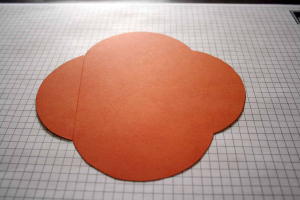
Cut traced image out. Score your first line underneath one rounded flap.
-
Step 8
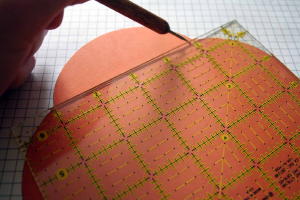
Line up your ruler with the first scored line and mark your other lines. Make sure you have one line of your ruler lying on top of your scored line to ensure you will have 90 angles.
-
Step 9
Score all marked lines.
-
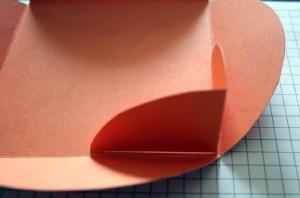
Step 10
Prefold those scores and set your lid aside.
-
Step 11
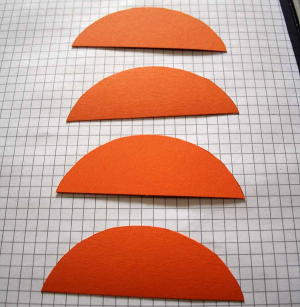
Take your flap template and trace it four times on coordinating cardstock (here Pumpkin Pie). These will be your lid corners. Cut them out.
-
Step 12
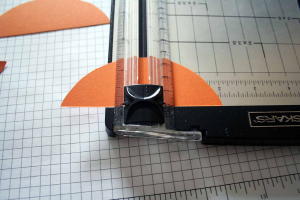
Score the corner pieces in half.
-
Step 13
Prefold your scores.
-
Step 14
Add Sticky Tape™ to the straight edge of the pieces. Don't use one long piece over the fold, or it will show.
-
Step 15
Take the plastic liner off the sticky strip and line the corner up with the inside corner of your lid.
-
Step 16
Tape corner piece to inside lid.
-
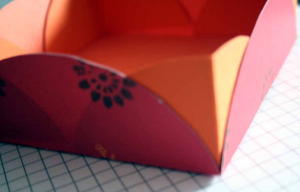
Step 17
Repeat on the three remaining corners. This completes the scalloped lid.
-
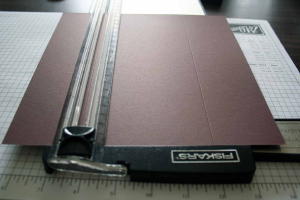
Step 18
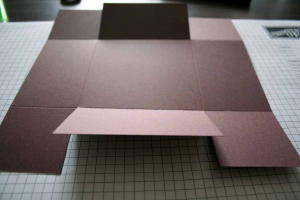
Take your 8 1/2" piece of cardstock for the box bottom and score it at 2 1/4" and 6 1/4".
-
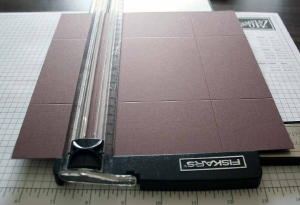
Step 19
Turn the paper 90 degrees and score again at 2 1/4" and 6 1/4".
-
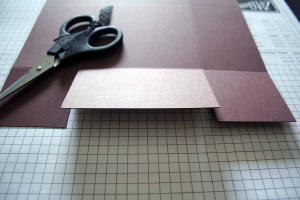
Step 20
Cut both scored lines on one side of your square all the way to the first horizontal score.
-
Step 21
Repeat step 20 on the opposite side of the cardstock.
-
Step 22
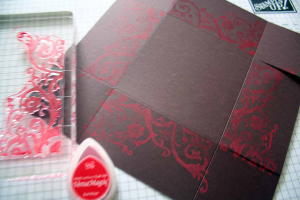
If desired stamp the sides of your box.
-
Step 23
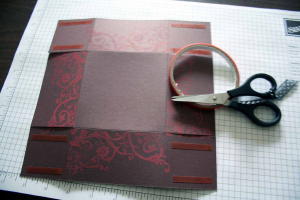
Add Sticky Strip™ on each outer square. These will be your glue tabs.
-
Step 24
Tape your glue tabs on the inside of longer inner pieces to form the bottom part of your box.
-
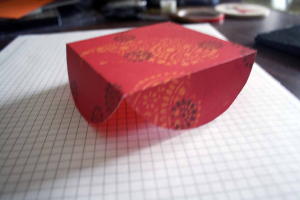
Step 25
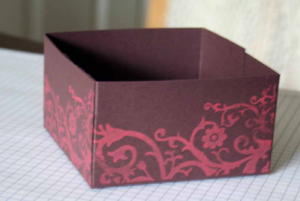
Add the box top, some ribbon and a tag and you are ready to give it away.

Your Turn
You've seen the tutorial, now you try it! We've got a section of the gallery set aside for Five in one Template Box. Try this technique, then upload your artwork to the gallery. Show us your creations!
***Please note - Internet Explorer/Edge is not a supported browser, and will not allow you to see the videos. Please use Chrome, Firefox or Safari to view our tutorial videos.
Questions and Comments
We'd love to get your feedback or questions. Leave your comment below.
You can still order the template from any Stampin' Up! demonstrator. The order number is #106523 for $9.95.
Hugs and smiles
xoxo
hugs
your tutorial is very good
thank you
Thanks!!
www.crieartezzanato.blogspot.com
Juanita Zavala
Thanks
cynthia
That one is discontinued, but you can put a post in our ISO forum and see if someone will sell you one
Page 1 of 1 pages