Faux Tile Backsplash
by Shel Anderson
Weave a paper background that looks like tile.

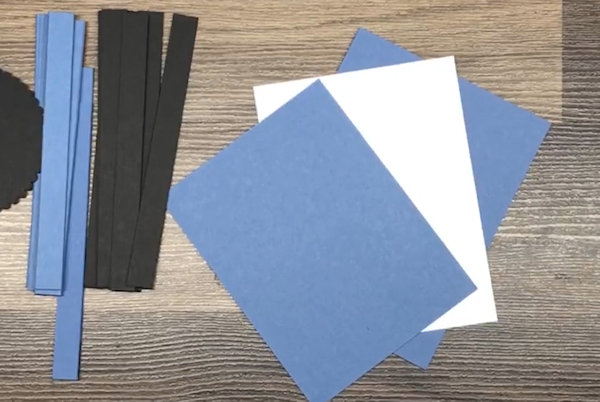
Supplies
- Cardstock
- Paper trimmer
- Bone folder
- Adhesives (Tombow and Sticky Strip used here)
- Silicone mat
- Versamark ink
- Clear embossing powder
- Heat tool
- Other supplies as needed to complete the card (Stampin’ Up!® products used here: Layering Circles Dies, black, blue, and white cardstock to cut circles, Sailing Home stamp set, Memento black ink, Stampin’ Blends markers, die cutting machine, Dimensionals
Step-by-Step
-
Step 1
Prepare a card base and cut a layering panel from cardstock. Cut several 1/2" strips of cardstock from coordinating colors.
-
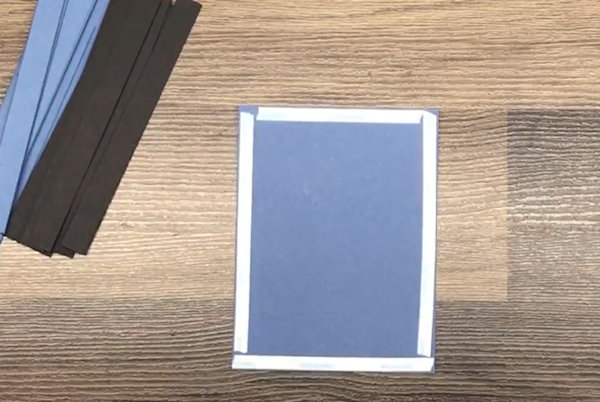
Step 2
Add double-sided tape to the perimeter of the mat layer (4” x 5 1/4" here) and burnish with bone folder.
-
Remove the paper backing off the top strip only.
-
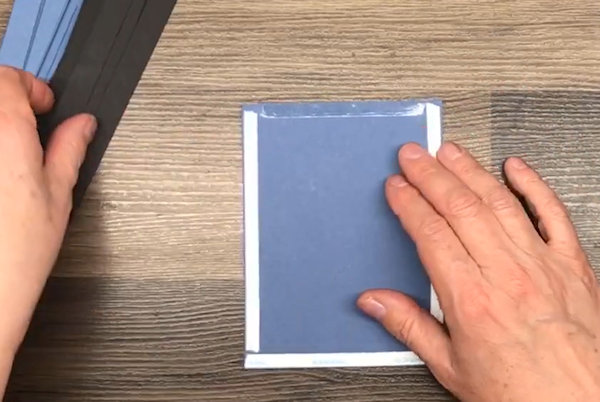
Step 3
Add strips of your first color of cardstock across the panel – make sure to keep them tight together. Use a bone folder to burnish the tops of the strips into the sticky strip.
-
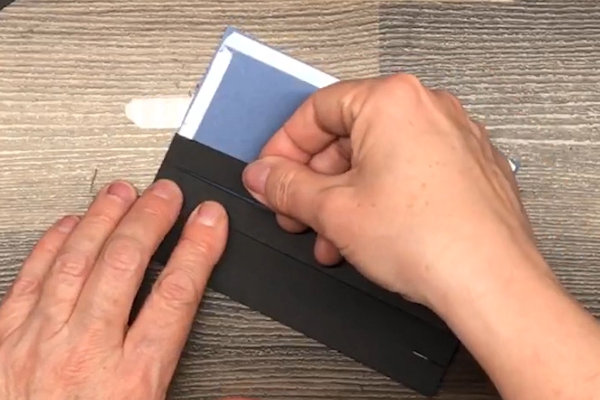
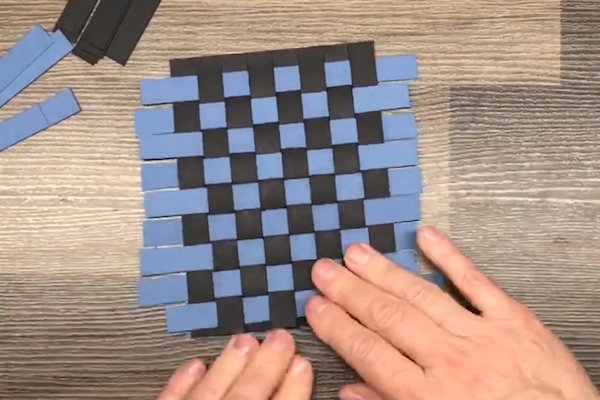
Step 4
Now use the second color strips to weave every alternate strip.(over, under, over, under etc) as shown. When done push the strips all the way to the top as tightly as possible.
-
Continue in this manner until the whole panel is woven.
-
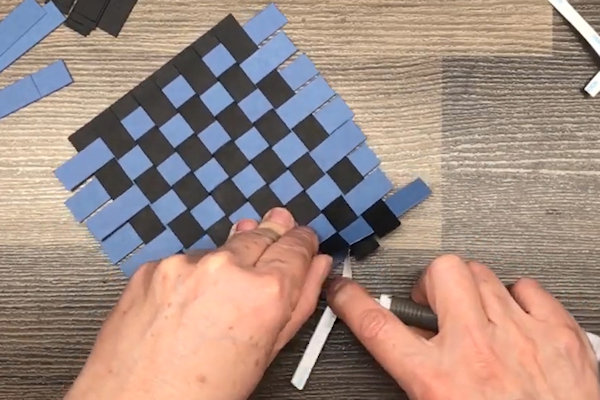
Step 5
Remove the paper backing on the side piece of sticky strip and press down and burnish.
-
Repeat on opposite side and bottom.
-
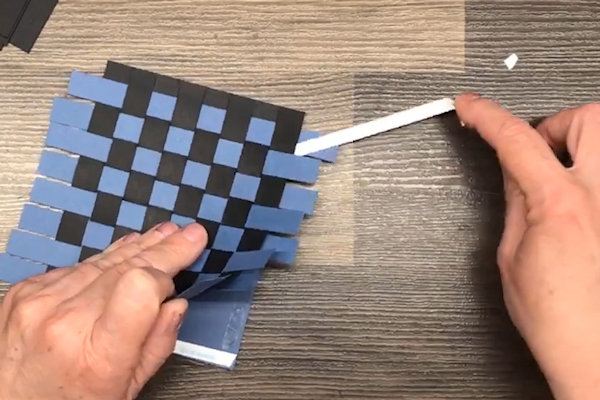
Step 6
You will notice every alternate row is not attached at sides or bottom. Lift up slightly, add a drop of adhesive and press and hold in place. Repeat around until all the little flaps are secured down.
-
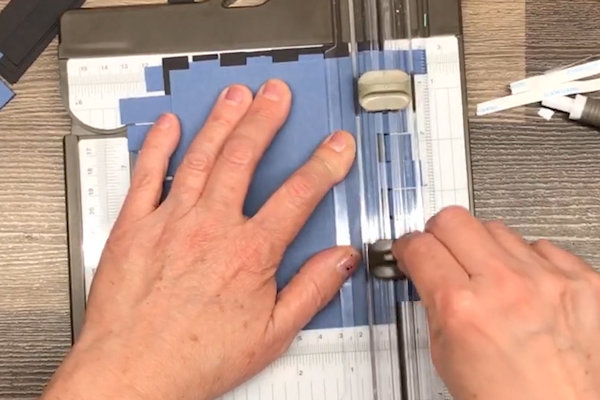
Step 7
Use a paper trimmer to trim off excess.
-
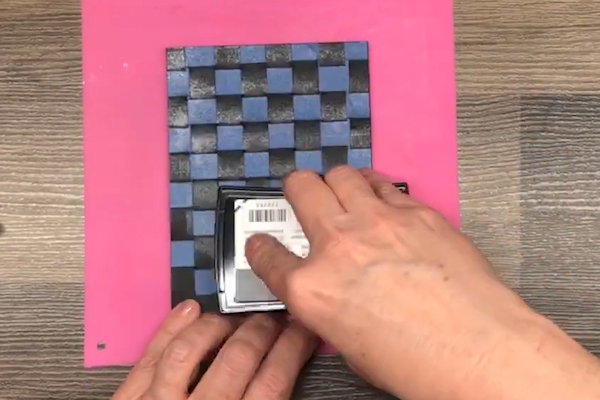
Step 8
Lay the panel on a silicone mat and press a Versamark ink pad to the top of the “tiles” repeatedly until fully covered.
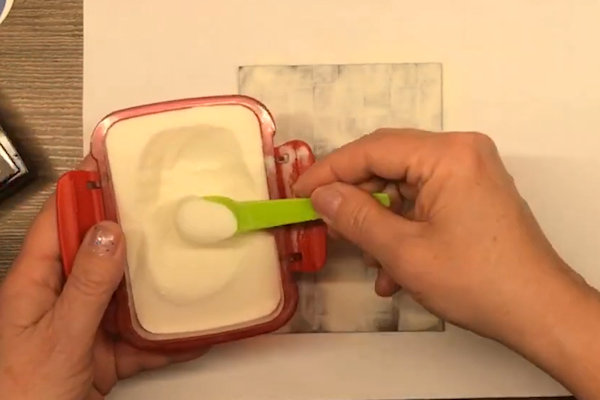
-
Add clear embossing powder.
-
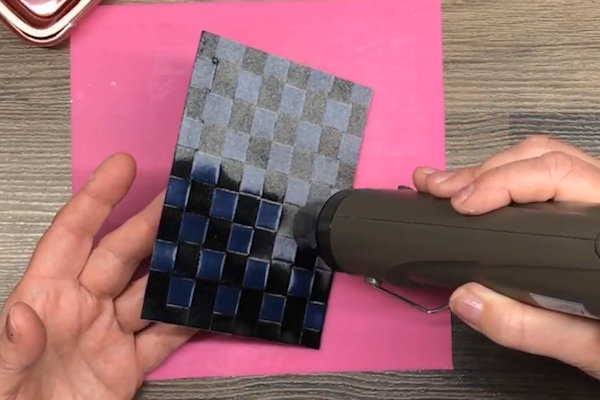
Step 9
Tap off excess powder and heat set with heat tool.
-
Step 10
Repeat steps 8-9.
-
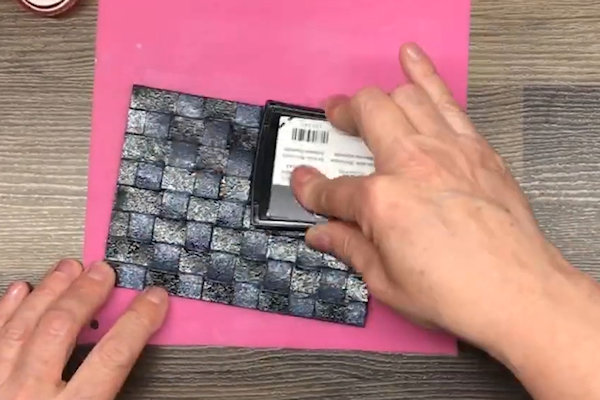
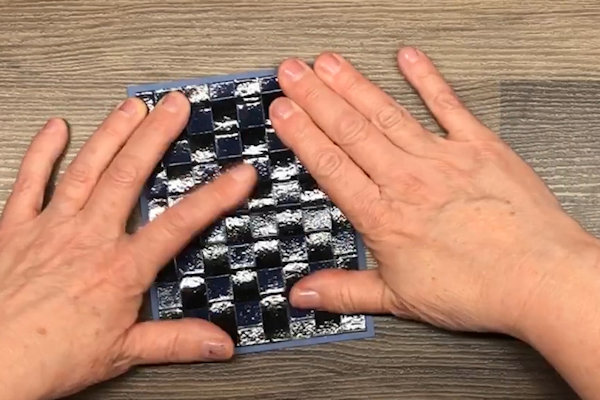
Step 11
Now you should have a gorgeous super shiny tile background layer! Add glue generously to back side and adhere to a card front. Hold in place pressing gently but firmly until adhesive is dry and bonded to card base. (This is a heavy and thick layer so we want to make sure it is well adhered.)
-
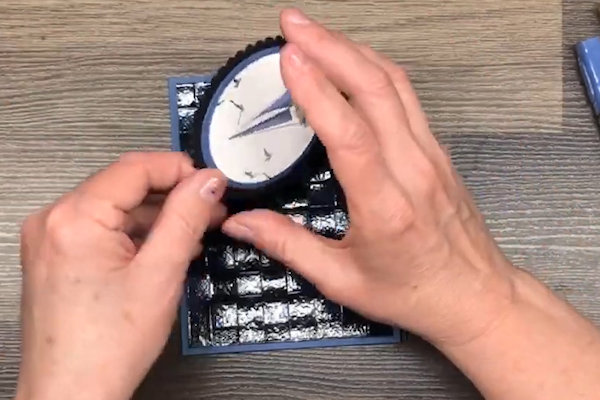
Step 12
Decorate the card as desired. For the sample, a masculine theme was used, and greeting was left off so the card can be used for any occasion as needed.
-
Step 13
Complete the project.


Video!
Your Turn
You've seen the tutorial, now you try it! We've got a section of the gallery set aside for Faux Tile Backsplash. Try this technique, then upload your artwork to the gallery. Show us your creations!
***Please note - Internet Explorer/Edge is not a supported browser, and will not allow you to see the videos. Please use Chrome, Firefox or Safari to view our tutorial videos.

Questions and Comments
We'd love to get your feedback or questions. Leave your comment below.
Mary Beth
Thanks for sharing your talent with us!
Page 1 of 1 pages