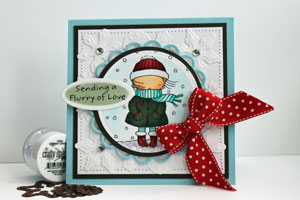
Faux Dry Embossing
by Beate Johns
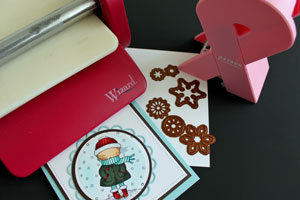
Create a dry embossed look with die cut shapes or punch-outs.
Supplies
- Wizard™, or other die cut machine
- Small Die cut templates, or paper punches (Spellbinders Create-a-Flake 1 and 2 used here)
- Xyron™ Create-a-Sticker or other adhesive
- Cardstock
- Embellishments, to finish the card
Step-by-Step
-
Step 1
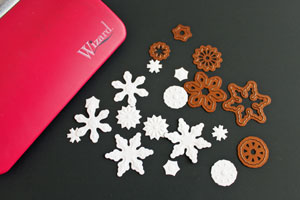
Cut shapes out cardstock with small die cut templates or punches.
-
Step 2
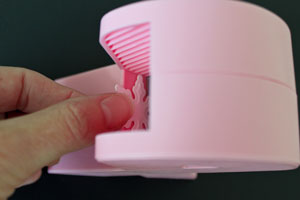
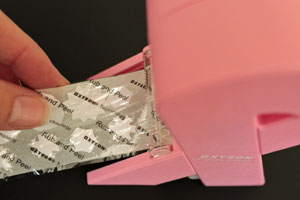
If you are using a Xyron™ Create-a-Sticker insert your cut image face up into the machine.
-
Pull on strip end on the other side to pull out your shape.
-
Step 3
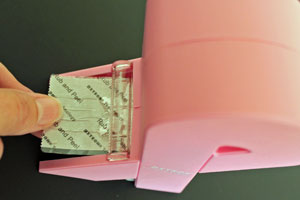
Once you fed all your pieces through the machine tear strip off.
-
Step 4
Rub over the plastic cover over your image.
Hint:
If you don't want any adhesive to show between smaller spaces of your die cut image, trace a stylus tool around the edges of the shape.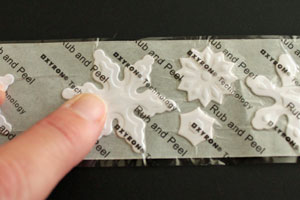
-
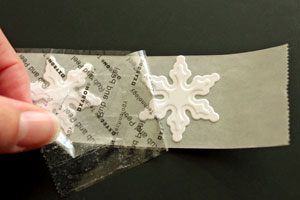
Step 5
Peel off plastic lining. Your shapes are now stickers.
-
Step 6
Peel sticker off the plastic sheet and adhere it over a piece of the same color cardstock, that the shapes were cut out of.

-
Adhere shapes all over cardstock.
Hint:
You don't have to cover part of the cardstock that will be covered with your main image or sentiment.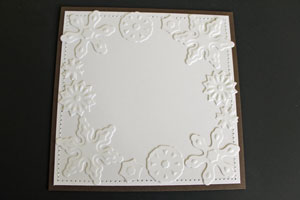
-
Step 7
Finish your card.
Video!
Your Turn
You've seen the tutorial, now you try it! We've got a section of the gallery set aside for Faux Dry Embossing. Try this technique, then upload your artwork to the gallery. Show us your creations!
***Please note - Internet Explorer/Edge is not a supported browser, and will not allow you to see the videos. Please use Chrome, Firefox or Safari to view our tutorial videos.
 *
*
Questions and Comments
We'd love to get your feedback or questions. Leave your comment below.