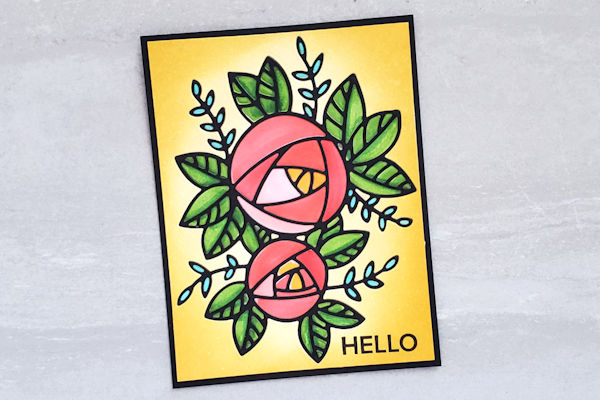
Faux Diecut Inlay
by Ardyth Percy-Robb
Create an inlaid look with an outline die and a colored panel.
Supplies

- Outline die with fairly large cut out pieces (PinkFresh Studio Bold Bloom used here)
- Cardstock for base and die cutting
- Die cutting machine
- Rubber mat for embossing
- Markers or other colouring medium that does not require a lot of pressure (Copic markers used here)
- Other supplies as needed to complete the project (used here: Versafine Onyx ink, Catherine Pooler Shea Butter and Sauna inks, Taylored Expressions Blending Brushes, Mini MISTI, Adhesive sheets, Essentials by Ellen Tis the Season stamp set)
Step-by-Step
-
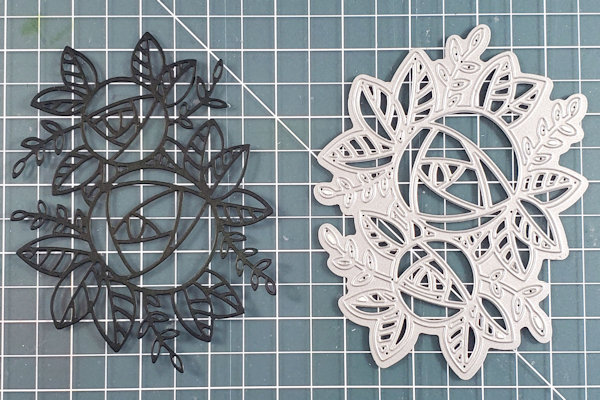
Step 1
Put an adhesive sheet (if using) on the back of a panel of black cardstock, and cut the outline die with your die cutting machine.
-
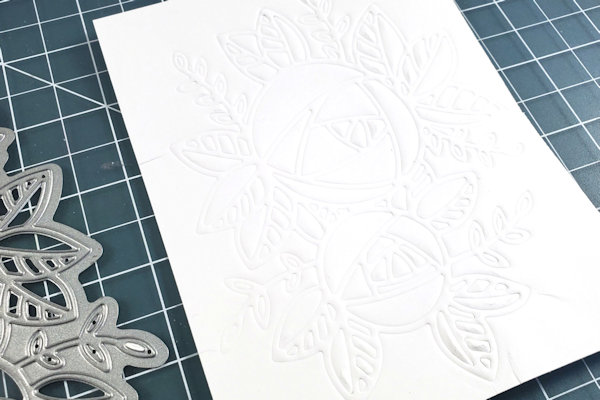
Step 2
Using the embossing sandwich for your die cutting machine, emboss the same die onto a white cardstock panel.
NOTE:
Plate 'sandwiches' may vary for different machines, but the order should include (bottom to top):
Silicone embossing pad
Watercolor paper (face up)
Die, cutting surface down -
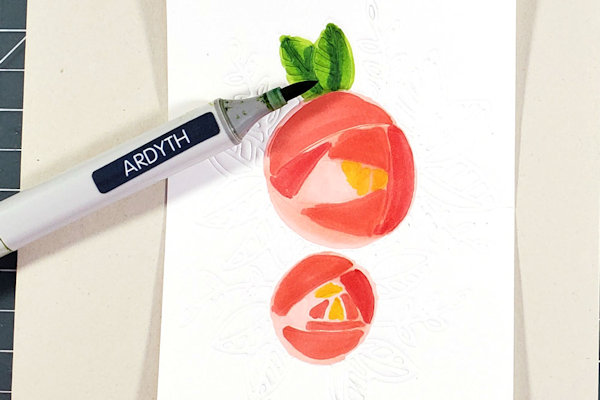
Step 3
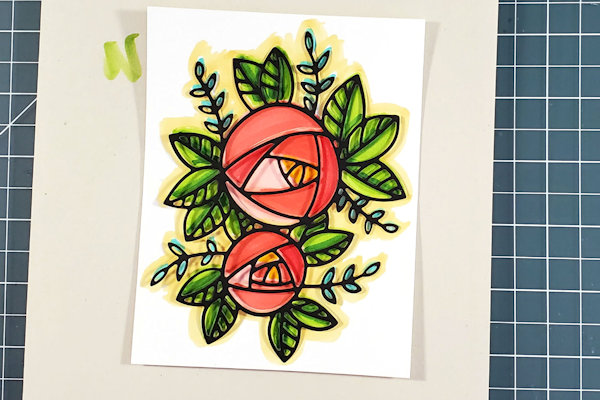
Colour the embossed image, putting colour right to the edges of each area of your embossed impression. Be careful not to press down too hard on the raised areas and flatten them (this may not be the time to reach for coloured pencils)!
-
Lay the black die cut over your colouring from time to time to be sure you are getting the coverage you want.
-
Step 4
If you want a yellow glow around your 'stained glass', outline the embossed image with a yellow marker to ensure that no white areas will show. You can also leave out this step, and leave your panel white and move to Step 8.
Peel off the backer from the black die cut (or use liquid glue) and glue the black outline in place -
Step 5
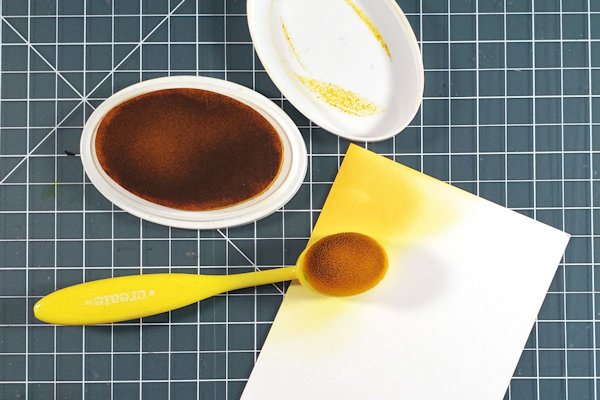
For a yellow stained-glass look, blend yellow inks onto another panel of white cardstock (4 x 5.25 inches), with the lighter yellow in the centre and the darker yellow on the edges.
-
Step 6
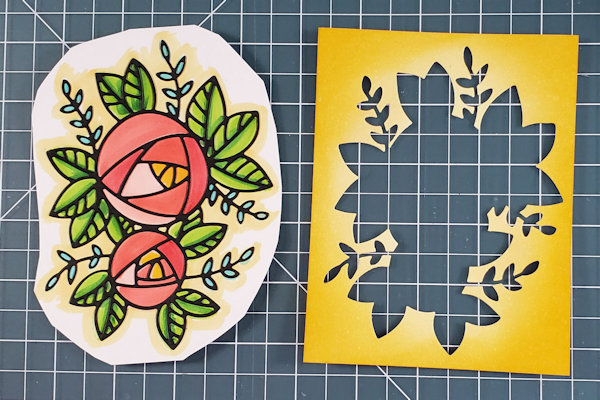
Cut the die from the yellow panel
If needed, trim your white panel, so that the edges will not show when you place the yellow panel over top. -
Step 7
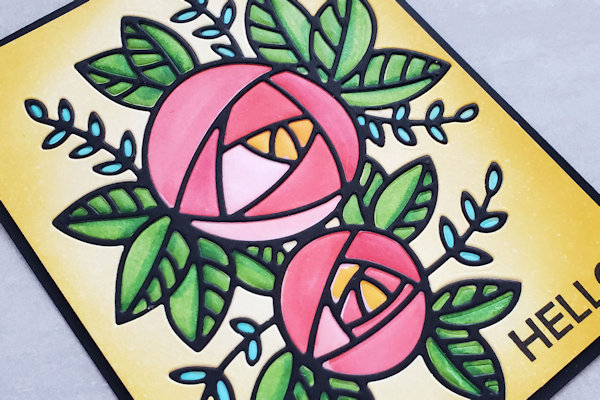
Glue the yellow panel to the white panel, matching the die cut hole in the yellow panel with the coloured image on the white.
TIP:
Use liquid glue so you can put tiny dots in small places. -
Step 8
Embellish and complete the card as desired.
DESIGN TIPS:
Choose a sentiment that has a similar line weight to the die cut outline for balance.
Add a black mat or use a black card base so the black border is also similar in line weight to the die cut.

Video!
Your Turn
You've seen the tutorial, now you try it! We've got a section of the gallery set aside for Faux Diecut Inlay. Try this technique, then upload your artwork to the gallery. Show us your creations!
***Please note - Internet Explorer/Edge is not a supported browser, and will not allow you to see the videos. Please use Chrome, Firefox or Safari to view our tutorial videos.

Questions and Comments
We'd love to get your feedback or questions. Leave your comment below.
This looks fun!
Shirl
Thanks for the video tutorial!
PS love your mask picture!!!
Page 1 of 1 pages