Faux Shaving Cream
by Beate Johns
Create a marbled look on your stamped image.
Supplies
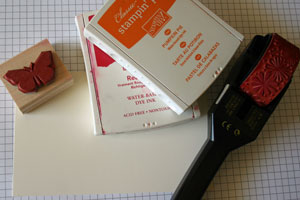
- Stamping Wheel
- Solid Stamp
- Dye Inks
- Neutral Cardstock
- Marker (optional)
Step-by-Step
-
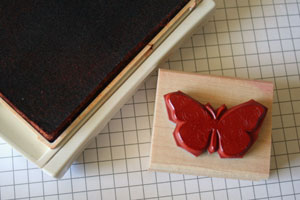
Step 1
Ink up your solid stamp with one of your classic ink colors.
-
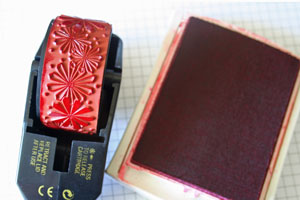
Step 2
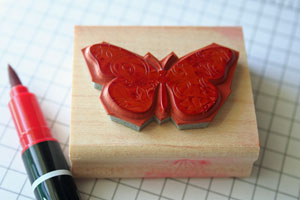
Ink up your Stamping Wheel either with an ink cartridge or by rolling over another ink pad with a complimentary color.
-
Step 3
Place your Wheel on your solid stamp and twist it.
You can also swipe the wheel over the stamp.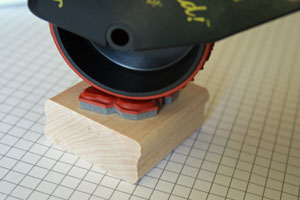
-
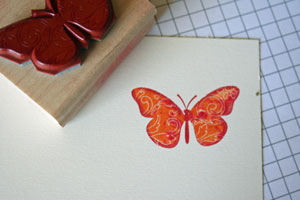
Continue to twist or swipe your wheel until you have transfered enough ink from your wheel to your stamp.
This will create your marbled look.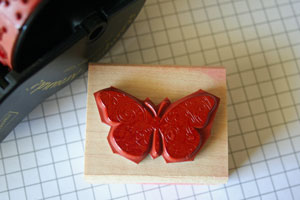
-
Step 4 (Optional)
Use a marker to outline your solid stamp. I used the same color that the wheel was inked up with.
-
Step 5
Huff on your stamp. That will remoisten the image. Now stamp your image on neutral cardstock.
-
Step 6
Finish your card.

Your Turn
You've seen the tutorial, now you try it! We've got a section of the gallery set aside for Faux Shaving Cream. Try this technique, then upload your artwork to the gallery. Show us your creations!
***Please note - Internet Explorer/Edge is not a supported browser, and will not allow you to see the videos. Please use Chrome, Firefox or Safari to view our tutorial videos.
Questions and Comments
We'd love to get your feedback or questions. Leave your comment below.
Hugs,
Colleen
Thanks my friend....
Love that color too!!
Thanks for answering,
Nessie
That's just like the kiss & Twist technique, just done with a wheel.
it's called Faux Shaving cream because it gives you a similar look like the shaving cream technique...without the shaving cream.
Check the Kissing with a Twist tutorial for a similar technique using small stamps instead of wheels to add the pattern.
It doesn't matter what wheel you use.
Gail
Page 1 of 2 pages 1 2 >