Faux Leather with Masking Tape
by Beate Johns
Use some masking tape and your choice of inks to give your paper a leathery look.
Supplies
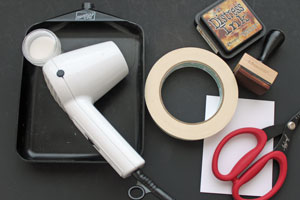
- Masking Tape
- Water based ink
- Clear Embossing Powder
- Heat Gun
- Blending Tool
- Cardstock
- Scissors
Step-by-Step
-
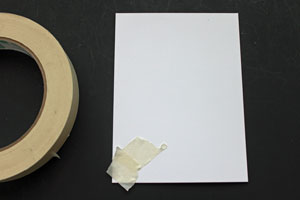
Step 1
Start covering your piece of cardstock with pieces of masking tape.
-
Continue to add pieces of masking tape to your cardstock until your entire pieces is covered. Make sure you have no more cardstock showing anywhere.
Hint:
Using smaller pieces gives you a nicer finished project.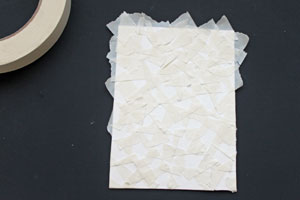
-
Step 2
Cut the overhanging tape off.
Variation:
You can also fold the tape over, but that will make the cardstock edges a bit lumpy.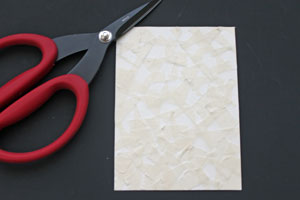
-
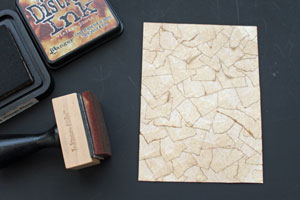
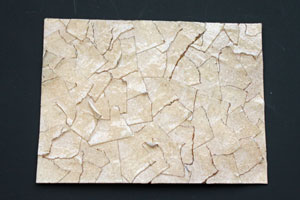
Step 3
Sponge color to your masking tape covered cardstock. Continue to add color (pounce it if necessary or use a second color) until you like the way it looks.
-
Step 4
Cover the entire piece of masking tape cardstock with clear embossing powder.
(The powder should adhere to the texture of the tape so no embossing ink is needed)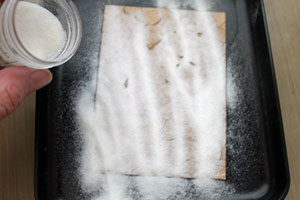
-
Tap off access powder.
-
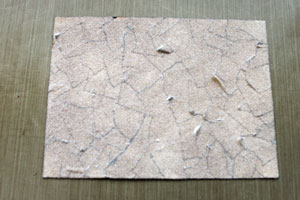
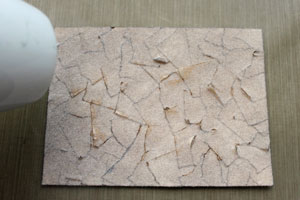
Step 5
Heat the embossing powder until it is melted.
-
Your Faux Leather background is done.
-
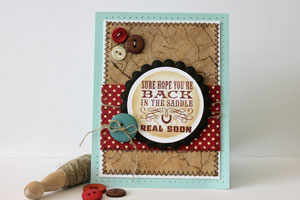
Step 6
Finish your card.
Video!
Variations
Other inks
Try using pigment ink or even acrylic paint over your masking tape for a different look.
Faux Leather with heat and dry embossing
Try our Faux Leather Wallet tutorial. It shows you a different way to create a Faux Leather look.
Your Turn
You've seen the tutorial, now you try it! We've got a section of the gallery set aside for Faux Leather with Masking Tape. Try this technique, then upload your artwork to the gallery. Show us your creations!
***Please note - Internet Explorer/Edge is not a supported browser, and will not allow you to see the videos. Please use Chrome, Firefox or Safari to view our tutorial videos.
Questions and Comments
We'd love to get your feedback or questions. Leave your comment below.
Cheryl O'Dell
THANKS <3
Page 1 of 1 pages