Envelope Memory Album
by Colleen Kidder
This idea is PERFECT for a brag book you can give to Mom or Grandma and Mother’s Day is right around the corner. Try one for thematic events or use them to record thoughts, poems or sayings. The possibilities are endless!
Supplies
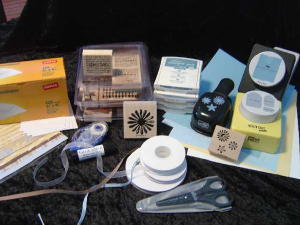
- 3 5/8" x 6 3/4" envelopes (4)
- Cardstock
- Patterned paper
- Stamps
- Ink
- Adhesive
- Embellishments
- Ribbon
Step-by-Step
-
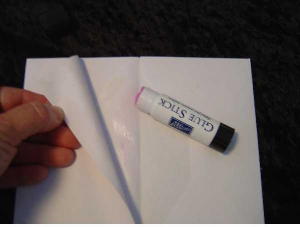
Step 1
Connect envelopes by adhering (using envelope adhesive) flap of one envelope to the closed edge of the next envelope.
If the envelope does not have adhesive all the way around the flap, apply some glue stick to get a good seal around every inch of the envelope flap.
Tip: When placing envelopes together, be sure to allow enough space in the newly created fold to allow the envelopes to close and lay flat. If placed too tightly, they will pucker or bunch when the album is closed.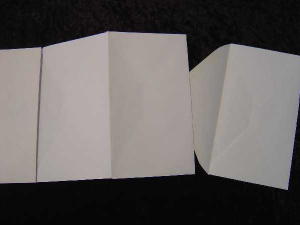
-
-
Step 2
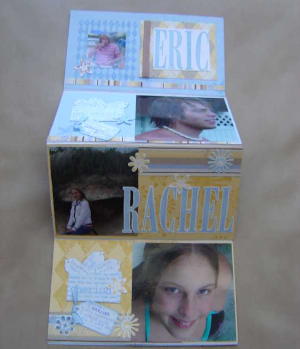
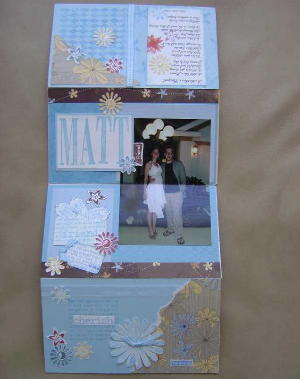
Decide whether the album will be gate fold or accordion style, and if the photos will be horizontal or vertical. Both the gate and the accordion folds will allow for standard size photos to be used. The photo may need to be creased or cut to place it across the fold.
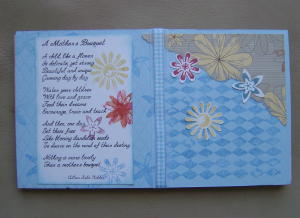
Note: The "Friend" album was using the gate fold closure and the "Mother's Bouquet" was done with an accordion fold.
-
-
Step 3
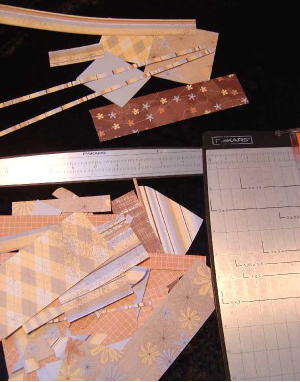
Next, cut card stock to stamp and adhere to the envelopes. For card stock to go all the way to the edges of the envelope, cut it 3 5/8" x 6 3/4" for the front and back of the album. Cut the INSIDE sheets no larger than 3 1/2" x 6 3/8" to allow for proper closure.
Tip: If the cardstock is cut to completely cover the inside envelopes the album will not close well.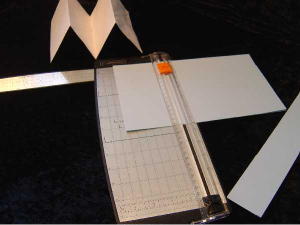
-
Step 4
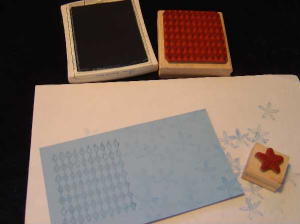
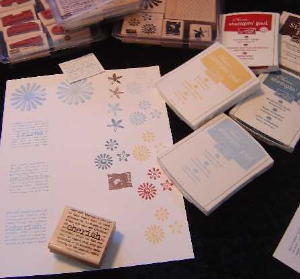
Stamp card stock as desired.
-
-
Step 5
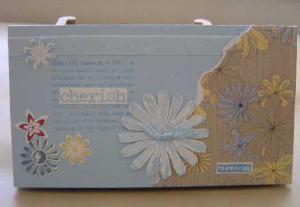
Add patterned paper as needed for design elements and photo mats.
-
Step 6
Assemble the album. For this project it is best to use a glue stick to adhere patterned paper and card stock to the envelopes. Be sure to glue around the entire edges before mounting.
-
Step 7
Mount photos using adhesive.
-
Step 8
Add embellishments.
-
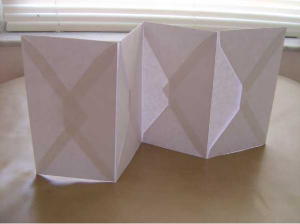
Step 9
Finished album.
Your Turn
You've seen the tutorial, now you try it! We've got a section of the gallery set aside for Envelope Memory Album. Try this technique, then upload your artwork to the gallery. Show us your creations!
***Please note - Internet Explorer/Edge is not a supported browser, and will not allow you to see the videos. Please use Chrome, Firefox or Safari to view our tutorial videos.

Questions and Comments
We'd love to get your feedback or questions. Leave your comment below.
Just now seeing this wonderful tuturial...yup, been hiding under a rock, I guess. Thank you for sharing.
Page 1 of 1 pages