Embossed Vellum
by Anna-Karin Evaldsson
Vellum is such a wonderful surface and you can do so many techniques with it. The translucent surface lets you see what is underneath, which makes it easy to get a layered look. Here we are going to do both heat and dry embossing on vellum, as well as coloring with colored pencils.
Supplies
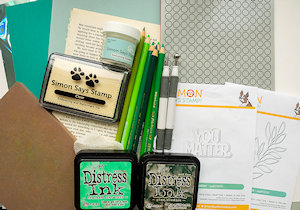
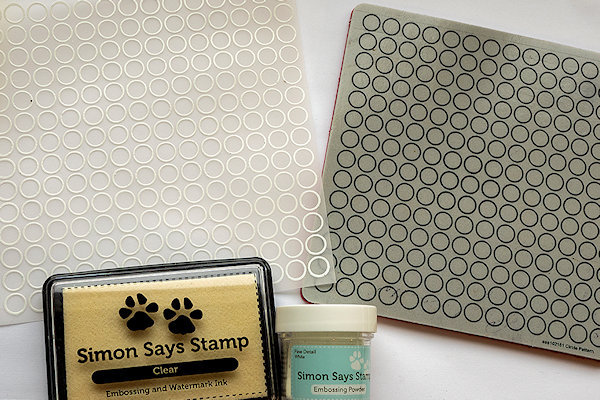
- Background stamp (Simon Says Stamp Circle Pattern Background used here)
- Embossing ink (Simon Says Stamp Clear Embossing and Watermark Ink used here)
- Embossing powder (Simon Says Stamp White Detail Powder used here)
- Vellum
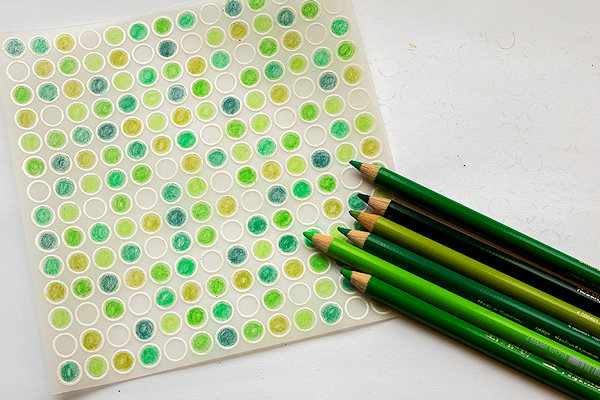
- Colored pencils (Faber-Castell Polychromos used here)
- Large ball stylus tool (Sizzix Paper Sculpting Tool Kit used here)
- Heat tool
- Foam mat
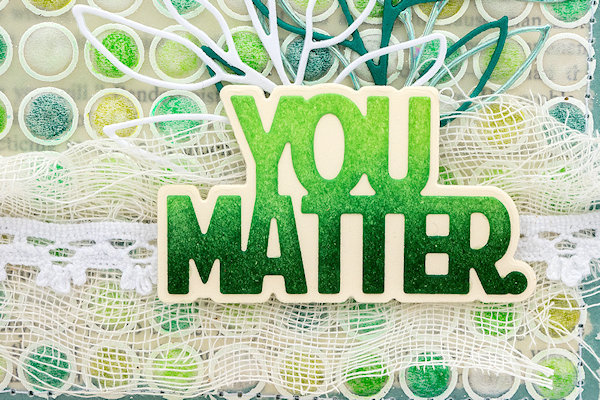
- Other supplies as needed to complete the project: (used here: Ranger Tim Holtz Cracked Pistachio and Pine Needles Distress Inks, Ranger blending tools, Simon Says Stamp Assorted Holographic Aqua, Peacock Teal and White cardstock, Ranger Distress Heavystock Cardstock, Old book paper, Simon Says Stamp You Matter and Leafy Branch dies, Tim Holtz idea-ology Halloween Trimmings, Die cutting machine, Ranger craft sheet, lace trim)
Step-by-Step
-
Step 1
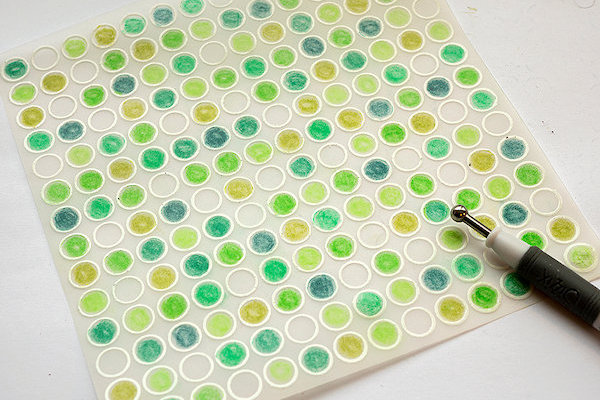
Stamp a background image onto the vellum. Apply embossing powder and heat to set.
-
Step 2
Color in portions of the pattern with colored pencils, working on the front of the vellum. Be careful not to rub off the embossing. Leave some of the dots uncolored.
-
Step 3
Use an embossing tool and burnish the dots. This gives them a subtle shine.
-
Step 4
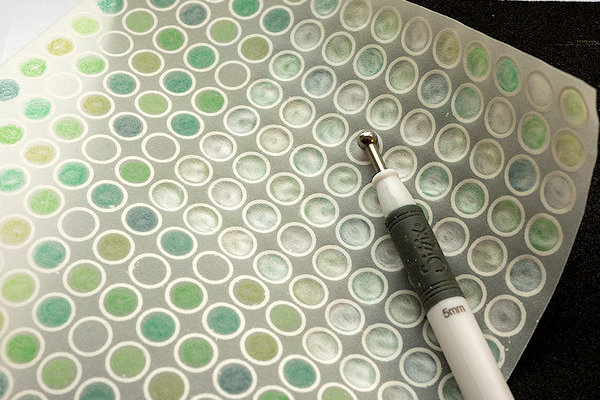
Turn the paper around and place on a foam mat. Use embossing tools in different sizes to dry emboss the dots. Don’t press too hard. Finish with a small embossing tool to get into the details.
-
Step 5
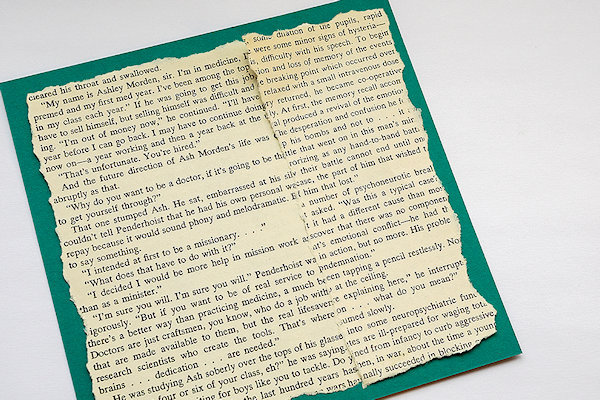
Tear around old book paper or some patterned paper and adhere to cardstock.
-
Step 6
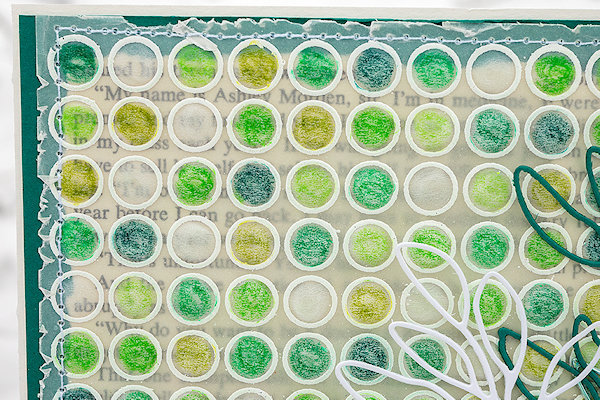
Stitch the vellum panel to the background. You could also use staples.
-
Step 7
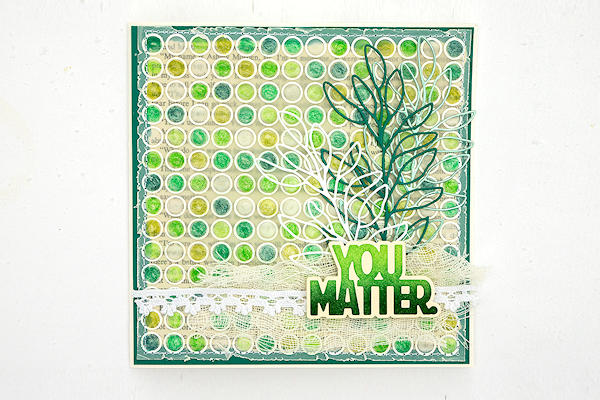
Embellish the card as desired. Here, three Leafy Branches were cut from holographic, white, and colored cardstock. The sentiment was die cut from Heavystock cardstock and inked with Cracked Pistachio and Pine Needles Distress ink.
-
Step 8
Complete the project.
Video!
Your Turn
You've seen the tutorial, now you try it! We've got a section of the gallery set aside for Embossed Vellum. Try this technique, then upload your artwork to the gallery. Show us your creations!
***Please note - Internet Explorer/Edge is not a supported browser, and will not allow you to see the videos. Please use Chrome, Firefox or Safari to view our tutorial videos.

Questions and Comments
We'd love to get your feedback or questions. Leave your comment below.
Page 1 of 1 pages