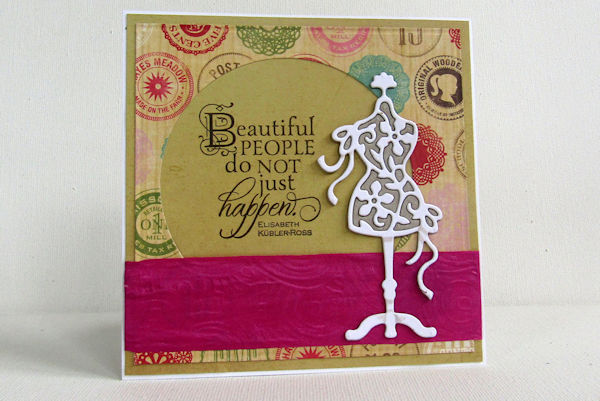
Embossed Ribbon
by Dina Kowal
Use an embossing folder to step up some of the wider ribbons in your stash.
Technique submitted by Holly Brown.
Supplies
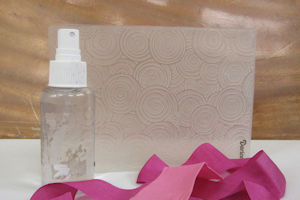
- Wide ribbon (satin, silk, grosgrain, etc.)
- Mister bottle, filled with water or shimmer spray
- Embossing folder (Darice Multi Circles 5x7 Embossing Folder used here)
- Die cutting machine
- Other supplies as needed to complete the card (used here: Neenah cardstock, chipboard, Zig Clean Color brush marker, Echo Park papers, Spellbinders circle die, Impression Obsession stamp (C13101 Beautiful People) and die (DIE409-K Dress Form), Impression Obsession Chocolate Hybrid ink, Scor-Pal)
Step-by-Step
-
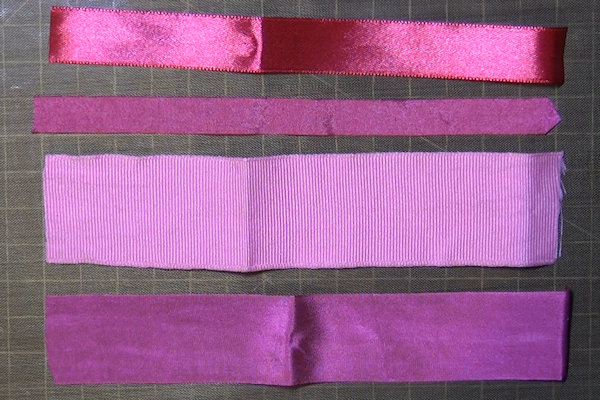
Step 1
Cut a length of wide, solid ribbon. Experiment with different types of ribbon for best results. Shown here - satin ribbon, silk ribbon, and grosgrain ribbon.
-
Step 2
Spray the ribbon with water, Glimmer Mist or similar shimmer spray.
-
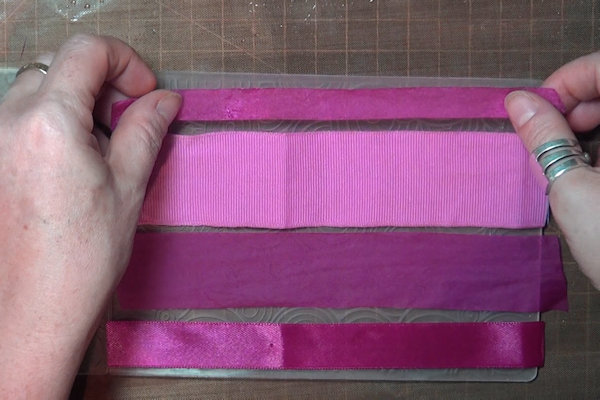
Step 3
When the ribbon is slightly damp (not soaking wet), position it in an embossing folder.
-
Run the folder through a die cutting machine, following manufacturer’s instructions for embossing.
-
Step 4
Leave the ribbon inside the embossing folder to dry (when it has dried partially you can use a heat tool to encourage the drying process, but be careful with synthetic ribbons - they can quickly overheat and shrink or warp).
TIP:
To ensure good pressure on the ribbon while drying, leave the folder in your die cutting machine. -
Step 5
Use the ribbon to embellish a card or other project.


Video!
Your Turn
You've seen the tutorial, now you try it! We've got a section of the gallery set aside for Embossed Ribbon. Try this technique, then upload your artwork to the gallery. Show us your creations!
***Please note - Internet Explorer/Edge is not a supported browser, and will not allow you to see the videos. Please use Chrome, Firefox or Safari to view our tutorial videos.

Questions and Comments
We'd love to get your feedback or questions. Leave your comment below.
Hugs, Julie
One thing you can try is spraying your ribbon with a spray starch or a sizing to help it "stay" after embossing. I haven't done that myself, yet.
I embossed some cheap polyester-type ribbon last night and left it to dry overnight. It took the embossing pattern very well, so I want to check it again as soon as I get home from work and see how it looks. If it still looks like it did this morning, I'll see what kind of ribbon it is and let you know.
I thought it was polyester, but no. It is 100% acetate ribbon. It has that scratchy polyester feel with that fake silk shine to it. It's not good for tying pretty bows on your cards, but it's great with this embossing technique!
I did NOT use any kind of fixative or spray starch. I simply sprayed it with water and let it dry inside the folder overnight. I've rubbed the ribbon with my finger and it did not flatten out at all.
I agree Lucy, there is a world of fun to experiment with here.
Thanks Dina, for another fun idea. I can't wait to get started.
Page 1 of 1 pages