Embossed Marble Background
by Shannon Smith
Use embossing powder and spray adhesive for a multicolored background.

Supplies
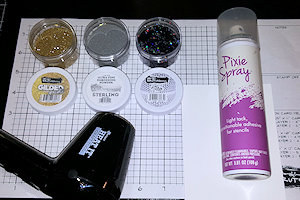
- Heavyweight cardstock (Brutus Monroe Not Your Mama’s cardstock 130lb. used here)
- Adhesive spray (Pixie Spray from Thermoweb used here)
- Embossing powders (Brutus Monroe Gilded Sparkle, Sterling and Mic Drop embossing powders used here)
- Heat tool
- Box or tub to spray in
- Other supplies as needed to complete the project: (used here: Brutus Monroe Raven cardstock, Elegant Essentials Gilded cardstock, Brutus Monroe Christopher’s Sentiments die set, FSJ Fashion Gold and Fashion Silver Embellishments)
Step-by-Step
-
Step 1
For a matted A2 card, cut a cardstock panel to 3 3/4” x 5”.
-
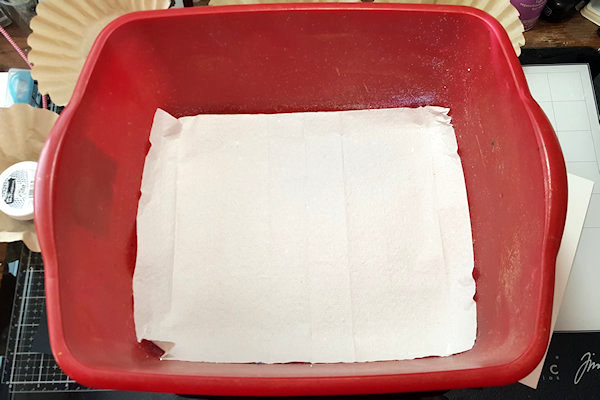
Step 2
Line a box or tub with a paper towel - this will protect your work surface from adhesive overspray.
-
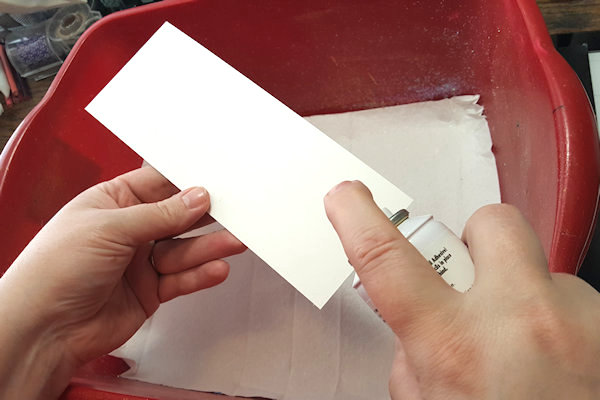
Step 3
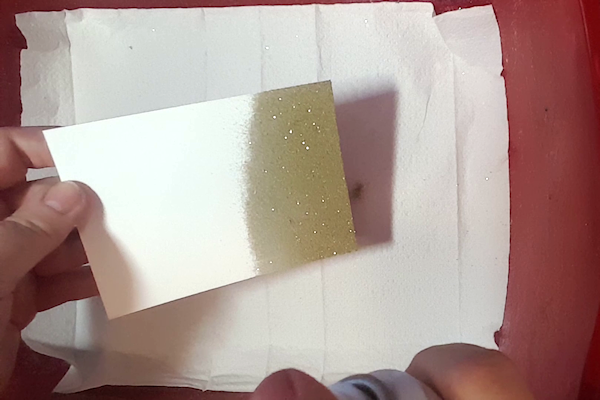
Spray adhesive from the bottom edge of the panel. Spray heavier toward the edge blending to lighter towards the center, about a third of the way up the card.
-
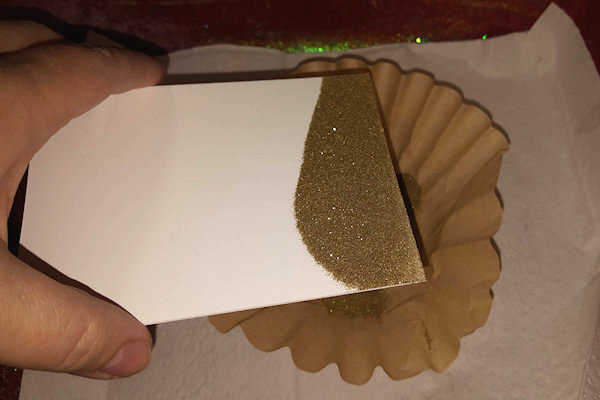
Step 4
Apply your first layer of embossing powder. You will want to apply it heavier along the bottom getting lighter towards the center like you sprayed your adhesive. Tilt the panel back and forth, sifting the excess powder off the edges as you work your card.
DO NOT HEAT YET. You will not heat the powder until all three layers are applied to your panel.
TIP:
Be careful how you hold the panel as you do not want to remove your embossing powder once applied. -
Step 5
Spray adhesive across your card where your last layer ended to about ⅔ of the way up your card.
-
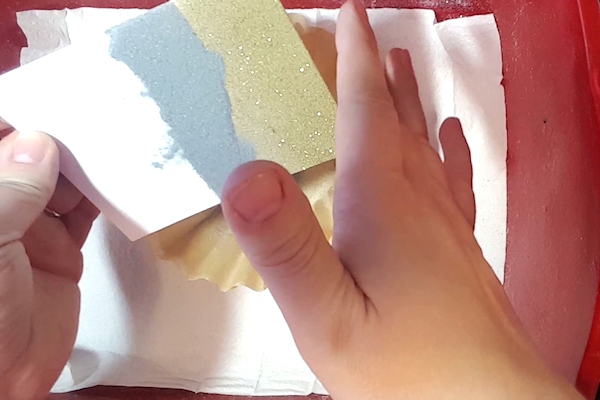
Step 6
Pour embossing powder in a line across your card just above where the last layer ended. Sift it down a little lightly to overlap the edge of your last layer and then sift it up ⅔ of the way up your card leaving the last third for your last color.
-
Step 7
Spray from the clean end of your card inwards, heavier on the end and lighter towards the edge of the last layer of embossing powder.
-
Step 8
Working from the edge inward, apply your last embossing powder. Allow the edges to be uneven again to create a marble effect.
-
Step 9
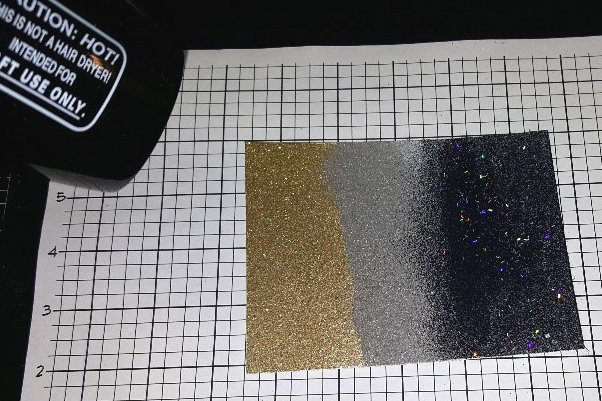
Use a heat tool to melt and emboss the powder.
NOTE:
The heavier (130lb) weight of the cardstock allowed it to be laid flat on a heat-resistant mat for embossing. This method avoids rubbing embossing powder off inadvertently and saves your fingers from the heat. -
Step 10
Assemble and embellish cards as desired.
The sample was matted onto gold cardstock and adhered to a black card base. The same 2 cardstock colors were used with the sentiment die cut, which was adhered with foam tape.


Video!
Your Turn
You've seen the tutorial, now you try it! We've got a section of the gallery set aside for Embossed Marble Background. Try this technique, then upload your artwork to the gallery. Show us your creations!
***Please note - Internet Explorer/Edge is not a supported browser, and will not allow you to see the videos. Please use Chrome, Firefox or Safari to view our tutorial videos.

Questions and Comments
We'd love to get your feedback or questions. Leave your comment below.
Page 1 of 1 pages