Embossed Kisses
by Susan Roberts
Using solid stamps and embossing folders, get a unique and interesting look every time.
Supplies

- Solid Image Stamp (Waltzingmouse "Teeny Trees" used here)
- Embossing Folder (Provocraft "Victoria" used here)
- Neutral cardstock
- Ink
Step-by-Step
-
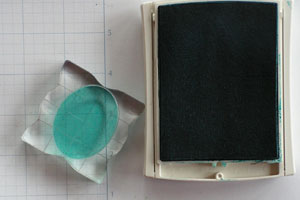
Step 1
Apply ink to the solid image stamp.
-
-
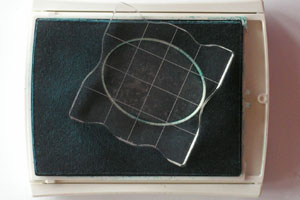
Step 2
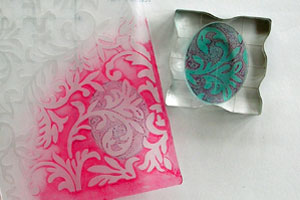
Apply ink to the inside of the embossing folder. You can use either the positive (raised) or negative (grooved) side of the folder. (The negative side of the embossing folder was used here.)
-
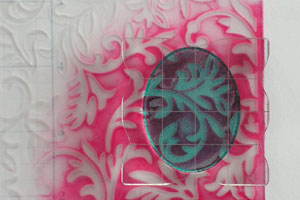
Step 3
Using quite a bit of pressure, press the inked solid image stamp onto the inked embossing folder. Pull it straight up to remove.
-
-
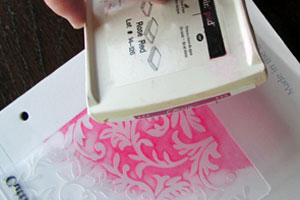
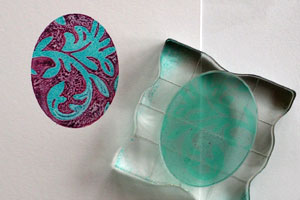
Step 4
Stamp image on cardstock, again using quite a bit of pressure to transfer as much ink as possible onto the paper.
-
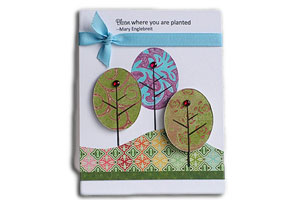
Step 5
Finish your project.
Video!
Variations
Be sure to try both the positive and negative sides of the embossing folders for different looks!
Try inking up the solid stamp only and then pressing it onto a clean embossing folder. This gives another interesting look.
Ink up the solid stamp with more than one color of ink and get yet another unique look.
Your Turn
You've seen the tutorial, now you try it! We've got a section of the gallery set aside for Embossed Kisses. Try this technique, then upload your artwork to the gallery. Show us your creations!
***Please note - Internet Explorer/Edge is not a supported browser, and will not allow you to see the videos. Please use Chrome, Firefox or Safari to view our tutorial videos.

Questions and Comments
We'd love to get your feedback or questions. Leave your comment below.
And should I use any specific type of ink for this project. I also think using acrylic paint on the positive side would be beautiful, along with Versa Mark to quickly glitter or use embossing powders.
Thx.
What do you clean the embossing folder with?
if you are using dye inks, just hold your folder under running water to clean. For pigment inks, I used a baby wipe first, then water.
If you are planning on using solvent ink, you will have to use a cleaner made for those inks.
Dye and pigment inks didn't stain my folder.
Page 1 of 2 pages 1 2 >