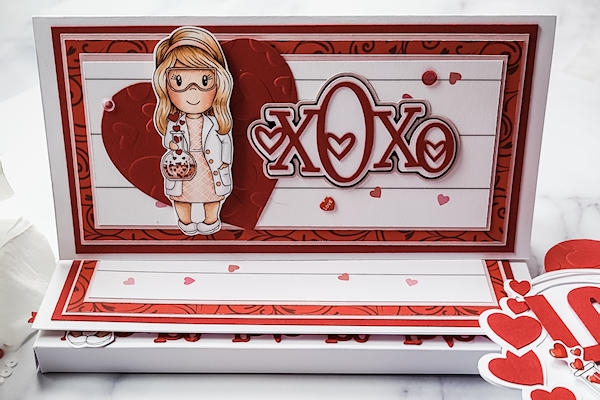
Easel Card Treat Box
by Cristena Bagne
Prop up the decorative top of this treat holder.
Supplies
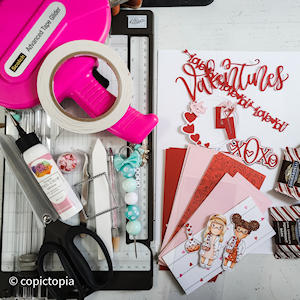
- Cardstock (Stampin’ Up!® Real Red and Whisper White Cardstock used here)
- Patterned papers (Echo Park Cupid & Co. Pattern Paper used here)
- Adhesives (Tear Tape, liquid glue and Mono adhesive used here)
- Scissors
- Scoring tool
- Square die cut (or other window shape)
- Bone folder
- Acetate
- Other supplies as needed to complete the project (used here: Tweezers, Sequins, Poky tool, Paper Nest Dolls Digital Stamps: Love Potion Set, Silhouette 9 Nested Hearts by Alaa’k, Silhouette Hearts Wreath Circle by Alaa’k, Silhouette Happy Valentines Day by Lilliam Pixel SVG, Silhouette Valentine Word Borders by Kolette Hall, Silhouette Love by Graphic House Design, Silhouette Love #9 Potion Bottle Label by Hearthsewn, Silhouette XOXO Heart by Miss Kate Cuttables)
Step-by-Step
-
Step 1
Prepare card pieces:
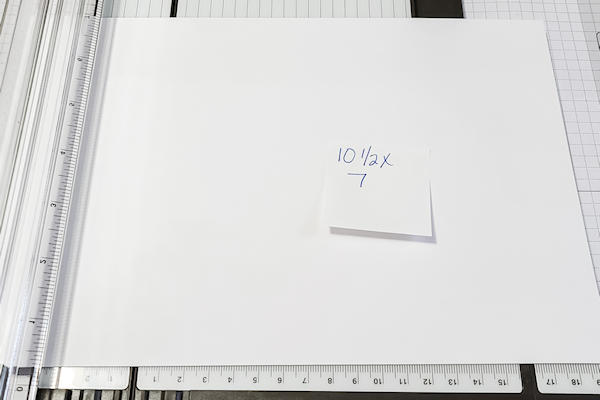
Cardstock for base:
(1) 8” x 11”
(1) 10 1/2" x 7”, (1) 11 x 1 1/2
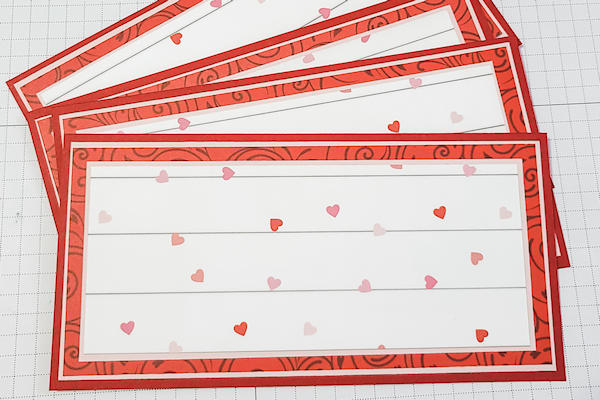
Layering panels (cardstock and/or patterned paper – cut four each):
6 1/2” x 3 1/4" (base)
6 1/4" x 3“
6 1/8” x 2 7/8”
5 3/4" x 2 1/2"
5 5/8” x 2 3/8 “
Acetate:
(1) 6 7/8 x 2 7/8
After you have cut all your cardstock for the project, put together your layers using mono adhesive. -
Step 2
Score the 10 1/2" x 7”cardstock sheet at 3 1/2" and 7” on the 10 1/2” side.
-
Score the 8” x 11” cardstock sheet at 3 1/2", 4”, 7 1/2", and 8” on the 11” side, then 1/2" from each end on the 8 1/2” side.
-
Step 3
Burnish all score lines on both sheets.
NOTE:
When doing this on your 10 1/2" x 7” cardstock you will find that one end is smaller than the other. The smaller end will fold to the inside; be sure this lays flat for you. This will help the card lay flat with all the layers and help the easel part of the card to stand on its own. -
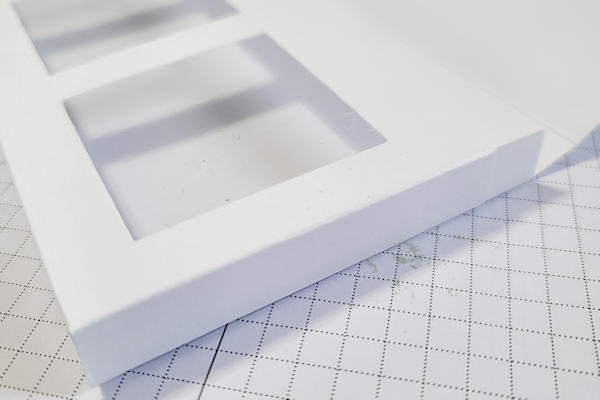
Step 4
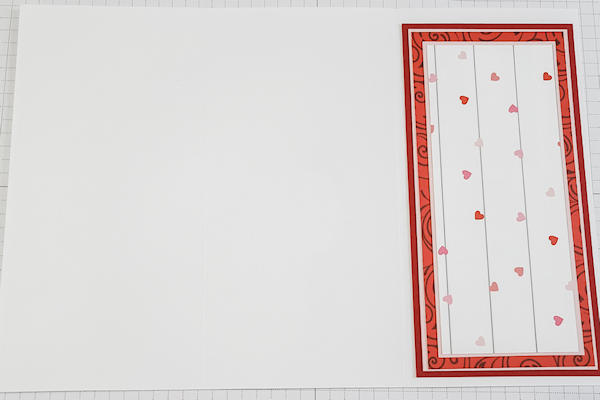
Place three of your layer panels onto your card (10 1/2” x 7” sheet).
Photo 1 with the two layer panels attached, shows the shorter side (from step 4) on the left side of the photo. 1 layer panel attached to the left, and one in the middle. -
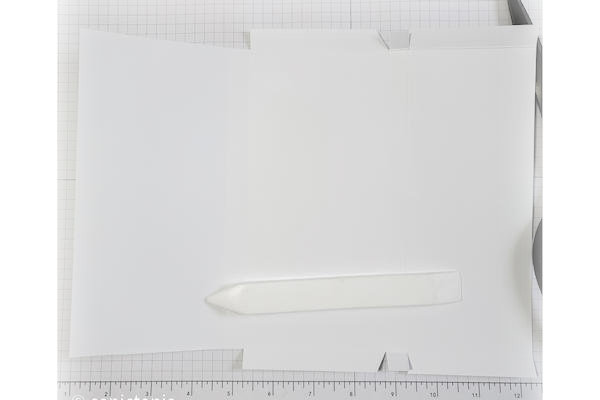
Flip the cardstock over and place a third panel on the end as shown in the second photo.
-
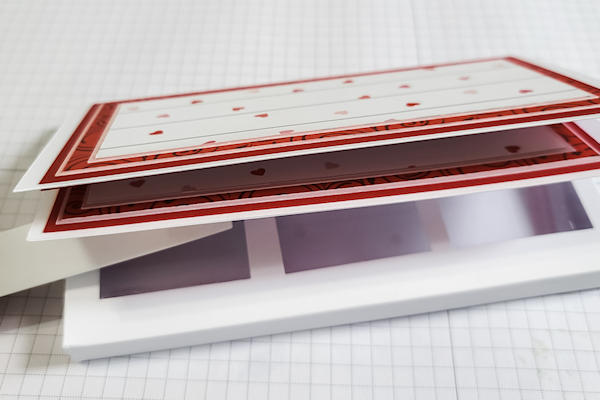
Step 5
Be sure to check your panels that they are positioned correctly, or the easel will not work. They should fold together as shown in the photo below. The top panel is the short side folded in.
If everything looks correct, set aside. -
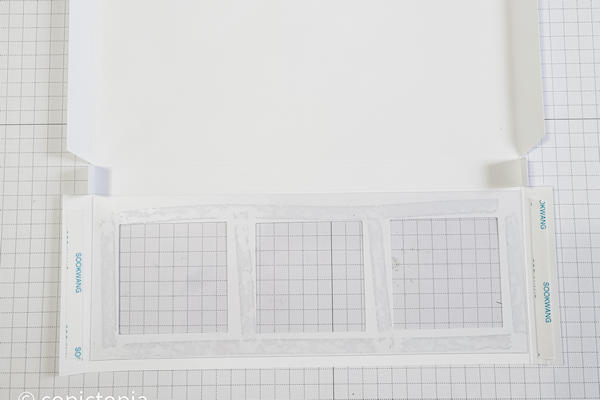
Step 6
The 8” x 11” sheet will also have a slightly shorter side when folded in. This is so you can easily get candy in and out of the pocket. Die cut 3 squares (or whatever shape you would like) from your shorter panel as shown in the photo.
TIP:
Center and cut the middle square (or other shape) first, then the other two will come easy. -
Step 7
Cut your sheet on the opposite side of the die cut squares as follows in the photo. You will cut only up to the score line. Do this on both sides.
Cut the other tab on each side up to the score line as shown in photo.
On the middle section mortise just one side. -
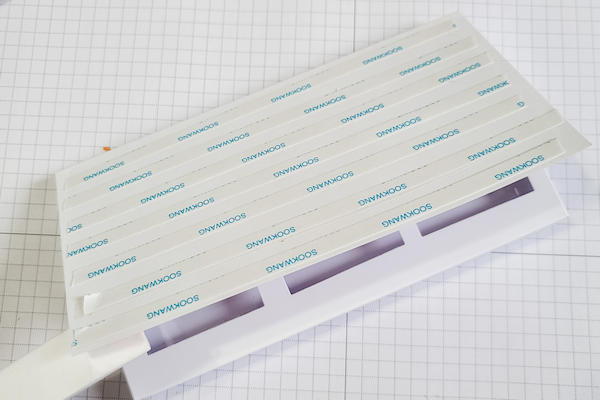
Step 8
Adhere your 6 7/8” x 2 7/8” acetate to the inside of the short panel with the squares cut out, making windows.
Place tear tape on the two tabs next to the acetate. -
Step 9
Remove protective tear tape paper. While folding the small tabs in, gently fold the box closed with the tear tape tabs on the outside of the box.
-
Step 10
Adhere the fourth layer panel to the inside of the box lid with mono adhesive.
-
Step 11
Close the flap and place tear tape across the outside of the lid as shown in the photo.
-
Remove the protective tear tape from the lid and place the bottom of the easel card to the lid of the box.
TIP:
If you need some wiggle room, use liquid glue or a glue stick over the top of the tear tape to prevent immediate stick. -
Step 12
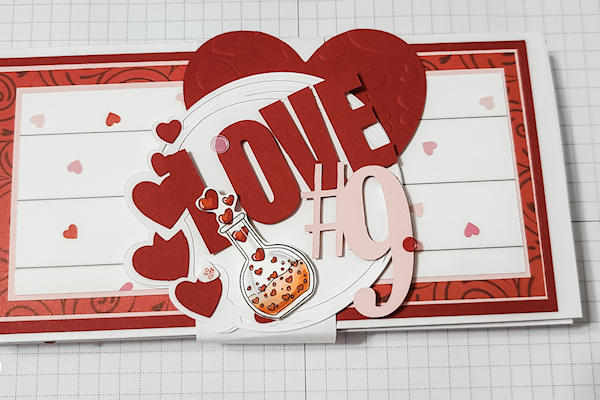
Decorate the easel card.
NOTE:
Decorating first helps you to be sure your belly band will fit without squishing anything. -
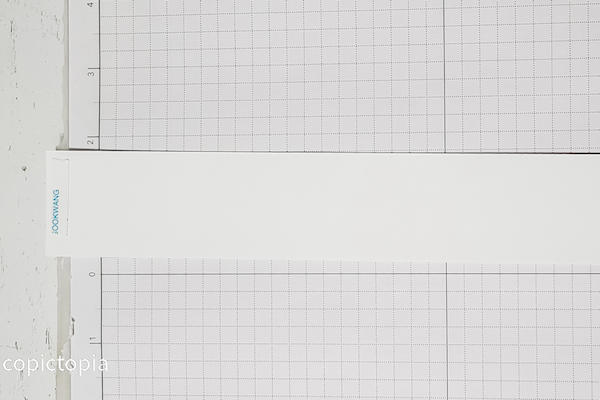
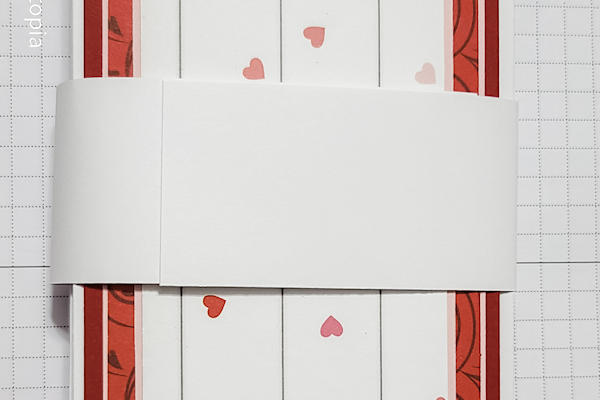
Step 13
Create the belly band. Place a bit of tear tape at one end of your 11” x 1 1/2” belly band; flip it over and put a bit of tear tape on the opposite end from where you placed the first.
-
Place box on top of the belly band in the center. Remove the tear tape protective papers from each side.
-
Step 14
Fold the belly band together securing it with the tear tape.
-
Using mono adhesive place your decoration for the top of the box, on the belly band strip to complete the project.


Video!
Your Turn
You've seen the tutorial, now you try it! We've got a section of the gallery set aside for Easel Card Treat Box. Try this technique, then upload your artwork to the gallery. Show us your creations!
***Please note - Internet Explorer/Edge is not a supported browser, and will not allow you to see the videos. Please use Chrome, Firefox or Safari to view our tutorial videos.

Questions and Comments
We'd love to get your feedback or questions. Leave your comment below.
The finished card is adorable and I can't wait to have a go at making it.
Thanks so much.
Margaret.
I would love to make these as birthday cards this year.
Thank you for the inspiration!
What size square dies did you use and how do you get it through the Big Shot without folding it over, I tried and then got imprints on the other sides of the box too.
To answer your questions, the squares are 2 inches or about they don't need to be perfect.
Getting it through a big shot I am not exactly sure, I don't have one. I have a Crossover II. I am very sorry that I didn't think about the big shot. Perhaps putting the die down with washi tape then folding the cardstock over the top of the die? It would only leave an impression on the bottom of the box, and you could cover that in paper if you didn't want it to show. I hope that is some what helpful.
Page 1 of 1 pages