Duoprinting with Chlorophyll
by Lydia Fiedler
In a fun, two-for-one process, create beautiful botanical cards from the plants in your yard.
Supplies
- Plants from your yard
- Die cutting machine (Big Shot Express used here)
- Paper towels
- Printer paper
- Cardstock or watercolor paper (Stampin' Up! Whisper White and Fabriano cold press watercolor paper used here)
Step-by-Step
-
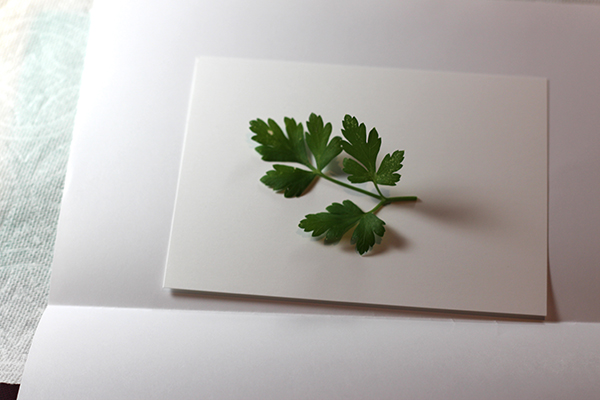
Step 1
Gather some leaves and plants from your yard, and label them if desired. In general, herbs and flowers can contain a lot of juice, and waxy plants don't have enough. Look for plants somewhere in between - experiment.
-
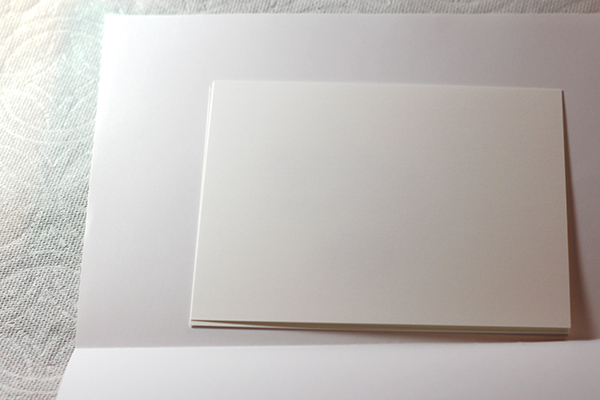
Step 2
Fold the copy paper in half. Build the following sandwich: cutting plate, paper towel, folded copy paper (open), piece of cardstock, plant.
-
Step 3
Place a second piece of cardstock on top of the plant. Close the folded copy paper, and place second cutting plate on top. Run through die cutting machine on the normal setting you use for thin steel dies.
-
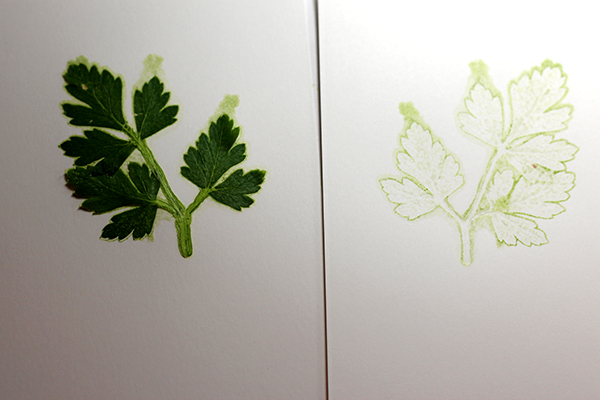
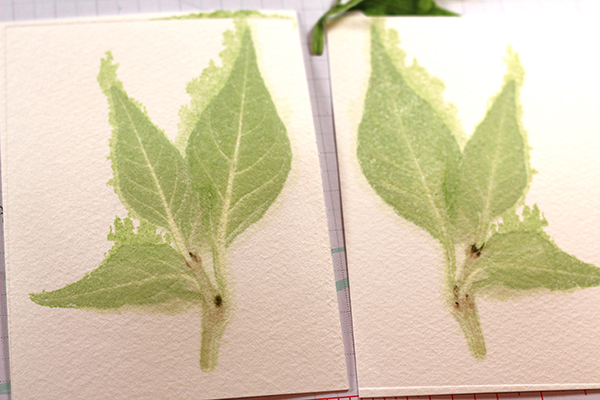
Step 4
When you open the sandwich, you will see that you've gotten two prints - a positive and a negative. Carefully remove the plant and allow to dry completely.
-
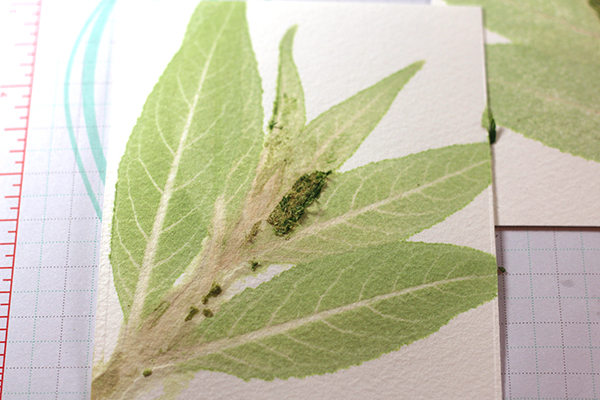
Step 5
If you remove the plant and there's some plant matter stuck to the cardstock, wait until the paper is completely dry, and then gently remove it with an adhesive eraser or by gently rubbing with your fingers.
-
Step 6
Try watercolor paper for more detailed prints.
-
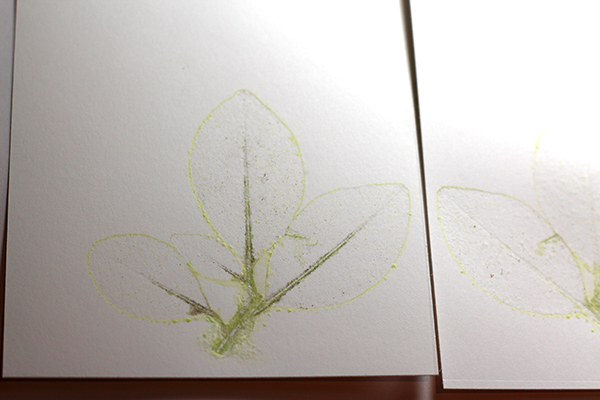
Step 7
Here's an example of how waxier plants give a much lighter impression.
-
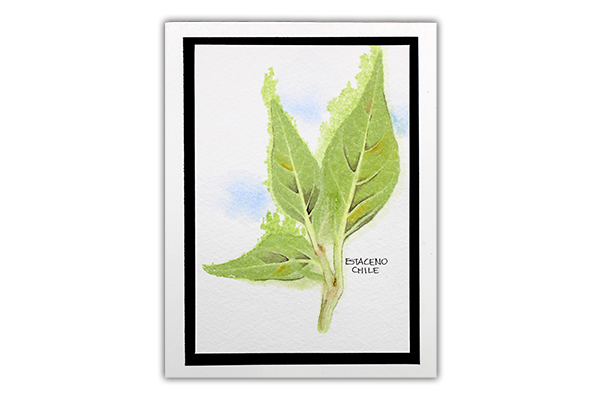
Step 8
Finish your card. On this finished sample, I added a small amount of watercolor shading.

Video!
Your Turn
You've seen the tutorial, now you try it! We've got a section of the gallery set aside for Duoprinting with Chlorophyll. Try this technique, then upload your artwork to the gallery. Show us your creations!
***Please note - Internet Explorer/Edge is not a supported browser, and will not allow you to see the videos. Please use Chrome, Firefox or Safari to view our tutorial videos.

Questions and Comments
We'd love to get your feedback or questions. Leave your comment below.
Enjoy!!
Page 1 of 2 pages 1 2 >