Dry Embossing
by Beate Johns
Use a light source and a template to add texture and elegance to your paper.
Supplies
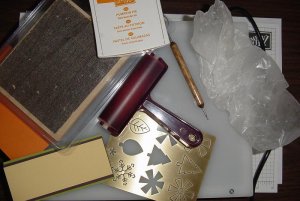
- Light table (or window)
- Brass template
- Stylus tool
- Wax paper
- Cardstock
Step-by-Step
-
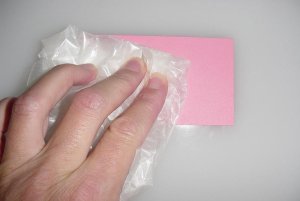
Step 1
Start by rubbing wax paper over your cardstock. This step makes the stylus tool glide easier over the paper.
-
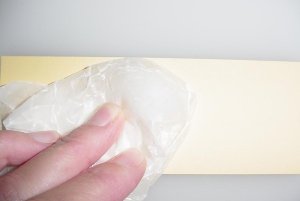
Step 1
Start by rubbing wax paper over your cardstock. This step makes the stylus tool glide easier over the paper.
-
Step 2
Turn your light table on and place the brass template on the surface of the table. Lay your cardstock over the template.
If you don't have a light table, tape your template to a window and hold your cardstock over the template.
-
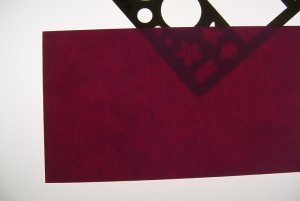
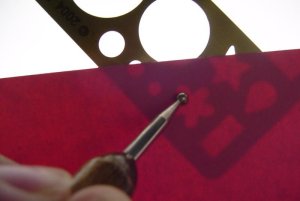
Step 3
Trace the open areas of your brass template with your stylus tool.
Hint: When using a color of cardstock that is too dark for the light to shine through, rub your stylus over the surface of the cardstock until you begin to see the template show through, then start tracing.
-
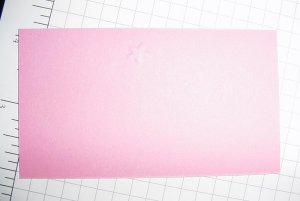
Tracing the brass template creates a raised image on the opposite side of the cardstock.
-
Step 3
Add more images as desired.
-
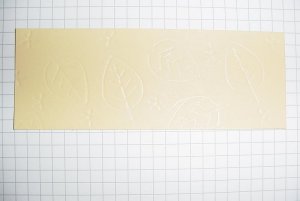
Step 4
Repeat as desired to complete your design.

-
Step 5
Finish your card.

Your Turn
You've seen the tutorial, now you try it! We've got a section of the gallery set aside for Dry Embossing. Try this technique, then upload your artwork to the gallery. Show us your creations!
***Please note - Internet Explorer/Edge is not a supported browser, and will not allow you to see the videos. Please use Chrome, Firefox or Safari to view our tutorial videos.
Questions and Comments
We'd love to get your feedback or questions. Leave your comment below.