Double Water Stenciling
by Dina Kowal
Learn two different ways to use water with a stencil.
Supplies
- Cardstock, watercolor paper or shipping tags (Office Depot® Brand Shipping Tags, Size #5 used here)
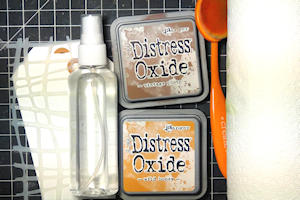
- Water-reactive inks (Ranger Distress Inks used here, dye, Distress, and some chalk inks will also work)
- Blending tools (Taylored Expressions blender brushes used here)
- Stencils (A Colorful Life Designs M21112 Net stencil used here)
- Water mister
- Paper towel roll
- Other supplies as needed to complete the project (used here: Versafine Clair Nocturne ink, heat tool, Impression Obsession 13597 Thank You and G9395 French Handwriting stamps)
Step-by-Step
-
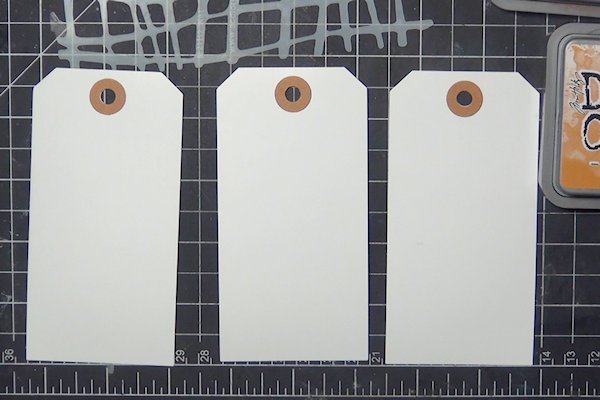
Step 1
Prepare 2-3 tags or panels to work with that are compatible with dye ink and water (cardstock, watercolor paper, Bristol, shipping tags, poster board, manila, etc. can also work). Shipping tags were used for the sample - they have a slightly coated surface.
-
Step 2
Blend water-reactive ink over the panels.
NOTE:
The panels do not need to be identical, but this is a great method for mass-production. You could even do many more than 2-3 at a time. -
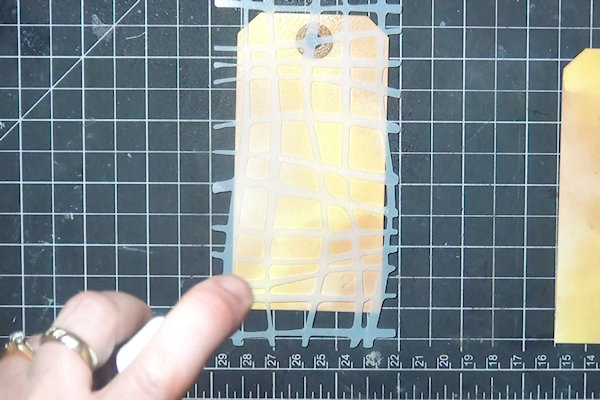
Step 3
Lay a stencil over the first panel.
-
Mist the panel with water. The water will remain on the stencil, and also react with the ink on the panel.
NOTE:
You can experiment with amounts of water to find your sweet spot - extra water will prep the stencil well for the next panel, but can seep under the stencil for a more distressed and less precise design. -
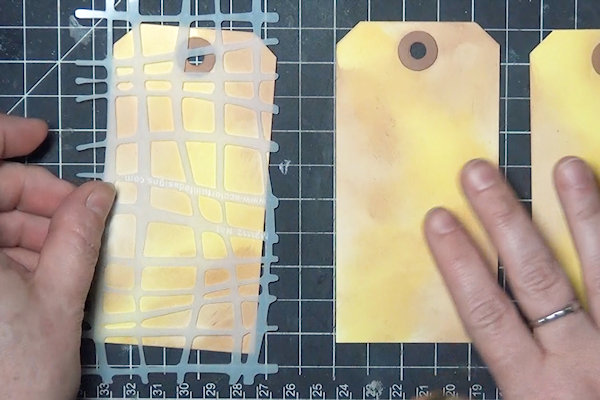
Step 4
Carefully lift the stencil away. Lay it with the wet side down onto the second inked panel.
-
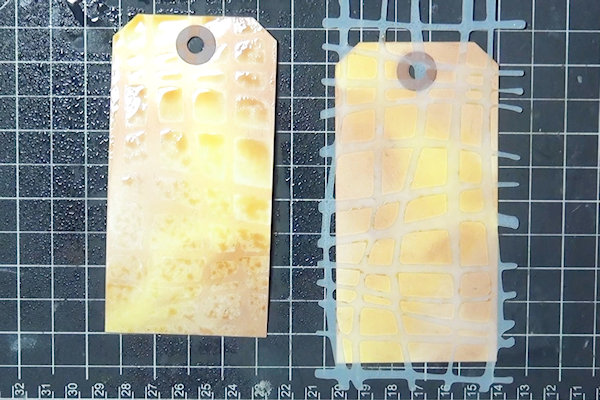
Step 5
Blot the water from the first tag, taking care not to wipe it out of place. Rolling a paper towel roll over the panel works well to pick up the water without disturbing the pattern created by the stencil.
-
The water reacts with the ink and will lift when wet.
NOTE:
Because of the coated surface of the tag, the effect is very striking. Other papers may have different results. -
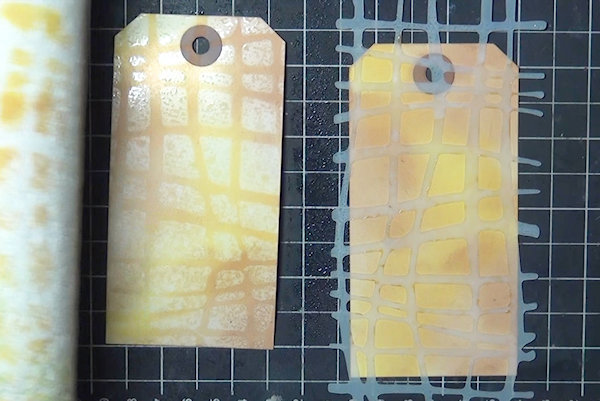
Step 6
Carefully lift the stencil away from the second panel. The water from the stencil will have created a pattern.
-
If there is still some water or ink remaining on the stencil, it can be applied it to a third inked or blank panel.
-
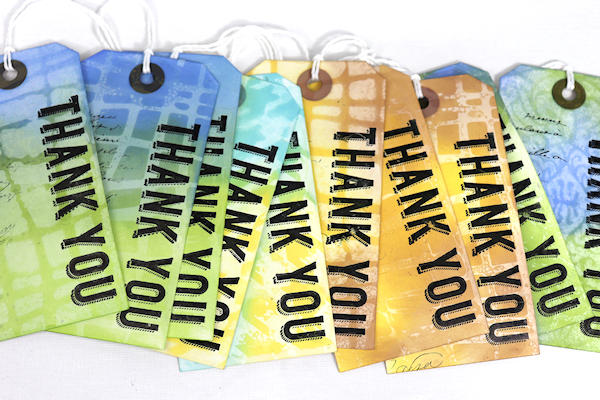
Step 7
Stamp and/or embellish the tags to complete the project.


Video!
Variations
-
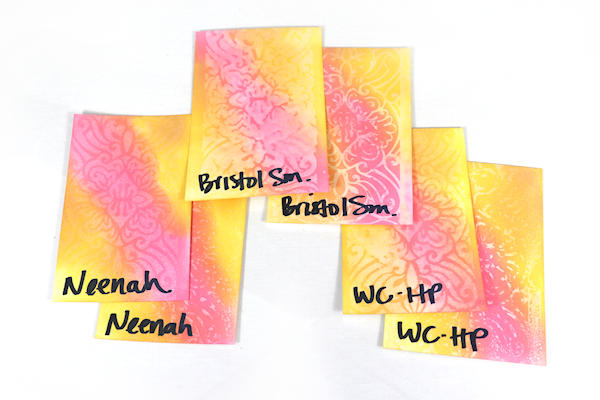
Experiment with other papers and inks and varied amounts of water for different results.
Distress Oxide inks used here with:
Neenah 110# Classic Crest Solar White Cover
Canson XL 100# Bristol Smooth
Fabriano Studio 140# Hot Press Watercolor Paper
Your Turn
You've seen the tutorial, now you try it! We've got a section of the gallery set aside for Double Water Stenciling. Try this technique, then upload your artwork to the gallery. Show us your creations!
***Please note - Internet Explorer/Edge is not a supported browser, and will not allow you to see the videos. Please use Chrome, Firefox or Safari to view our tutorial videos.

Questions and Comments
We'd love to get your feedback or questions. Leave your comment below.
Page 1 of 1 pages