Double Panel Gate Card
by Mary Deatherage
Step up a traditional gate fold card with additional front panels.

Supplies
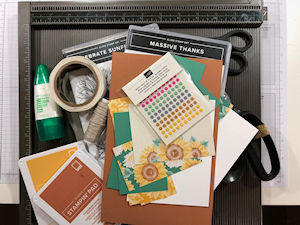
- Cardstock for base and mats (Stampin' Up!® Cinnamon Cider and Just Jade cardstock used here)
- Patterned paper (SU Flowers for Every Season DSP used here)
- Score tool
- Bone folder
- Adhesive (liquid glue and glue dots used here)
- Other supplies as needed to complete the project (SU supplies used here: Linen Thread – about 40” for the double loop bow, Scissors, Bumble Bee and Cinnamon Cider ink, Enamel Dots, Massive Thanks and Celebrate Sunflowers stamp sets)
Step-by-Step
-
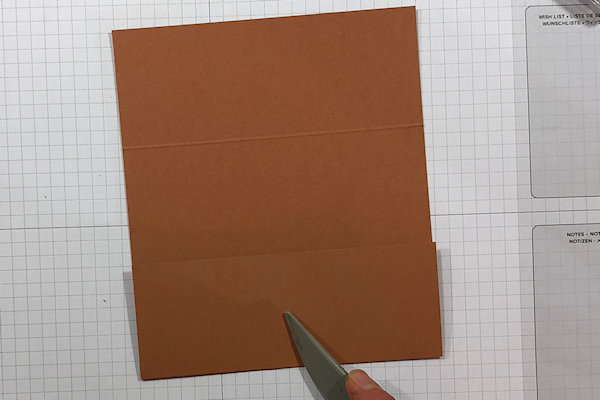
Step 1
Use the score tool to score the 5 1/2” x 8 1/2” piece of cardstock at 2 1/8” and 6 3/8” on the long side.
-
Step 2
Fold the shorter panels in – ensuring they are straight. Burnish with the bone folder.
-
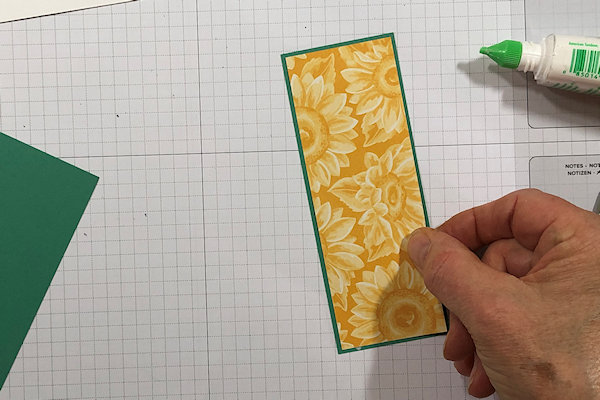
Step 3
Use liquid glue to adhere each of the 1 7/8” x 5 1/4” pieces of patterned paper to each of the 2” x 5 3/8” pieces of cardstock.
-
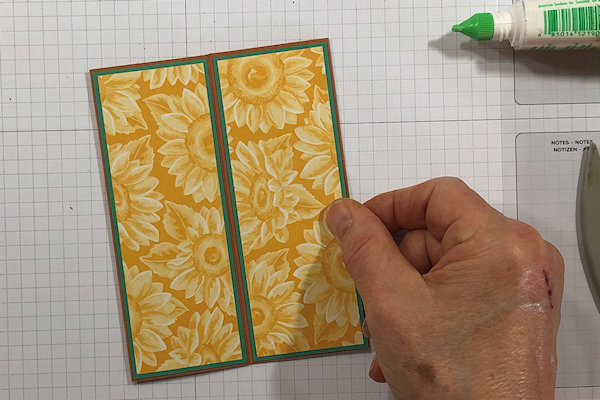
Adhere the matted gate panels to the smaller panels of the card.
-
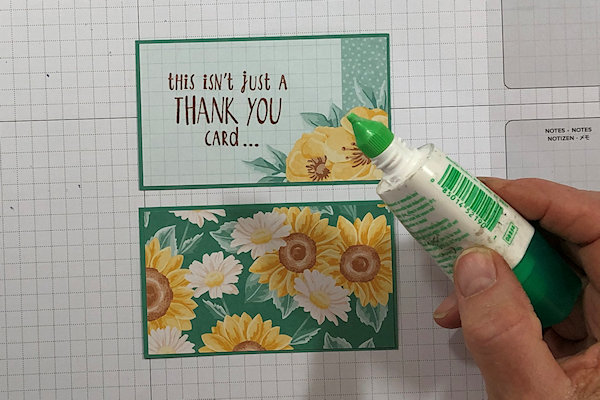
Step 4
Decorate two front panels, measuring 2 1/4” x 3 7/8”. Layer them onto cardstock panels measuring 2 3/8” x 4”.
-
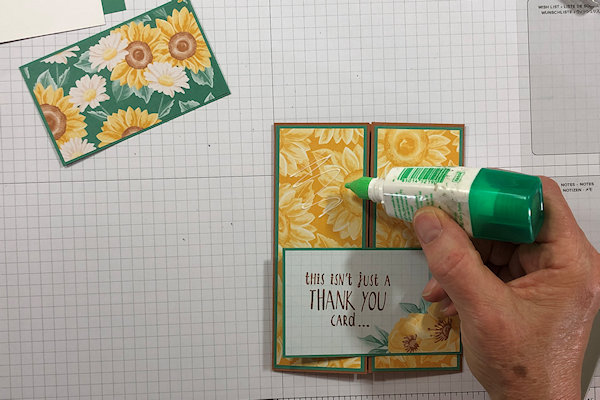
Step 5
Adhere the two matted panels to the gate panels of the card base. Adhere the top panel (patterned paper here) using liquid glue only on the top of the left-hand gate. The right-hand side remains un-adhered.
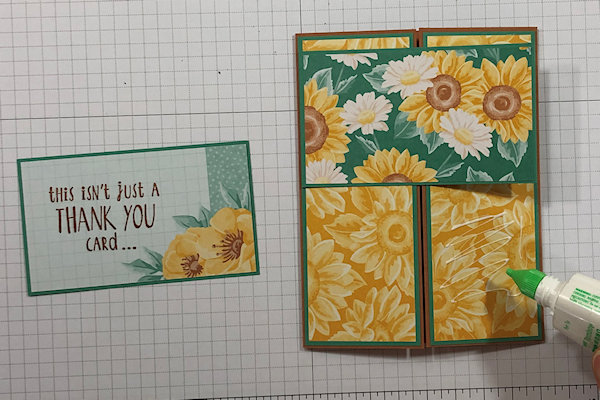
-
Adhere the bottom (sentiment) panel using Liquid Glue only on the bottom of the right-hand gate. The left-hand side remains un-adhered.
-
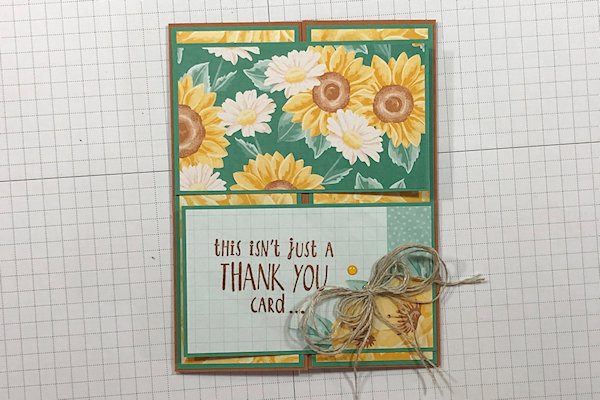
Step 6
Embellish the card front as desired.
-
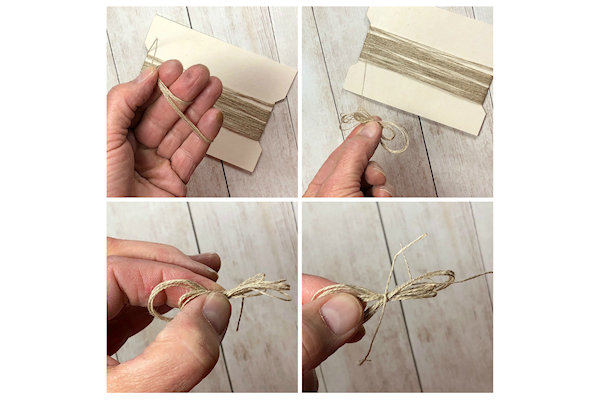
To re-create the sample embellishments, tie a Double Loop Bow using the Linen Thread.
Wrap the Linen Thread around four fingers four times. Without cutting the thread, wrap around two fingers four times. Pull the loops off and squeeze the loops together. Twist the loops one time around to create a “figure 8”. Tie a second short length of Thread around the loops in the middle. Spread the loops out to create a bow. -
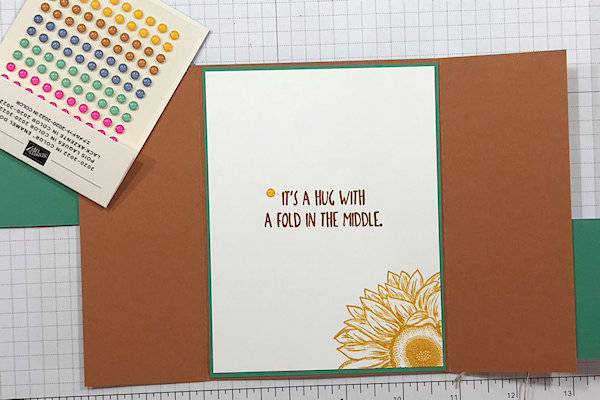
Step 7
Decorate the inside of the card as desired.
The layering panels here measure 4” x 5 1/4" and 4 1/8” x 5 3/8”. -
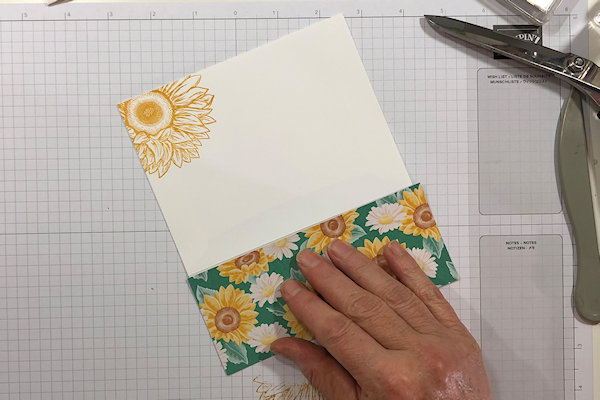
Step 8
To create a matching envelope, stamp a coordinating image on the front.
Use Multipurpose Liquid Glue to run a thin line around the edges of the envelope flap. Lay the 2 1/2” x 6” piece of patterned paper over the flap and rub it lightly to ensure it’s stuck down. Use scissors to cut off the excess paper. -
Step 9
Complete the project.

Video!
Your Turn
You've seen the tutorial, now you try it! We've got a section of the gallery set aside for Double Panel Gate Card. Try this technique, then upload your artwork to the gallery. Show us your creations!
***Please note - Internet Explorer/Edge is not a supported browser, and will not allow you to see the videos. Please use Chrome, Firefox or Safari to view our tutorial videos.

Questions and Comments
We'd love to get your feedback or questions. Leave your comment below.
Page 1 of 1 pages