Double Embossed Enamel
by Cindy Elam
Create a unique background by dry and heat embossing with embossing folders
Supplies
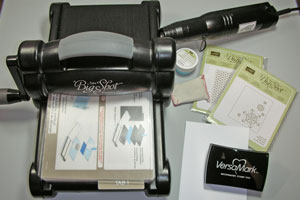
- White cardstock
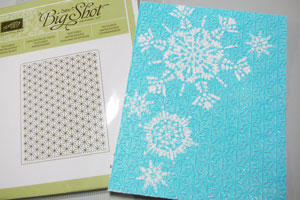
- Big Shot or other die cutting machine
- Two embossing folders, one should be a simple design
- Embossing Buddy
- Embossing ink
- Heat tool
- Colored embossing powder
Step-by-Step
-
Step 1
Tap embossing ink all over the side of the folder with the recessed image, inking it thoroughly.
Hint:
Try not to press too hard (you don’t want ink in the recesses).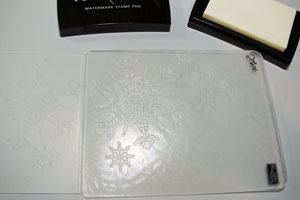
-
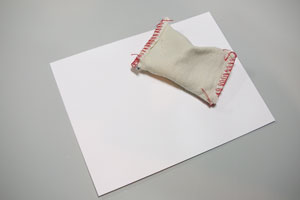
Step 2
Rub Embossing Buddy over your white cardstock, and carefully place into embossing folder with “buddied” side facing inked side of folder. Emboss with Big Shot.
-
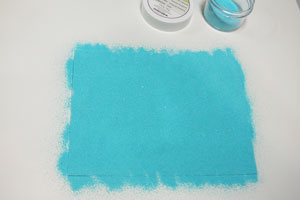
Step 3
Cover inked, embossed cardstock with embossing powder.
-
Tap off excess powder.
Hint:
A tiny paint brush works for removing Embossing Powder from areas you don’t want embossed.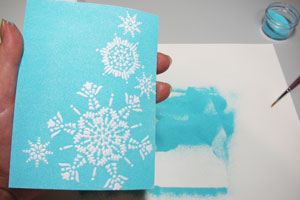
-
Step 4
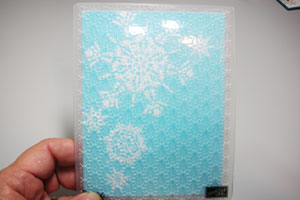
Heat until shiny with Heat Tool.

-
Step 5
Place embossed image into second folder and emboss again in Big Shot.
-
Your double embossed enamel background is done.
-
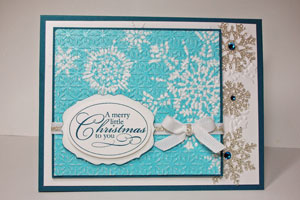
Step 6
Finish your card.
Video!
Your Turn
You've seen the tutorial, now you try it! We've got a section of the gallery set aside for Double Embossed Enamel. Try this technique, then upload your artwork to the gallery. Show us your creations!
***Please note - Internet Explorer/Edge is not a supported browser, and will not allow you to see the videos. Please use Chrome, Firefox or Safari to view our tutorial videos.

Questions and Comments
We'd love to get your feedback or questions. Leave your comment below.
squares of DP and then use EP as the grout make
beautiful paper and I have also done it with a
stamped card. I have done the actual mosaic with
tile
Helga
great technique! It's simple, yet beautiful.
Thank you,
Robin
Re: How much embossing powder - it does SEEM like a lot, but you'll notice I had the embossed cardstock on a piece of scrap paper. When I was finished, I folded the paper and poured it back into the jar. It really uses surprisingly little.
Page 1 of 3 pages 1 2 3 >