Dimensional Flowers
by Beate Johns
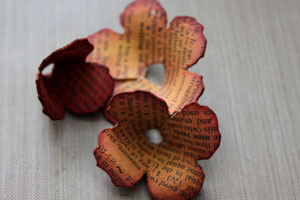
Create dimensional flowers out of three six petal die cut flowers.
Supplies
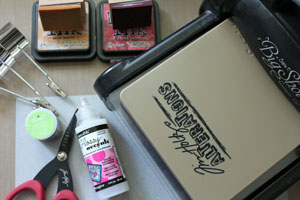
- Six Petal Flower die cut or punch, (Tattered Floral Alteration die used here)
- Grunge paper or cardstock
- Alligator clips
- Adhesive
- Dictionary pages or text stamps
- Ink
- Wire
- Scissors
Step-by-Step
-
Step 1
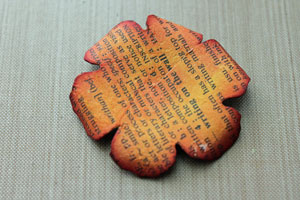
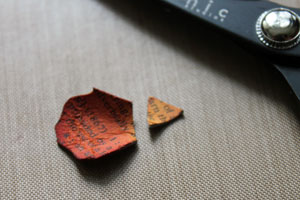
Cut three six petal flowers out of grunge paper with either a punch or a die.
Hint:
Dictionary pages were adhered to the Grunge Paper for this sample before the flowers were cut.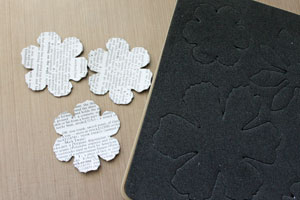
-
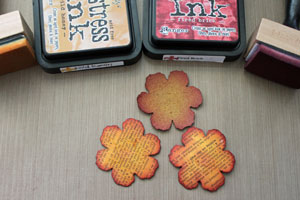
Step 2
Sponge ink on the front and back of the flowers.
-
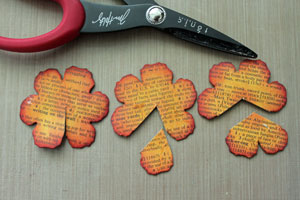
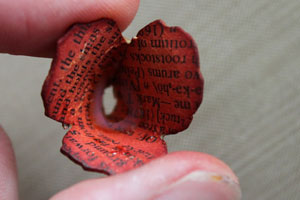
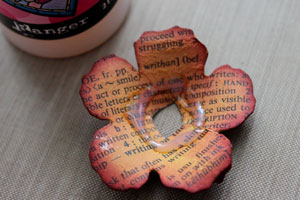
Step 3
Cut one of the flowers between two petals to the flower's center. Cut one petal off the second flower and two petals off the third flower.
-
Step 4
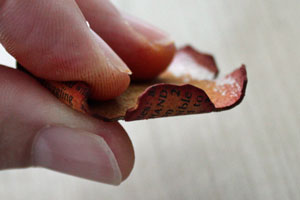
Take a petal between your fingers and roll it back and forth. It will shape the petal.
-
Shape each flower petal.
-
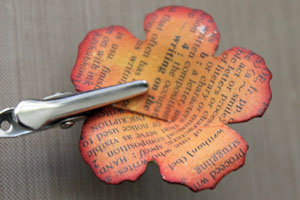
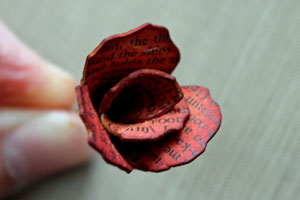
Step 5
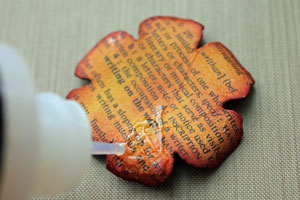
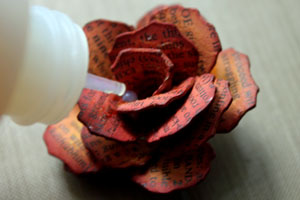
Take the first six petal flower and apply adhesive on the petal to the right side of the cut.
-
Step 6
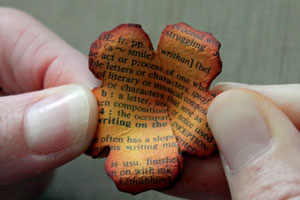
Slide the petal to the left of the cut over the petal with the adhesive and press down.
-
Hold the petals together with an alligator clip or paper clip while the adhesive dries.
-
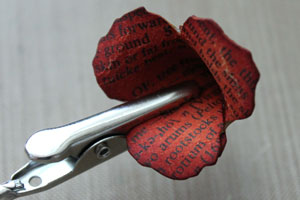
Step 7
Repeat stes 5 and 6 for the five petaled

-
and four petaled flowers.
-
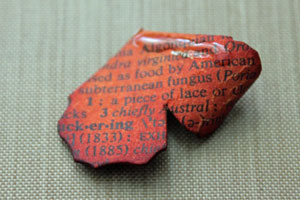
Step 8
Roll the right petal of the two petal piece you cut down away from the printed side and apply adhesive on the right edge.
-
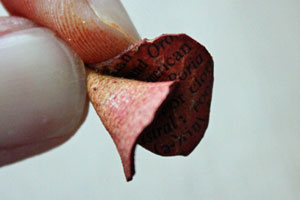
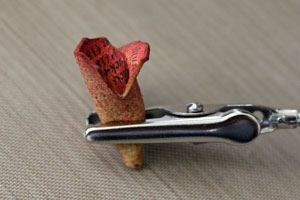
Step 9
Start from the left side and roll the piece like an ice cream cone.
-
Clamp together with an alligator clip and set aside to dry.
-
Step 10
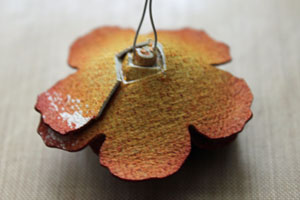
Pierce a hole through the base of the two petal flower cone.
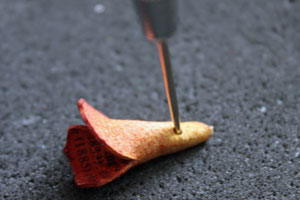
-
Thread a piece of wire through the hole and center it. Even out the wire ends and fold them together.
Hint:
This wire will help you attach the flower to your project.
-
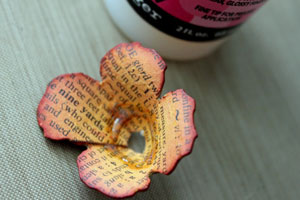
Step 11
Cut a hole in the bottom of the three petal cone.
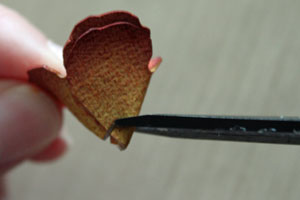
-
Repeat with the four and five petal flower sections.
-
Step 12
Apply adhesive to the inside of the three petal flower section at the bottom.
-
Slide the two petal piece inside it and adhere. The end of the smaller piece will stick out through the hole.
-
Step 13
Apply adhesive to the bottom of the four petal cone.
-
Thread the three petal cone through it.
-
Step 14
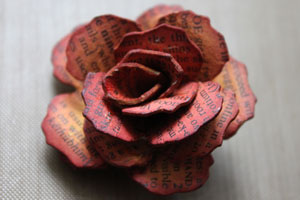
Apply adhesive in the center of the five petal flower.
-
Adhere the smaller flower to it.
-
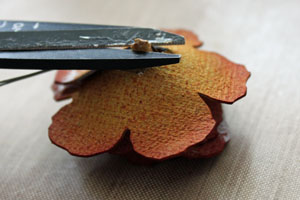
Step 15
Turn the flower over and move the wire ends to one side. Cut the end off of the smallest cone.
-
This will help the flower sit flat on your project.
-
Step 16
Roll the end of the remaining single petal and cut off the tip.
-
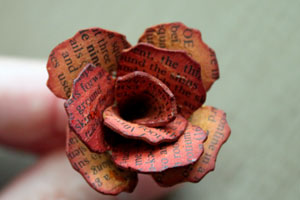
Step 17
Apply adhesive in the center of the flower.
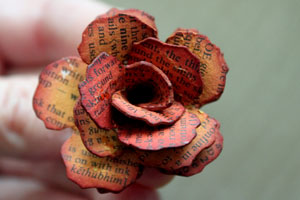
-
Roll the last petal and slide it into the center of the flower, and your flower is finished
-
Step 18
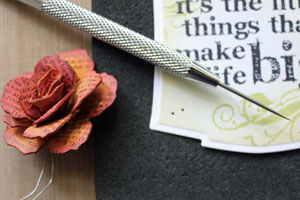
Pierce two small holes where you want to attach the flower to your project.
-
Step 19
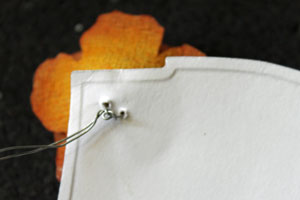
Thread the wire ends through the holes.
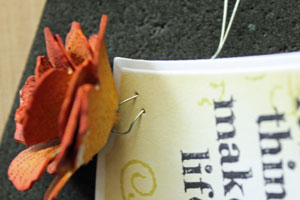
-
Turn your cardstock over and tie or twist your wire to secure the flower.
-
Step 20
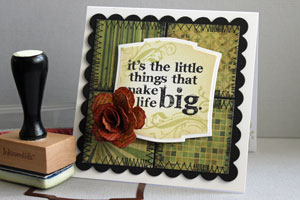
Finish your project.
Video!
Variations
-
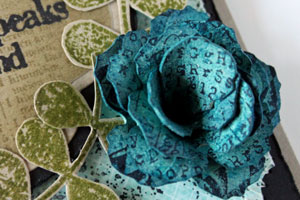
Stamp the Petals
Stamp directly on the paper flowers instead of adding dictionary pages.
Add more texture
Emboss the paper with embossing folders before cutting out the flowers for added texture.
-
Alternative Base
Use patterned paper or colored cardstock to make the flowers.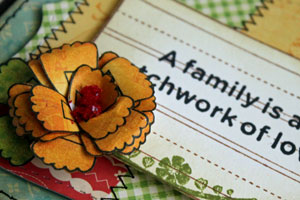
Your Turn
You've seen the tutorial, now you try it! We've got a section of the gallery set aside for Dimensional Flowers. Try this technique, then upload your artwork to the gallery. Show us your creations!
***Please note - Internet Explorer/Edge is not a supported browser, and will not allow you to see the videos. Please use Chrome, Firefox or Safari to view our tutorial videos.
Questions and Comments
We'd love to get your feedback or questions. Leave your comment below.
~2
Page 1 of 3 pages 1 2 3 >