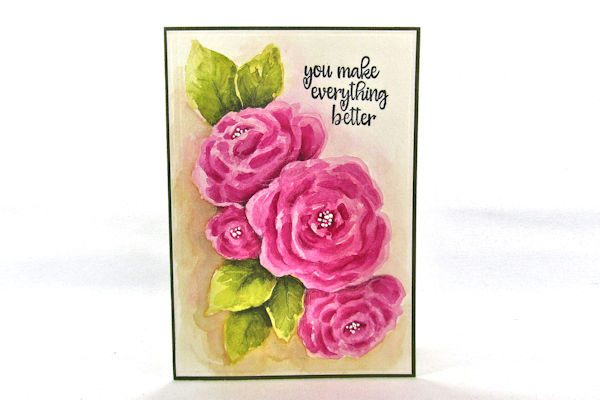
Die Debossed Watercolor
by Dina Kowal
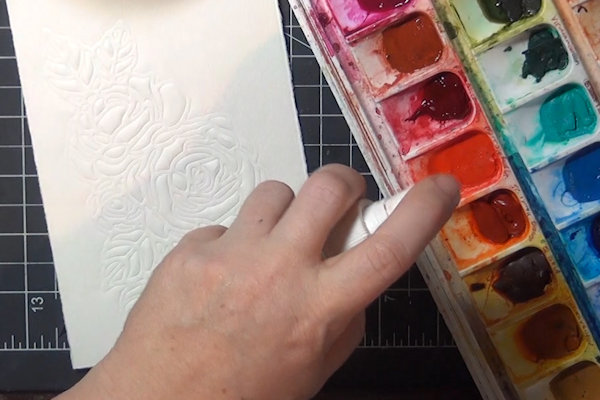
Impress a die into watercolor paper then use the outlines to guide your watercolor painting.
Supplies
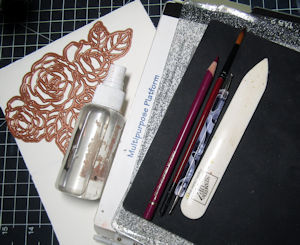
- Watercolor paper (Fabriano Medioevalis stationery used here)
- Wafer die (Spellbinders Blooming Roses - Large Die Of The Month Club June 2018 used here)
- Die cutting machine
- Multi-purpose (adjustable) platform
- Embossing pad and cutting plates
- Bone folder
- Watercolor medium (QoR Modern Watercolors used here)
- Clean water and paintbrush
- Water mister
- Heat tool
- White gesso
- Ball stylus
- Colored pencils and sharpener
- Other supplies as needed to complete the project (used here: Gina K. Designs Wreath Builder Stamp Set, cardstock, adhesive, Polychromos colored pencils)
Step-by-Step
-
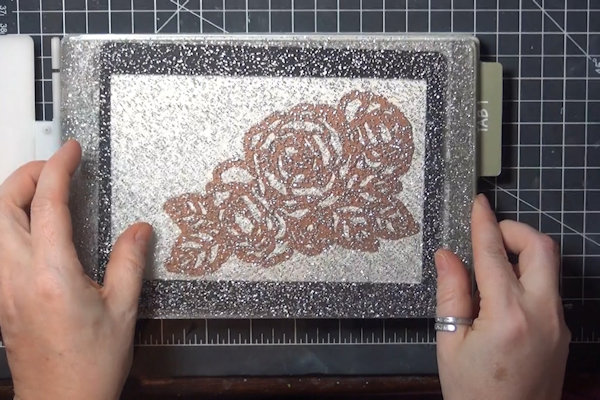
Step 1
Prepare the die cutting machine for embossing. For the Big Shot, open the multi-purpose platform to Tab 1.
Lay down as follows from bottom to top:
Multi-purpose platform
Cutting plate
Silicone embossing pad
Watercolor paper
Die, cutting surface down
Cutting plate
Run the sandwich through the machine, following manufacturer’s instructions for use. For other machines, the sandwich may vary. The key to the technique is the silicone embossing pad that does not allow the die to cut through the paper. -
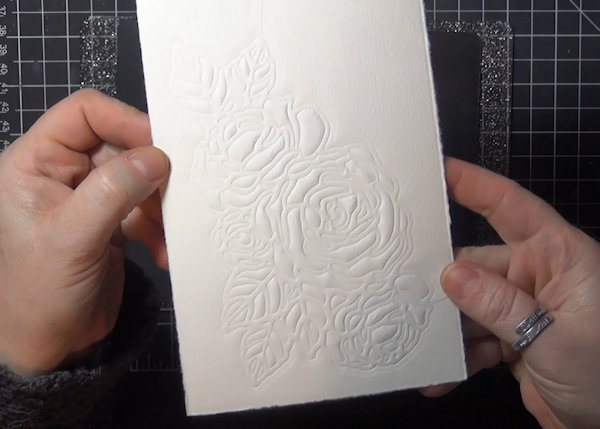
Step 2
Remove the panel from the sandwich. The lines of the die should have impressed into the card without cutting through.
-
Step 3
If there are any creases in the card, smooth them with a bone folder.
-
Step 4
Use a water mister to activate your watercolor palette, or prepare a palette of inks (press dye or Distress ink pads onto an acrylic block, or add drops of reinker or liquid watercolor into a palette).
-
Step 5
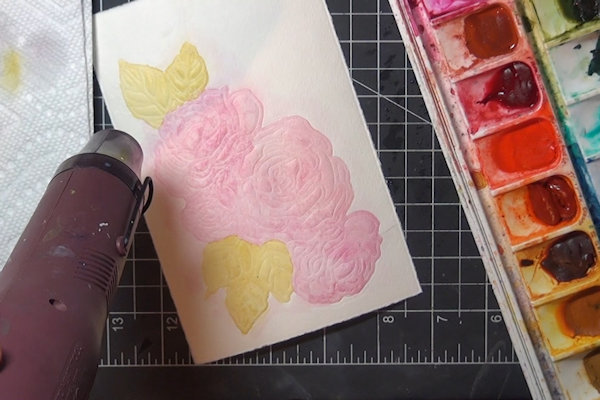
Use more diluted watercolor to give the debossed image a base coat of color.
-
Heat set after painting each color area, so that different colors do not run together. Heat set this layer of color when finished.
-
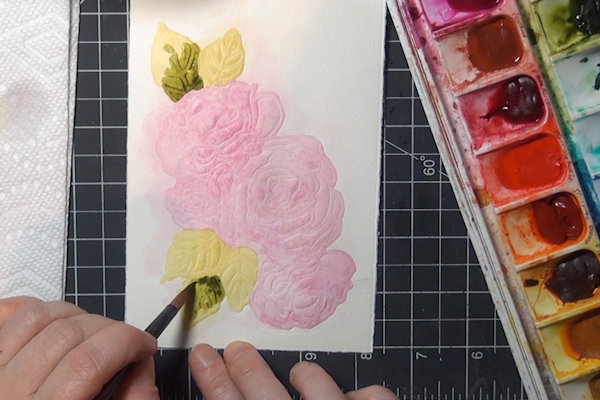
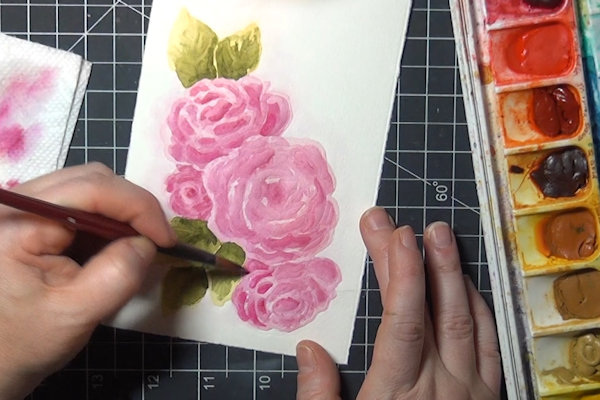
Step 6
Working in one section at a time, add a second layer of color. This color can be the same, or slightly darker. Note areas of the image that should be shaded:
Areas that are hidden behind something
Areas that are lower
Areas that are farther away or curving away
Use more diluted paint at first. As it dries but is still moist, you can dot in more concentrated paint where the image should be darker. -
Use a clean, lightly damp brush to blend out hard edges as needed. Heat set or allow each area to dry before moving on to bordering areas.
-
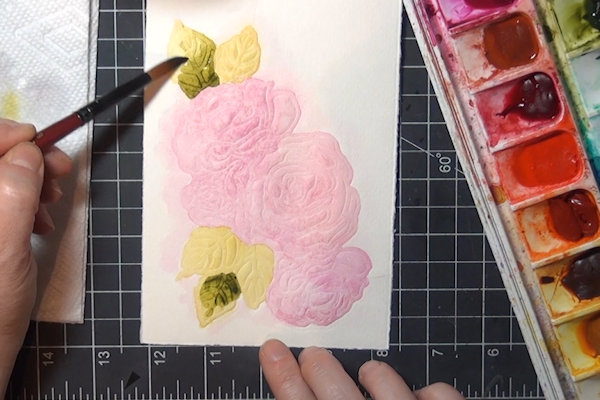
Step 7
Repeat the above step in each area of the image.
NOTE:
The debossed lines in the image will show while the paint is wet, but will disappear as the panel dries. They’re useful as a guide for adding details, but are really less important as they fade, so if you go out of the lines or don’t follow the details exactly, it’s ok. -
When coloring a floral image like in the sample here, the shaded areas will be toward the base of each petal, and where petals overlap.
-
Step 8
Continue layering and blending until you have the effect that you want.
-
Step 9
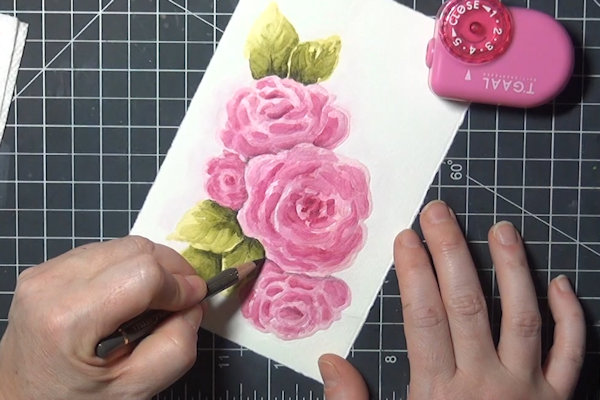
Use a sharp colored pencil and very light pressure to define edges in your image and add finer details.
-
Step 10
Fill in the background with a contrasting color.
-
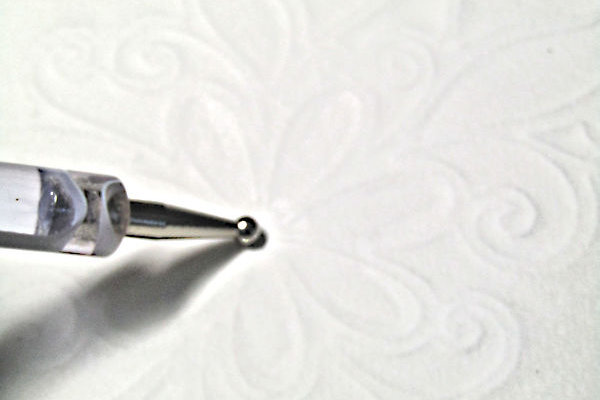
Step 11
Dot white acrylic paint or gesso onto the image with a small stylus to add highlights or other details.
-
Step 12
Complete the card.


Video!
Watch the full process of painting the sample card (video has no sound):
Variations
-
Turn the panel over. Using a ball stylus or other rounded tool, press the area inside the outline into a foam mat to increase the contour in those areas on the front.
-
Used here:
Impression Obsession DIE250-Y Open Scroll Flower Die, C13215 To Live

Your Turn
You've seen the tutorial, now you try it! We've got a section of the gallery set aside for Die Debossed Watercolor. Try this technique, then upload your artwork to the gallery. Show us your creations!
***Please note - Internet Explorer/Edge is not a supported browser, and will not allow you to see the videos. Please use Chrome, Firefox or Safari to view our tutorial videos.

Questions and Comments
We'd love to get your feedback or questions. Leave your comment below.
Thank you!
Page 1 of 1 pages