Die Cut Stencils
by Korin Sutherland
Use die cuts for masking and stencil effects.
Supplies
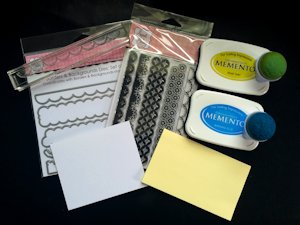
- Cardstock for stencil and card panel
- Dies (Sweet 'n Sassy Stamps Borders and Backgrounds die set used here)
- Die cutting machine
- Stamps (Sweet 'n Sassy Stamps Borders and Backgrounds stamp set used here)
- Ink(s) (Memento Pear Tart & Bahama Blue used here)
- Sponge or sponge daubers
- Repositionable tape for masking and keeping stencil in place
- Embellishments and other supplies as needed to complete the project
Step-by-Step
-
Step 1
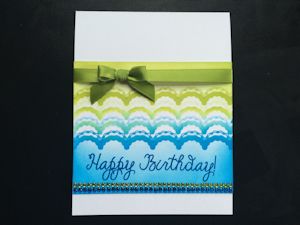
Create a stencil out of cardstock or acetate using dies. Here, a single border die was cut several times to create a pattern.
-
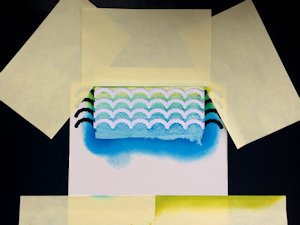
Step 2
Position the stencil over a cardstock panel, and hold it in place using repositionable tape. Mask off any areas you don't want to be inked.
-
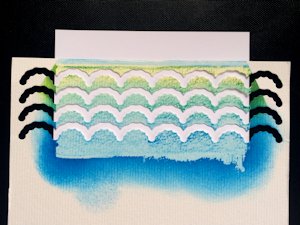
Step 3
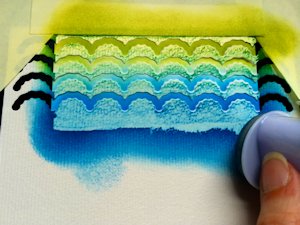
Sponge ink through the stencil openings.
-
If desired, use two or more colors to create a gradient or ombre effect.
-
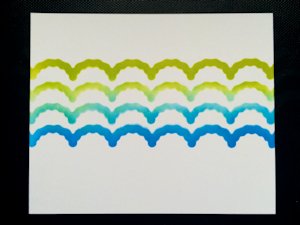
Step 4
Remove the stencil to reveal the sponged pattern.
-
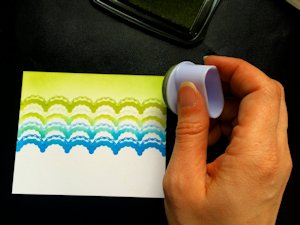
Step 5 (Optional)
Some dies have coordinating stamps. These can be used to enhance the pattern.

-
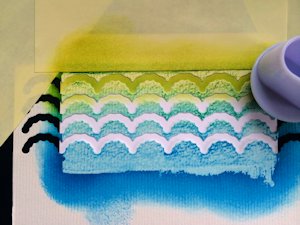
Step 6 (Optional)
Sponge additional color into the pattern.
-
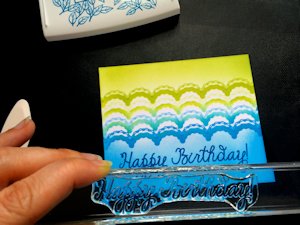
Step 7
Stamp any additional images or sentiments.
-
Step 8
Embellish and complete the card.
Video!
Variations
-
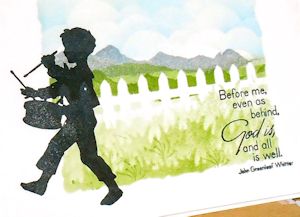
Instead of stenciling a pattern, use a variety of die cut stencils to create a scene. Die cuts can also be used for masking areas of the scene, like the fence in this sample.
-
Sponge inks through die cut stencils, then stamp a coordinating image in the sponged area. Move and/or rotate the stencil to create a pattern or a progression of color.
For a collaged look, try stamping a different pattern inside the opening.

Your Turn
You've seen the tutorial, now you try it! We've got a section of the gallery set aside for Die Cut Stencils. Try this technique, then upload your artwork to the gallery. Show us your creations!
***Please note - Internet Explorer/Edge is not a supported browser, and will not allow you to see the videos. Please use Chrome, Firefox or Safari to view our tutorial videos.

Questions and Comments
We'd love to get your feedback or questions. Leave your comment below.
Page 1 of 1 pages