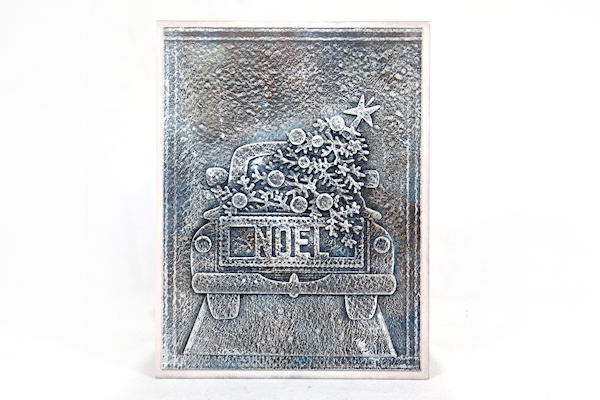
Die Cut Relief
by Dina Kowal
In art, 'relief' is used to describe raised sculpture elements on a flat base. Use die cuts to create this effect in a mixed media scene.
Supplies
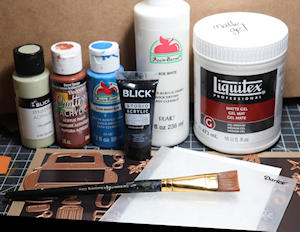
- Dies (Spellbinders Truckin' Through the Seasons die set and Three's a Crowd Contour Steel Rule Die used here)
- Heavy or textured paper (Fabriano Studio 140# Cold Press watercolor paper used here)
- Embossing folder or stencil (A Colorful Life Designs Falling Snow stencil used here)
- Scoring tool
- Decoupage medium (Liquitex Matte Gel used here)
- Gesso (optional)
- Craft paints, including white (various brands used here)
- Flat paint brush
- Other supplies as needed to complete the project
Step-by-Step
-
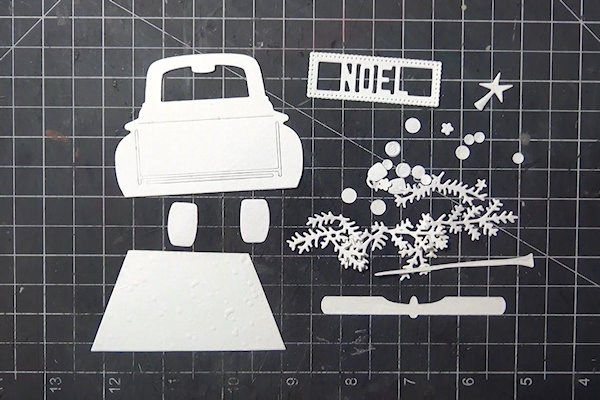
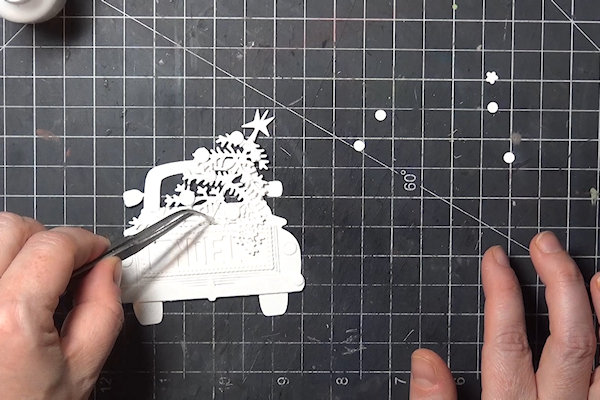
Step 1
Prepare die cuts to create a scene. Heavy or textured cardstock is best (cold press watercolor was used for this sample).
-
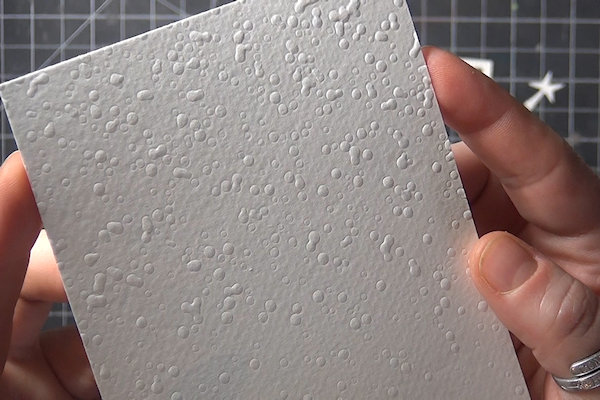
Step 2
Prepare a background panel, adding texture with a stencil or embossing folder. A stencil was used to emboss the panel for the sample (you can find instructions for this technique HERE.). An embossing folder will give even more dimension.
-
Step 3
Assemble die cuts if required.
-
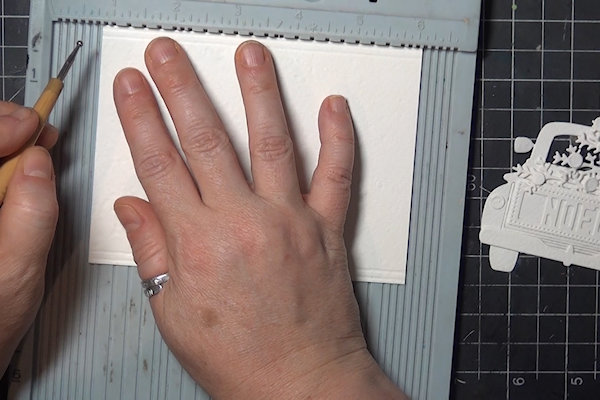
Step 4 (Optional)
Using a scoring board, score along the edges of the base panel on the back side to create a raised frame detail.
-
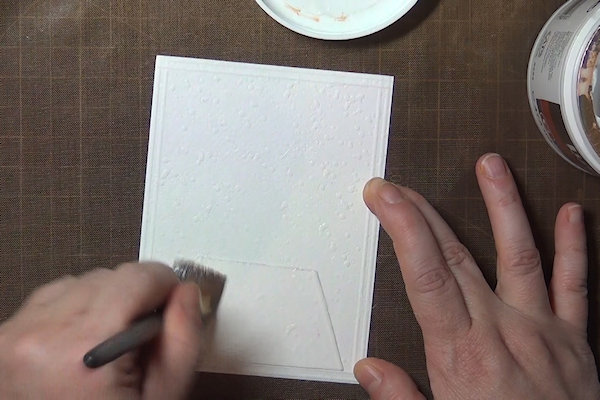
Step 5
Prepare the base panel with a brushed layer of matte gel medium or another decoupage medium.
-
Step 6
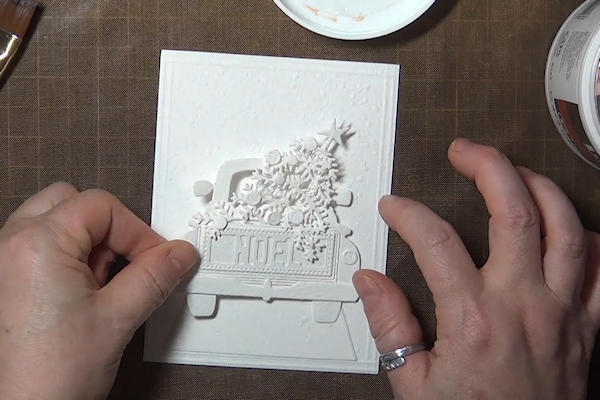
Place the die cuts onto the base while the gel medium is still wet.
-
Use the brush to coat the die cut with more gel medium, tapping into any raised or detailed areas to ensure full coverage. Brush or tap into goopy corners so the medium dries evenly. Brush strokes or texture in the gel medium will enhance the final results of the technique.
Allow the panel to dry completely.
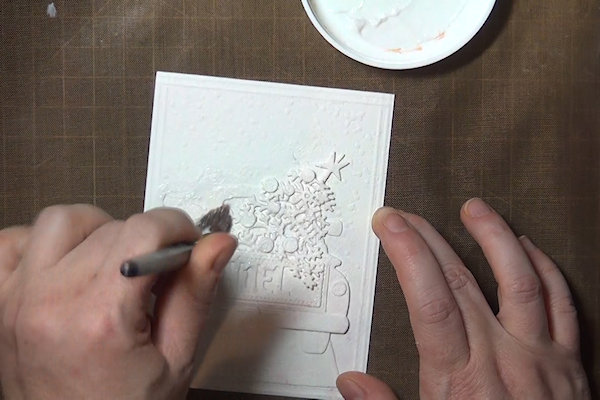
If you have used colored paper, apply a coat of gesso to the panel to cover the color before proceeding. -
Step 7
Choose a dark base color of acrylic paint. Cover the panel, taking care to get into all crevices and around all edges of the die cuts. Allow the panel to dry completely.
-
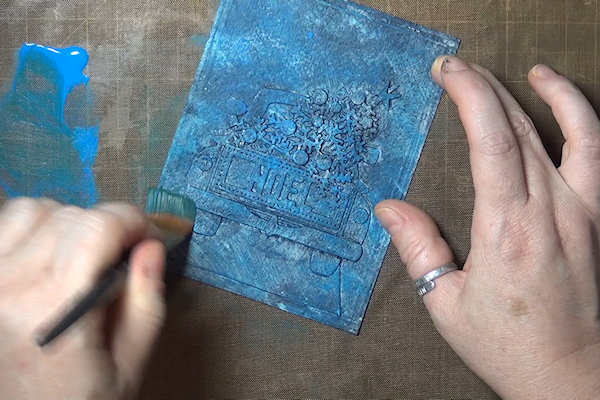
Step 8
Use a dry brush technique to add another layer of color to the panel. Add paint to your palette. Make sure there is no additional moisture in your brush. Pull a small amount of paint away and brush it back and forth into a very thin layer. Use light strokes, brushing only the raised and open areas of the panel. The addition of color will be subtle and the first color should show through.
-
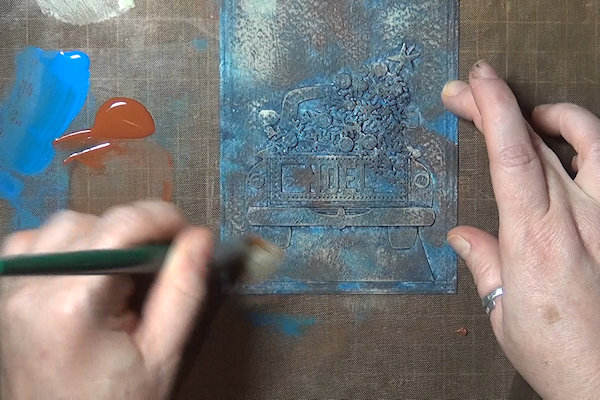
Step 9
Repeat Step 8 with another color after the panel dries.
-
Add a few more highlights with a lighter color, if you wish.
-
Step 10
Use white paint to dry brush over the entire panel, using the technique in step 8.
TIP:
Rotate your panel so the highlights pick up on all sides of the die cuts and scored lines. -
Step 11
Use the panel on a card front or other project.


Video!
Your Turn
You've seen the tutorial, now you try it! We've got a section of the gallery set aside for Die Cut Relief. Try this technique, then upload your artwork to the gallery. Show us your creations!
***Please note - Internet Explorer/Edge is not a supported browser, and will not allow you to see the videos. Please use Chrome, Firefox or Safari to view our tutorial videos.

Questions and Comments
We'd love to get your feedback or questions. Leave your comment below.
Page 1 of 1 pages