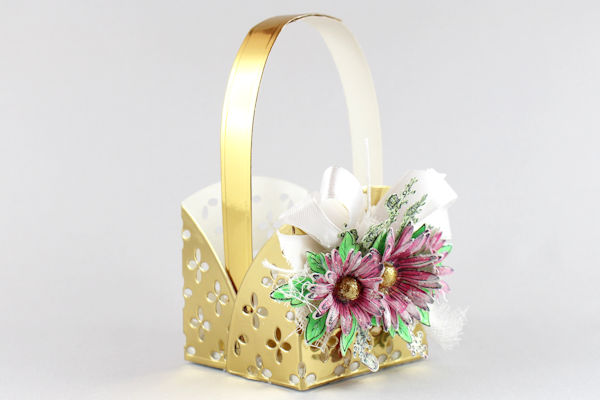
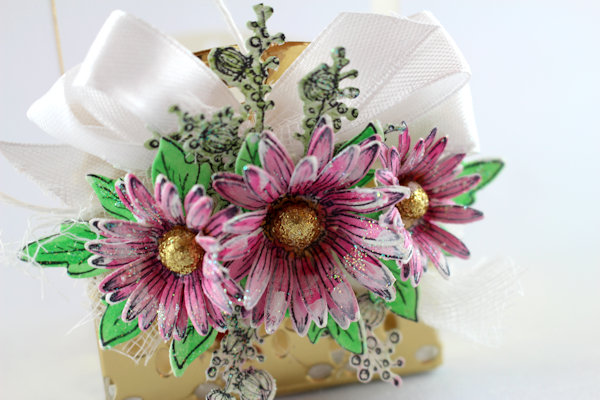
Die Cut Corner Basket
by Bożena Bodynek
Use die cuts to build the sides of this decorative basket.
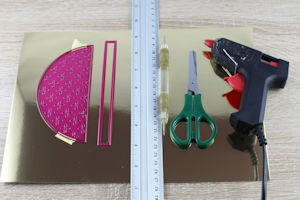
Supplies
- Cardstock (Luxe Gold Cardstock from Heartfelt Creations used here)
- Large circle die or other large background die (Heartfelt Creations Rounded Eyelet Window Die set used here)
- Trimmer or die for basket handle (Heartfelt Creations Ticket and Tags Die set used here)
- Die cutting machine
- Strong adhesive (hot glue used here)
- Ruler and pencil
- Scoring tool
- Scissors
- Other supplies as needed to complete the project (used here: handmade paper asters from the Heartfelt Creations Wild Aster collection, ribbon, gauze, Stickles)
Step-by-Step
-
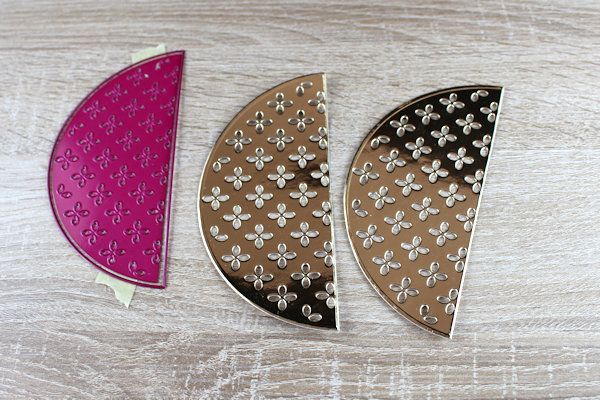
Step 1
Die cut two sides for the basket.
NOTE:
The die used for the sample is 5.5” along the straight side. A similar sized circle die could be used (cut in 2), or experiment with other background or gatefold dies. -
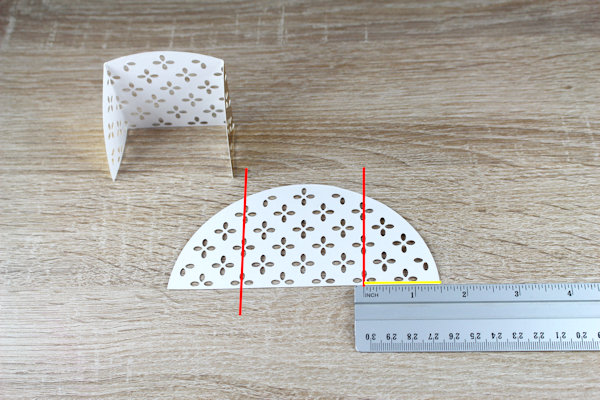
Step 2
Score two vertical lines, allowing 2.5” in the center section.
-
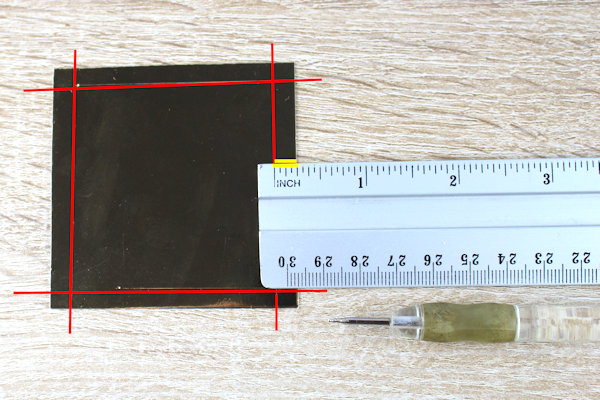
Step 3
Prepare a 2 7/8” square base. Score at 1/4” from each side.
-
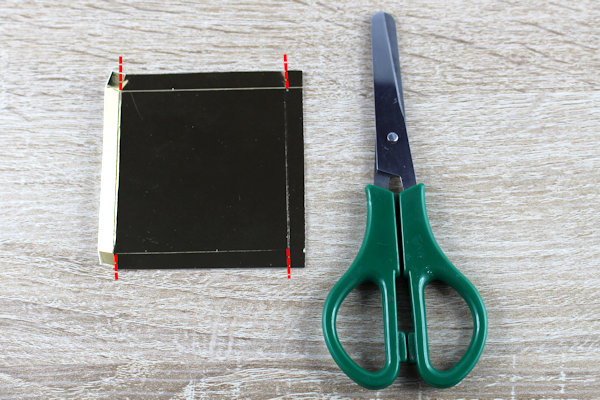
Step 4
Cut tabs at the corners. Fold in the sides and glue to form a base.
-
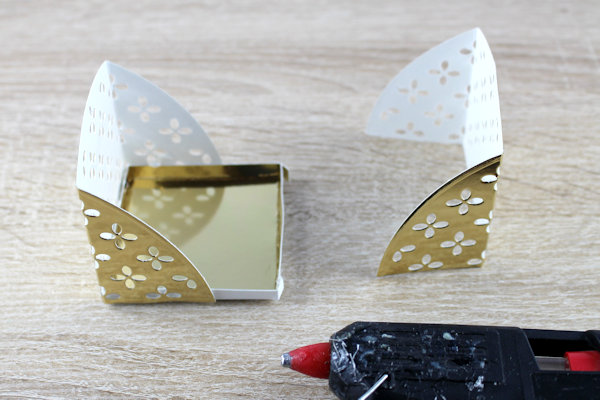
Step 5
Connect the base to the sides, wrapping one side first, and then the other.
-
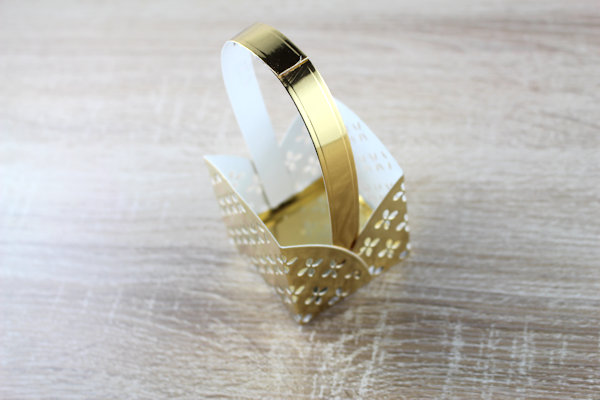
Step 6
Use a cardstock strip to make a handle. Adhere to the inside the basket where the side pieces overlap.
-
Step 7
Create a floral composition, or embellish as desired.
-
Step 8
Complete the project.
Video!
Your Turn
You've seen the tutorial, now you try it! We've got a section of the gallery set aside for Die Cut Corner Basket. Try this technique, then upload your artwork to the gallery. Show us your creations!
***Please note - Internet Explorer/Edge is not a supported browser, and will not allow you to see the videos. Please use Chrome, Firefox or Safari to view our tutorial videos.

Questions and Comments
We'd love to get your feedback or questions. Leave your comment below.
Really cute box, will make a great Easter basket.
Page 1 of 1 pages