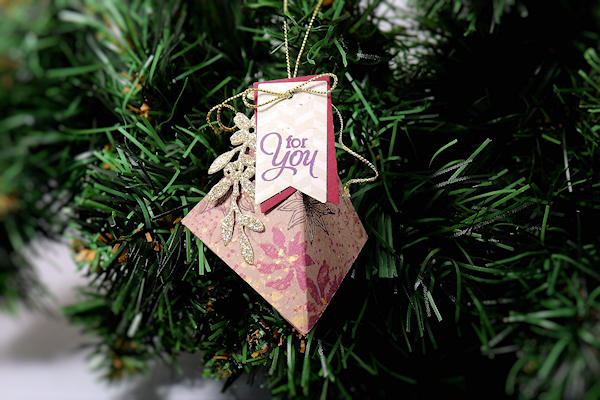
Diamond Shaped Ornament
by Beate Johns
Create an ornament out of one strip of cardstock.
Supplies
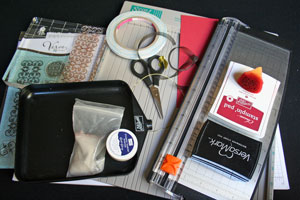
- One 3 1/2" x 8" piece of cardstock
- Scor-Pal™ or other scoring tool
- Paper Cutter
- Scissors
- Scor-Tape™ or other strong adhesive
- Stamps (Verve Stamps Artful Elegance used here)
- Ink
- Embellishments
Step-by-Step
-
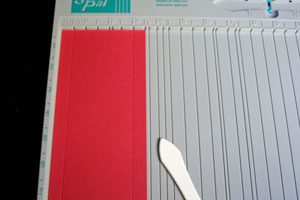
Step 1
Score your cardstock at 1/2" and 3".
-
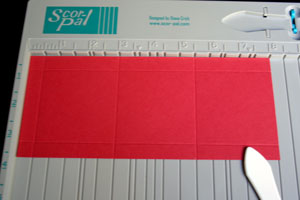
Step 2
Turn your cardstock and score at 1/2", 3" and 5 1/2".
-
Step 3
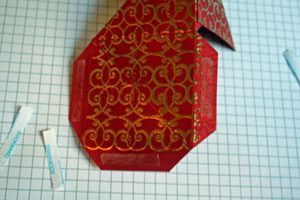
Use your paper cutter to cut the 1/2" strip on the left and right side of the lowest square away.
Cut off the right strip next to the middle square as shown.
The rest of the 1/2" strips will be your glue tabs. Cut the edges of each glue tab diagonally with your scissors.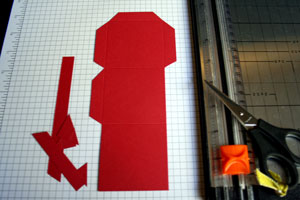
-
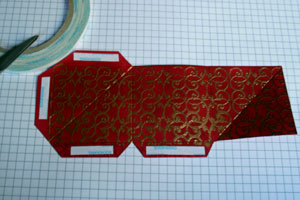
Step 4
The long side of the cardstock with the two glue tabs will be on the left.
Line up the top corner so that you can score from that corner to the bottom right corner of the first square.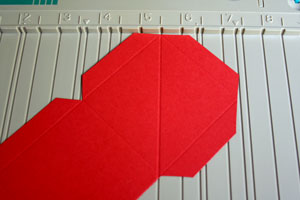
-
Step 5
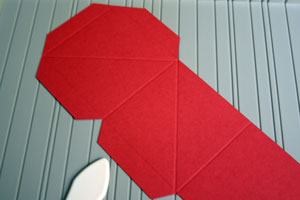
Turn the cardstock so you can score a diagonal line in the middle square starting from the top right to the bottom left corner of the middle square.
-
Then score from the top left corner to the bottom right in your last square.
-
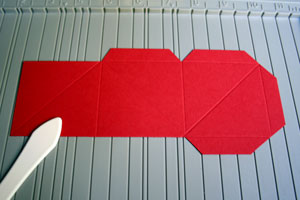
Step 6
Stamp your cardstock.
(I stamped my image with Versamark™ and embossed it with gold powder.)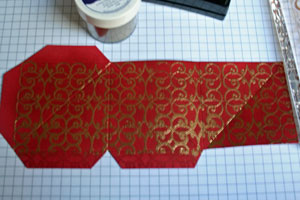
-
Step 7
Add Scor-Tape™ to your glue tabs.
-
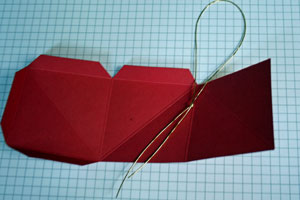
Step 9
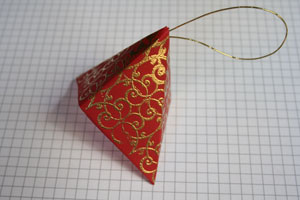
Prefold all your score lines. Place your loop over the score line next to the the two glue tabs.
-
Step 10
Peel the paper Scor-Tape™ backing from the middle glue tab and tape it to the side next to it without a glue tab.
This will hold the cord loop in place.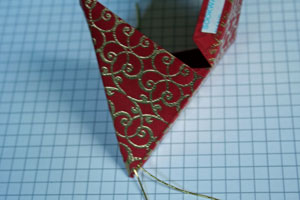
-
Step 11
Peel off the paper over the rest of the Scor-Tape™ strips.
-
Adhere the glue tabs to the insides of the other half of your diamond shape to create your ornament.
-
Step 12
Decorate your ornament if needed.
The flower is from the Verve stamp set Poinsettia Christmas.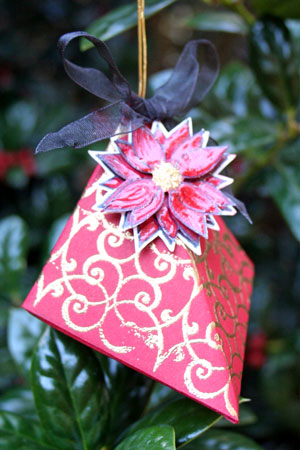
Video!
Variations
-
Different size
You can make this ornament bigger or smaller. Getting the measurements is really easy.
3 x the length of one square plus at least 1/4" for the glue tab will be your length
1 x the length plus 2 glue tabs will be your width.
Score at glue square length, 2x square length and 3x square length on the long side of the cardstock and score at the width of the glue tab on each of the narrow sides.
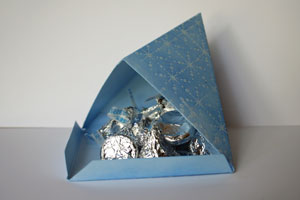
Make it a box
Create a different shaped box by not taping the last three glue tabs down.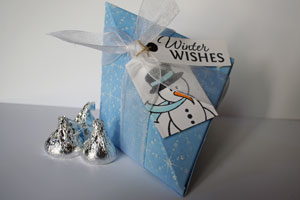
-
Your Turn
You've seen the tutorial, now you try it! We've got a section of the gallery set aside for Diamond Shaped Ornament. Try this technique, then upload your artwork to the gallery. Show us your creations!
***Please note - Internet Explorer/Edge is not a supported browser, and will not allow you to see the videos. Please use Chrome, Firefox or Safari to view our tutorial videos.
 *
*
Questions and Comments
We'd love to get your feedback or questions. Leave your comment below.
Thanks!
Great tutorial!
Anita
Nancy
I did have a tiny challenge getting the last tape to stick but other than that it was easy peasy! Gotta go..got more to make!
Sunshine NZ
Page 1 of 2 pages 1 2 >