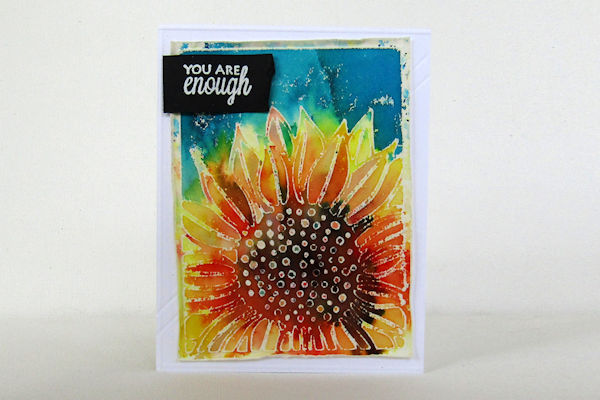
Debossed Die Resist
by Dina Kowal
Use the impression of a cutting die for a resist technique.
Supplies
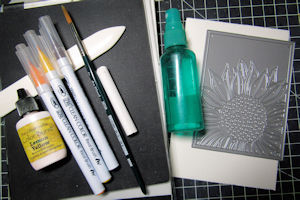
- Watercolor paper (Fabriano Medioevalis stationery used here)
- Wafer die (Impression Obsession DIE515-YY Sunflower Background used here)
- Die cutting machine
- Multi-purpose (adjustable) platform
- Embossing pad
- Bone folder
- White crayon or oil pastel
- Water soluble medium (Zig Clean Color Real Brush markers, Color Burst and Brusho used here)
- Clean water and paintbrush
- Water mister
- Other supplies as needed to complete the project (used here: Impression Obsession DIE291 All-in-One Frames - Rectangles 2, A13341 You Are Enough, B13451 Miss You)
Step-by-Step
-
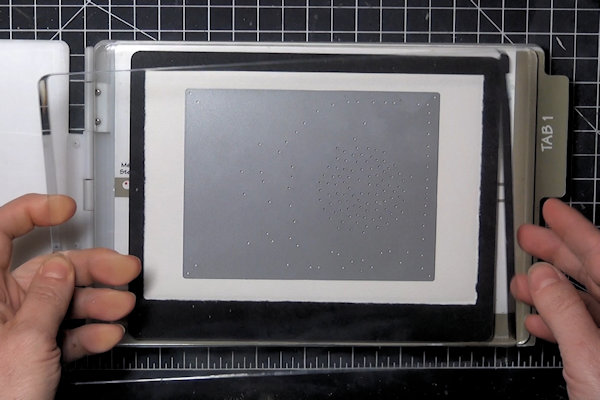
Step 1
Prepare the die cutting machine for embossing. For the Big Shot, open the multi-purpose platform to Tab 1.
Lay down as follows from bottom to top:
Multi-purpose platform
Cutting plate
Silicone embossing pad
Watercolor paper
Die, cutting surface down
Cutting plate
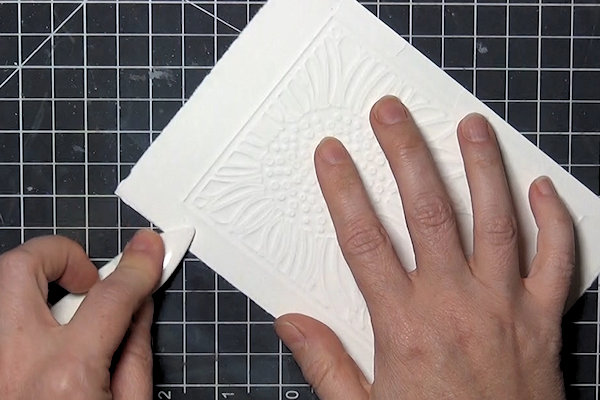
Run the sandwich through the machine, following manufacturer’s instructions for use. -
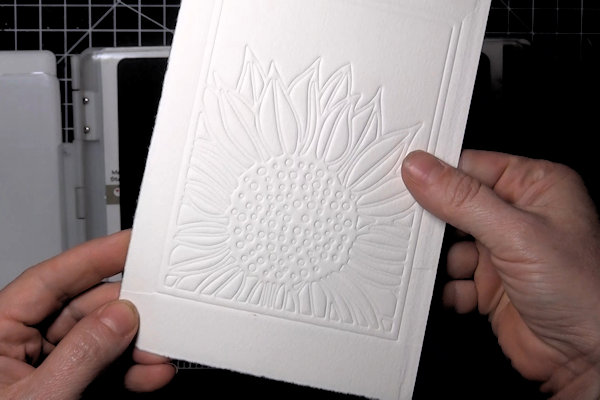
Step 2
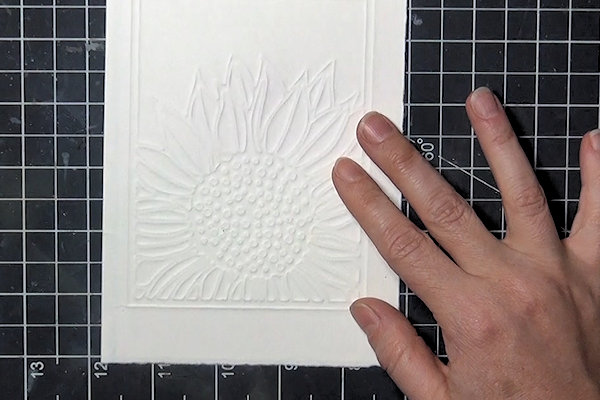
Remove the card from the sandwich. The lines of the die should have impressed into the card without cutting through.
-
If there are any creases in the card, smooth them with a bone folder.
-
Step 3
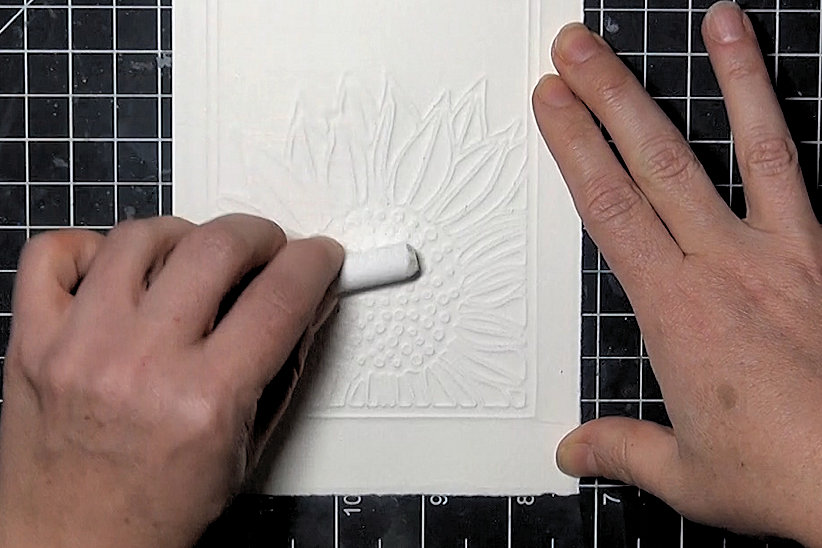
Turn the card over so the impression is raised.
-
Using the side of an unwrapped white crayon or oil pastel, rub over the raised lines until they are coated with the medium.
-
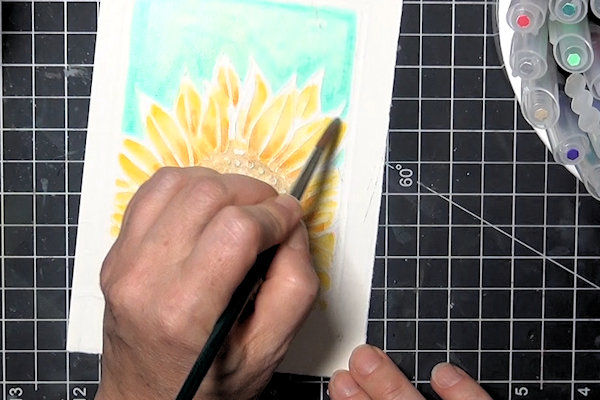
Step 4
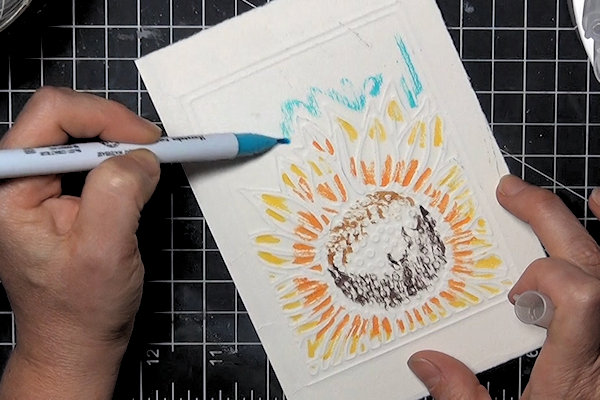
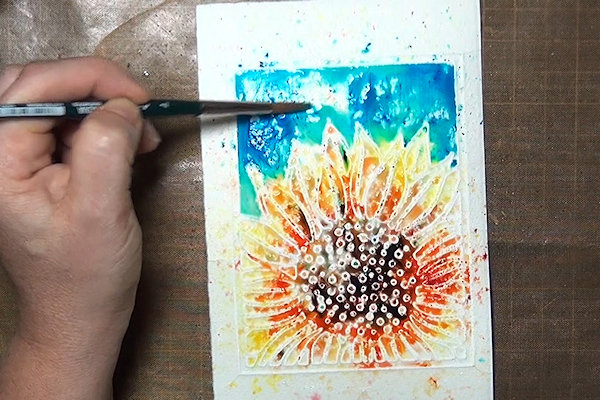
Apply a water soluble medium to the open areas of the image.
-
Blend with a wet brush as needed. The crayon or oil pastel will resist the water and coloring medium, and stand out as an outline.
-
Step 5
Touch up or fill in the image until all areas are colored to your liking. Additional layers of color can also be added.
-
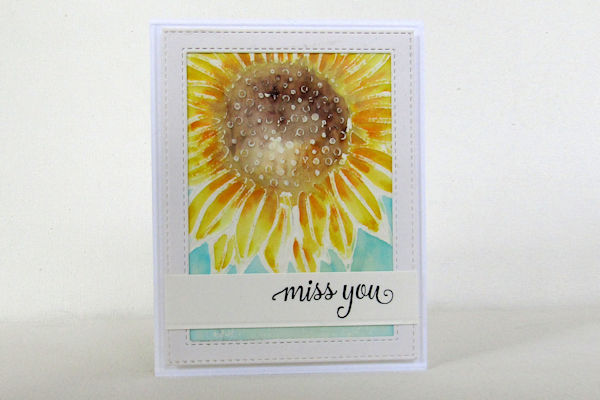
Step 6
Use the panel to complete a card or other project.
-
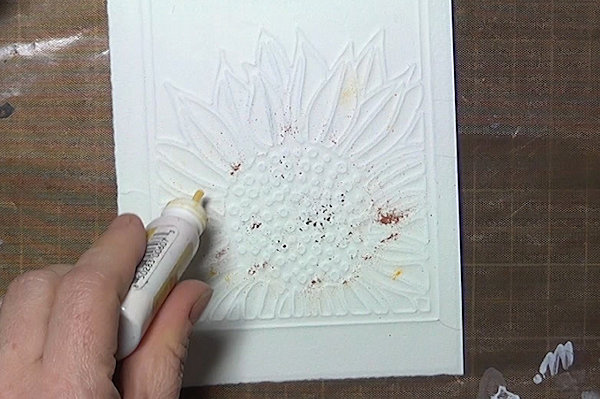
Step 7
For another coloring option, complete steps 1 through 3 above, then sprinkle watercolor powders over each area of the image.
-
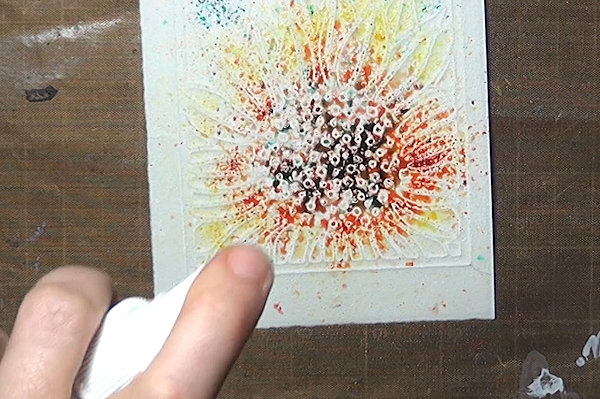
Step 8
Mist the card with water. The water will activate the powders, and the crayon or oil pastel will keep the colors isolated where they belong.
-
Use a brush to direct color or fill in more detailed areas as needed.
-
Step 9
Use the panel to complete a card or other project.

Video!
Your Turn
You've seen the tutorial, now you try it! We've got a section of the gallery set aside for Debossed Die Resist. Try this technique, then upload your artwork to the gallery. Show us your creations!
***Please note - Internet Explorer/Edge is not a supported browser, and will not allow you to see the videos. Please use Chrome, Firefox or Safari to view our tutorial videos.

Questions and Comments
We'd love to get your feedback or questions. Leave your comment below.
You always amaze me with your talent, your willingness to share your techniques, and your smooth voice.
I'm going to try both techniques to start. Then I'm going to use a brayer to coat the raised lines with Versamark, then add clear matte embossing powder, and heat set. It will be interesting to see the difference compared to using a crayon or oil pastel.
Thanks for sharing!
Hugs,
Beth
Beth
Page 1 of 2 pages 1 2 >