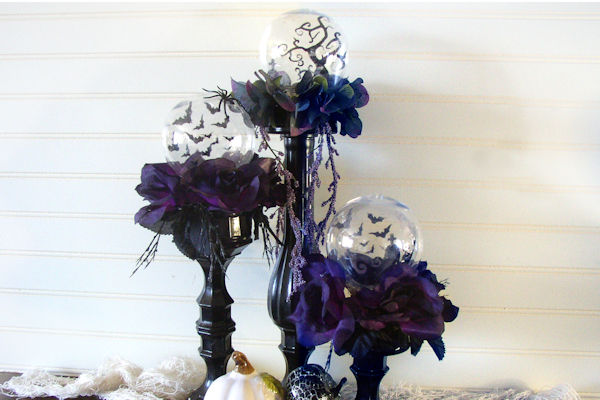
Crystal Ball Stand
by Alma de la Rosa
Stack glass pieces to create these holiday decor items.
Supplies
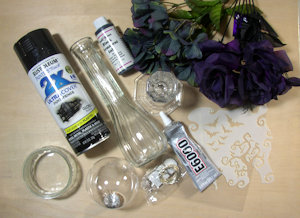
- Glass candlesticks, vases and/or jars
- E6000 adhesive
- Foam brush
- Permanent black ink
- Acetate
- Stencil (The Cat’s Pajamas Neighboohood Stencil used here)
- 4” clear ornaments
- Skewer
- Fairy lights
- Hot glue
- Black glossy spray paint
- Artificial flowers
Step-by-Step
-
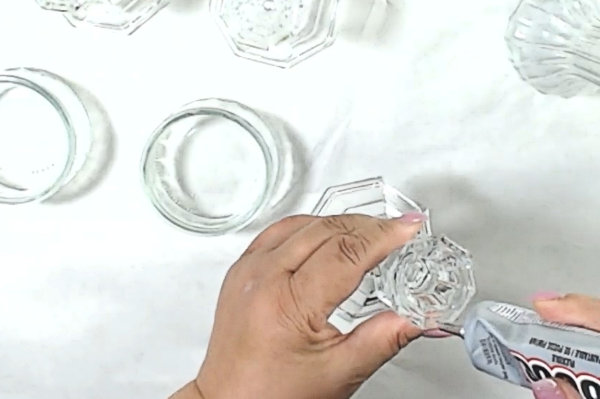
Step 1
Attach glassware/candlesticks together with E6000 to form unique candlesticks. Let the glue cure before proceeding.
-
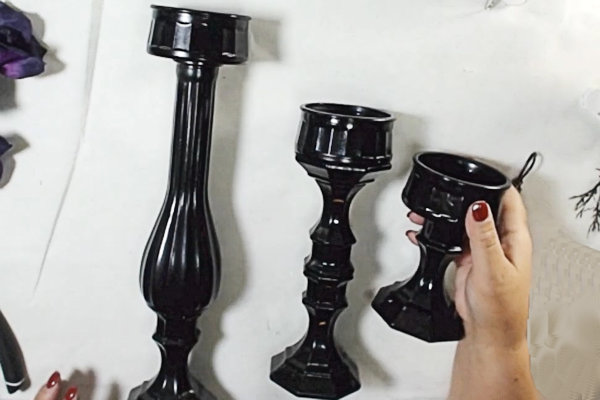
Step 2
After the candlesticks cure, spray paint them black.
-
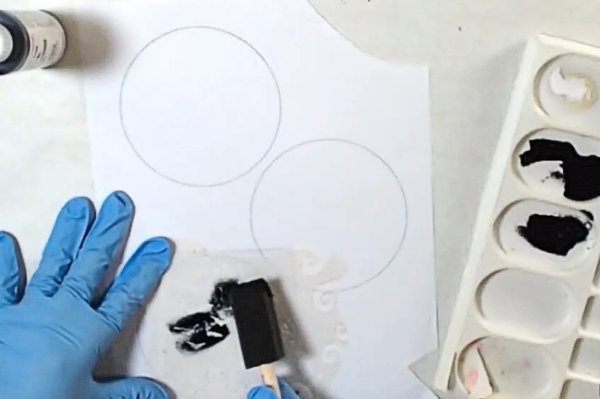
Step 3
Draw a 4” circle on paper to use as a guide. Place acetate over the circle pattern and stencil a scene with the foam brush and black ink.
-
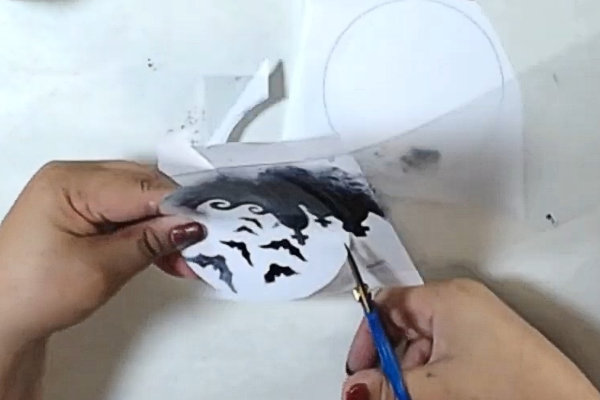
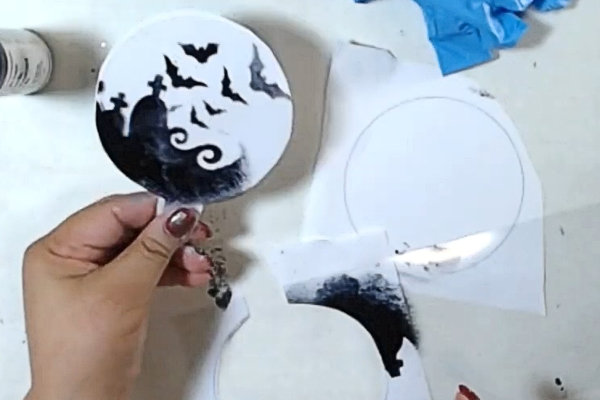
Step 4
Once the ink is dry, use the circles as templates to cut out the scene, cutting about 1/8”-1/4” inside the template and leaving a tab the width of the ornament stem uncut.
-
It should look like a lollipop with a short stick.
-
Step 5
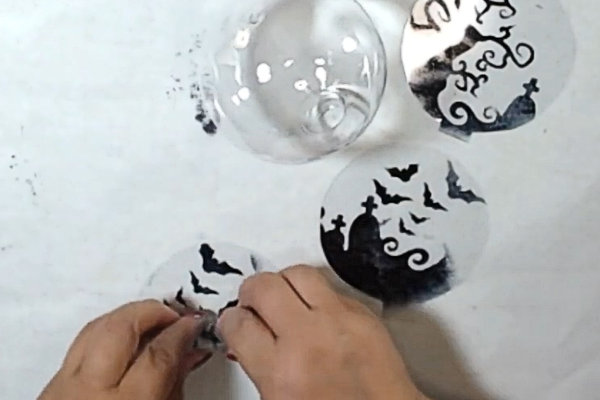
Roll up the circle so that the tab is at the bottom opening of the roll.
-
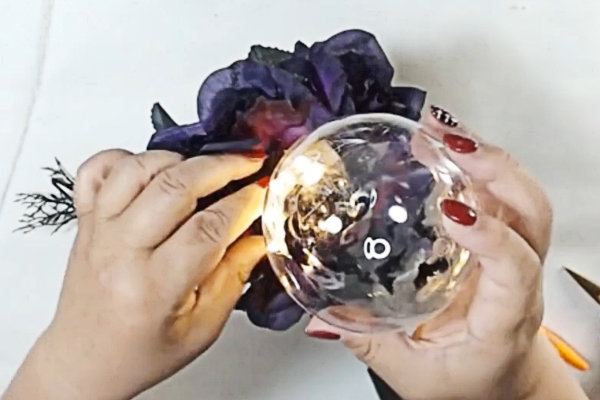
Step 6
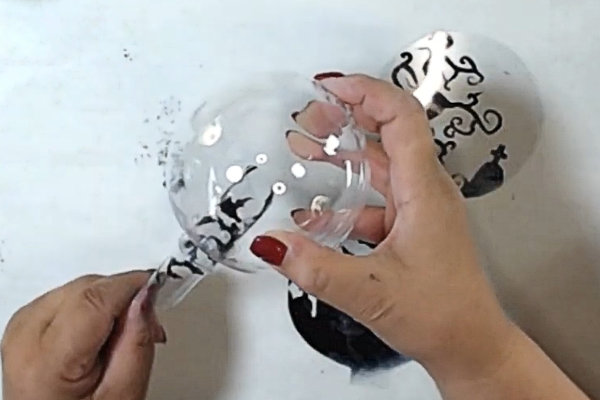
Hold onto the tab and insert the roll into the neck of the ornament.
-
The circle will unroll with the tab settled into the neck. Use a bamboo skewer to adjust the scene in the ornament if needed.
-
Step 7
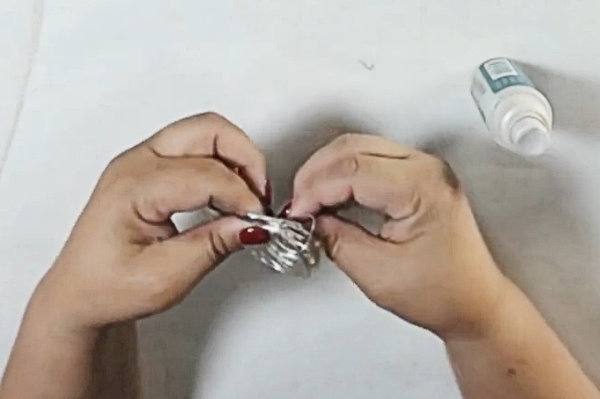
Wrap fairy lights into a circle using a small bottle or other form.
-
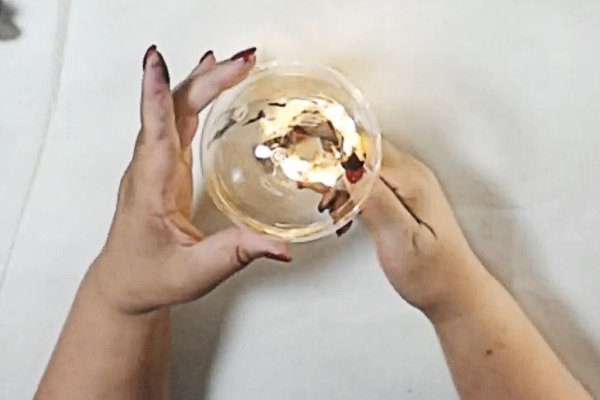
Attach the lights to the bottom of the ornament, by the stem, taking care not to melt the plastic of the fairy lights.
-
Step 8
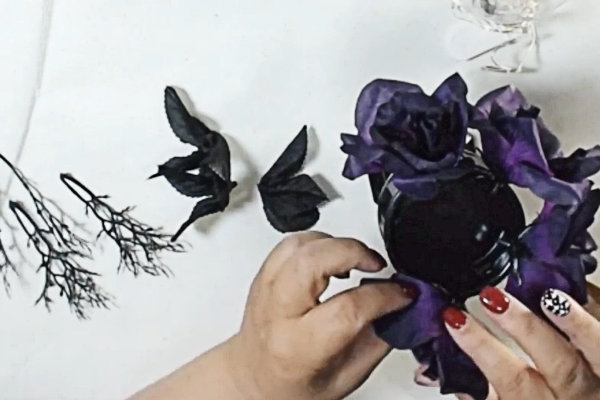
Use hot glue to attach flowers and foliage to the top opening of the candlesticks.
-
Step 9
Insert fairy lights, controls, and stem of ornament into opening of the candlestick so that globe rests on the flowers
-
Step 10
Complete the project (and have a spooky day!).

Video!
Your Turn
You've seen the tutorial, now you try it! We've got a section of the gallery set aside for Crystal Ball Stand. Try this technique, then upload your artwork to the gallery. Show us your creations!
***Please note - Internet Explorer/Edge is not a supported browser, and will not allow you to see the videos. Please use Chrome, Firefox or Safari to view our tutorial videos.

Questions and Comments
We'd love to get your feedback or questions. Leave your comment below.
Page 1 of 1 pages