Crimped Envelope Pocket Card
by Theresa Momber
Create a pouch out of a regular envelope.
Supplies
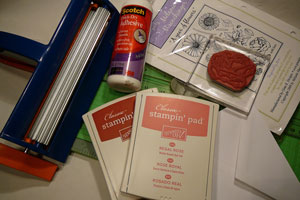
- A2 size Envelope
- Paper Trimmer
- Crimper
- Adhesive
- Stamps (Gina K. A Year of Flowers stamp set used here)
- Cardstock (for insert)
Step-by-Step
-
Step 1
Seal the envelope.
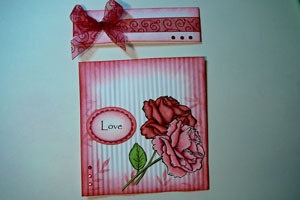
Use your paper trimmer to cut 1 1/4" from one of the short sides of the envelope.
The narrow piece will be the topper and the larger piece will be the crimped pocket portion of the card.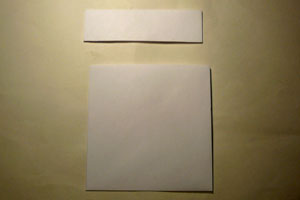
-
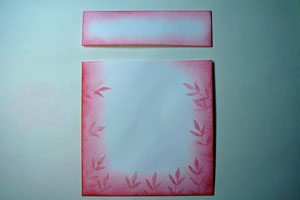
Step 2
Decorate both pieces with stamps, keeping in mind that the bottom piece will be crimped and the images may be slightly distorted.
-
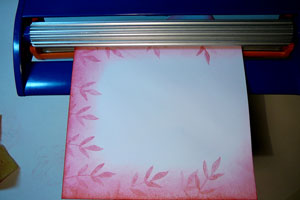
Step 3
Place the larger piece into the crimping tool with the opening to the side, and crimp.
-
Step 4
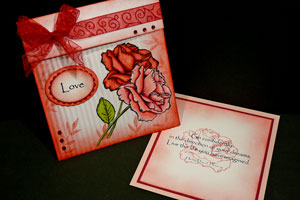
Add stamped/cut images, die cuts and embellishments as desired.
-
Step 5
To create the insert, cut a piece of card stock to 4" by 4 1/4".
For a layered look, cut additional pieces slightly smaller.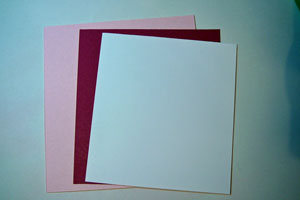
-
Step 6
Stamp and embellish insert as desired.

-
Step 7
As a variation you can scale the project down to create gift card holder.
Video!
Your Turn
You've seen the tutorial, now you try it! We've got a section of the gallery set aside for Crimped Envelope Pocket Card. Try this technique, then upload your artwork to the gallery. Show us your creations!
***Please note - Internet Explorer/Edge is not a supported browser, and will not allow you to see the videos. Please use Chrome, Firefox or Safari to view our tutorial videos.

Questions and Comments
We'd love to get your feedback or questions. Leave your comment below.
Could you tell me where you got the ribbon? I've seen it on a number of cards and can't find it online.
Thanks!
thanks!
Mary
Julia - The ribbon is from my local stamp store. I believe the supplier is called Creative Impressions. I found them online once, hoping to buy some. They sold them in fairly large spools, so it was cost prohibitive to buy a variety of colors. I am sure you can find them by doing a search of Creative Impressions, but if you can't, just let me know and I will try to dig up the web address.
Tina and Pam - The rose stamp is from a set called A Year of Flowers from Gina K Designs. It was illustrated by Melanie Muenchinger.
Thanks!
Sandy - It is called A Year of Flowers from Gina K Designs.
I really love this - I have tried to use crimped paper and card before but when sticking I tend to lose crimping effect. Could you advise how best to stick to crimped paper as well has what to use to adhere crimped paper to card.
Diolch (Welsh for Thank you)
Page 1 of 5 pages 1 2 3 > Last »