Crimped Diamond
by Lee Conrey
Create a textured background with your crimper.
Supplies
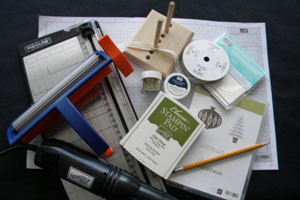
- One 4" x 5 1/4" piece of cardstock, (Very Vanilla cardstock used here)
- Crimper
- Ruler and pencil
- Paper cutter with scoring tool
Step-by-Step
-
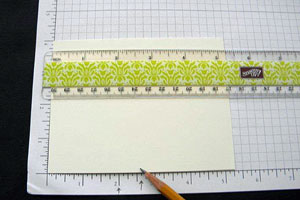
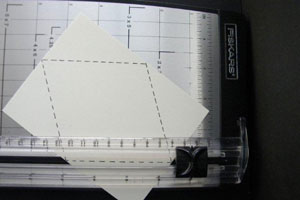
Step 1
Mark the cardstock with a pencil at 2 5/8” on both long sides.
-
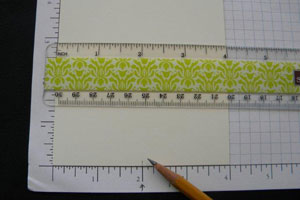
Step 2
Mark each of the short sides of the cardstock at 2".
-
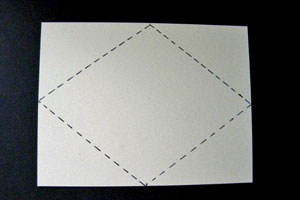
The dotted lines are just an illustration of the pattern you will create.
-
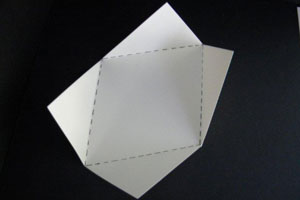
Step 3
Place the marked cardstock into the paper cutter at an angle, lining up one of the marks from the long side and one from a short side and score with the scoring blade.
-
The cardstock will look like this when folded (without the dotted lines).
-
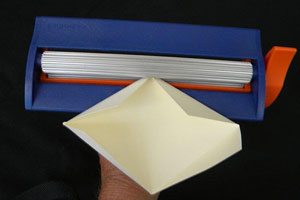
Step 4
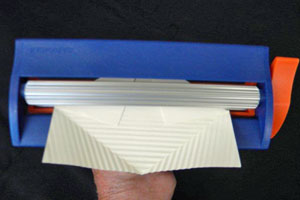
Insert one folded point into the crimper.
-
Step 5
Crimp a little more than halfway, until you have crimped to the end of the folded-in points.
Remove the cardstock from the crimper. It should be a little more than half crimped. Going a little past halfway will prevent blank spots from the layers being thicker in the center.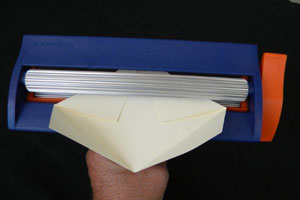
-
Step 6
Place the other side into the crimper and repeat the last step.
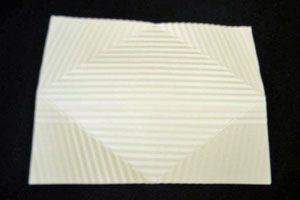
-
Your crimped cardstock should look like this.
-
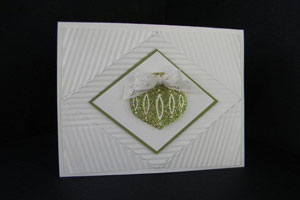
Step 7
Finish your card.
Video!
Your Turn
You've seen the tutorial, now you try it! We've got a section of the gallery set aside for Crimped Diamond. Try this technique, then upload your artwork to the gallery. Show us your creations!
***Please note - Internet Explorer/Edge is not a supported browser, and will not allow you to see the videos. Please use Chrome, Firefox or Safari to view our tutorial videos.

Questions and Comments
We'd love to get your feedback or questions. Leave your comment below.
Hugs and smiles
I have been doing mine as one single continuous crimp and it works fine as long as I keep a very good grip on the crimper handle, sometimes you need 3 hands to get it thru straight but oh well. I also "cheated" and made mine a little easier, instead of measuring and scoring the fold lines (pre-crimping) I just take the corners on the short ends of the cardstock layer and fold them to meet in the middle, then turn the card and do the same on the other "short side" of the card. Then I burnish the creases, do whatever stamping I want in the middle of the diamond (you CAN stamp it after it's been crimped but it's much easier on the flat pre-crimped surface) and run it thru. I first saw this technique on Dawn O's blog (dostamping) ...love the way Lee tweeked it and left it all white for an elegant look, too. She is the queen of clean and simple but stunning!
I shared some of my crimper cards on my blog and have a link to Dawn's tutorial there for anyone who would like to see another version. Jan Hoyt
http:// www.inkerzaway.blogspot.com
Page 1 of 3 pages 1 2 3 >