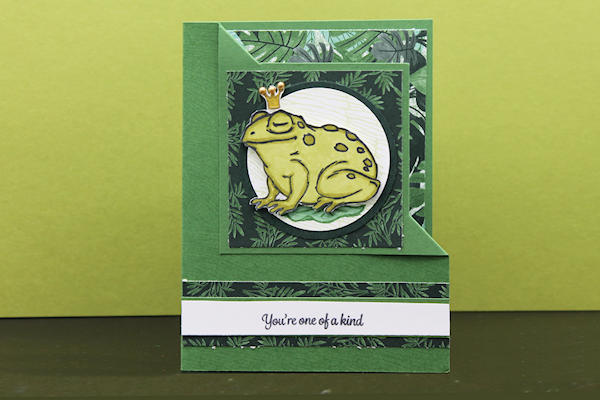
Corner Flip Card
by Robyn Rasset
Create a greeting card with a corner feature.
Supplies
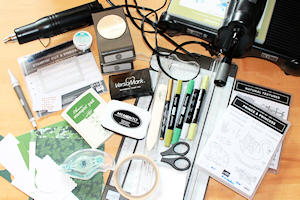
- Cardstock (Stampin' Up!® Garden Green cardstock used here)
- Paper trimmer
- Scoring tool
- Ruler and pencil
- Other supplies as needed to complete the card (SU products used here: Natural Textures and Prince & Princess stamp sets; Garden Green, Soft Sea Foam, Memento Tuxedo Black, and VersaMark inks; Old Olive and Just Jade Stampin' Blend markers, Bloom Where You’re Planted Designer Series Paper, Basic White and Evening Evergreen cardstock; Scalloped Contour Dies, Tear and Tape, Tape Runner, Dimensionals, Gold Embossing Powder, Gold Marker, Paper Snips, Heat Tool, Die Cutting Machine, 2 1/4" Circle Punch, 2 1/2" Circle Punch, Bone Folder, Metallic Pearls)
Step-by-Step
-
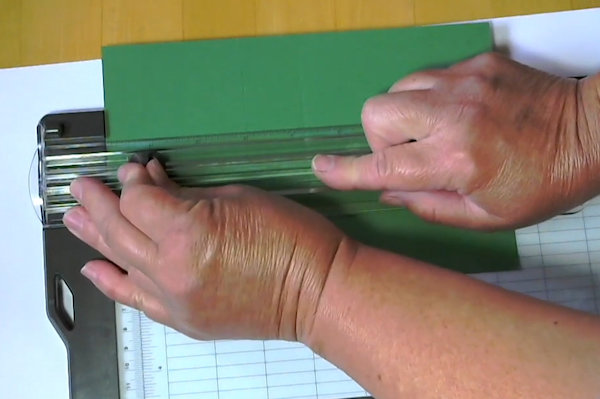
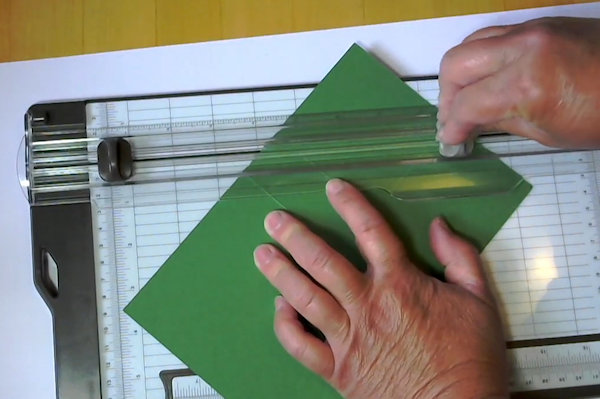
Step 1
Place the corner of the card base on your trimmer at 3" with the long edge along the ruler. Make a cut inside the card base from 3" to 5/8".
-
Step 2
Rotate the card base clockwise and place the corner at 2 1/2". Make a cut from 3" to 5/8", meeting the first cut.
-
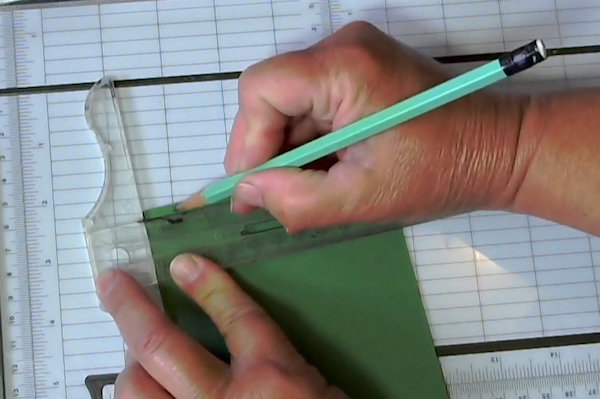
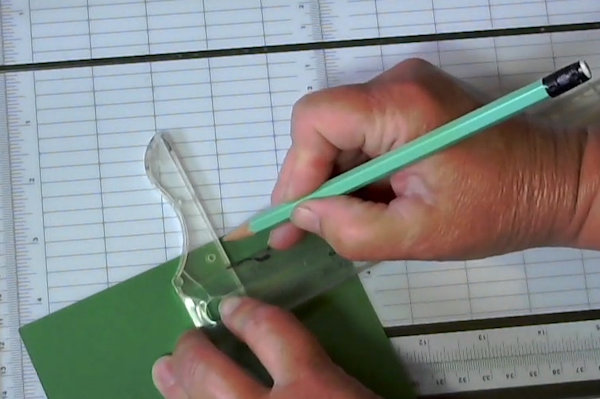
Step 3
Measure in 5/8" from card base fold and mark with pencil.
-
Measure up from bottom right corner 1 7/8" and mark with pencil.
-
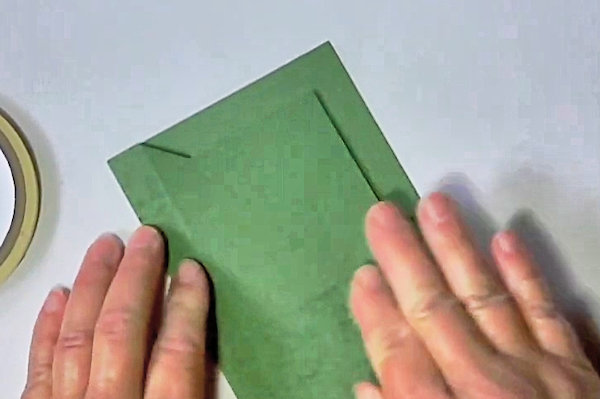
Step 4
Score between the cut lines and the marks as shown.
-
Step 5
Stamp the un-flipped card front if desired.
-
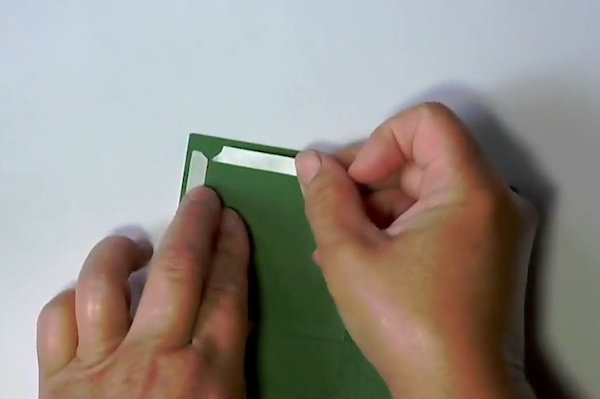
Step 6
Add double sided tape to corners.
-
Step 7
Flip down the corner on the score lines.
-
Step 8
Embellish the card as desired. The layering panel for the flipped area is 2 3/4" square.
-
Step 9
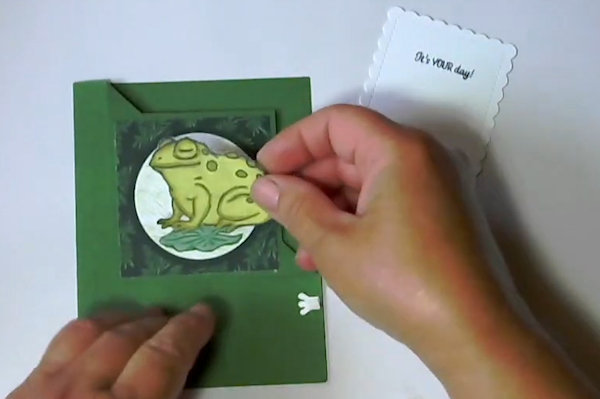
Complete the project.
The card shown here is an A2, but the technique will work with other card sizes. The corner size can be adjusted as well.


Video!
Your Turn
You've seen the tutorial, now you try it! We've got a section of the gallery set aside for Corner Flip Card. Try this technique, then upload your artwork to the gallery. Show us your creations!
***Please note - Internet Explorer/Edge is not a supported browser, and will not allow you to see the videos. Please use Chrome, Firefox or Safari to view our tutorial videos.

Questions and Comments
We'd love to get your feedback or questions. Leave your comment below.
From a fellow Minnesotan "up North,"
Blessings,
Chrissy
Page 1 of 1 pages