Coloring Contours
by Jennie Black
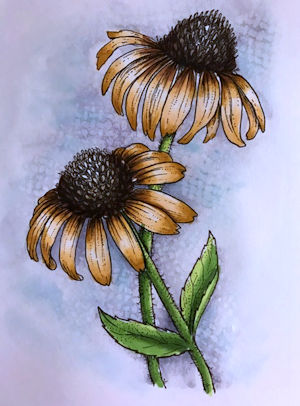
Add realism to colored images by shading contours and shapes. These concepts can be applied to other coloring media as well.
Supplies
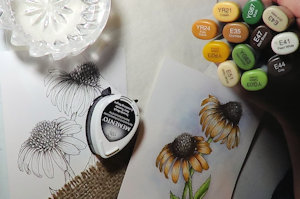
- Printed or stamped image (Power Poppy Cone Flower digital stamp used here)
- Copic compatible ink (printer, or Memento dye ink)
- Copic friendly cardstock (Neenah Super Smooth Cardstock used here)
- Watercolor brush filled with rubbing alcohol or Copic blender refill
- Copic or other alcohol markers
- Burlap or other textured fabric
Step-by-Step
-
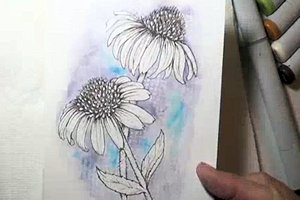
Step 1
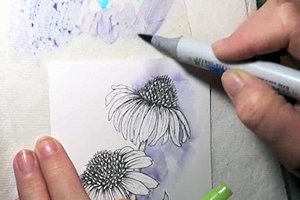
Add a background to the image first, to prevent pulling color from the image into the background later. Create a palette by scribbling marker ink onto a piece of acetate. (BG25 used here)
-
Fill a waterbrush with rubbing alcohol or Copic blender refill. Scoop up some color and begin painting your background. Add in another color here and there for variation.
NOTE:
A regular paintbrush dipped in rubbing alcohol can be used, but the alcohol evaporates more quickly.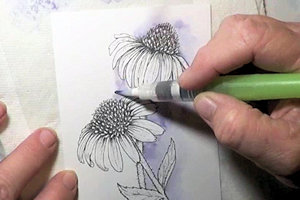
-
Step 2
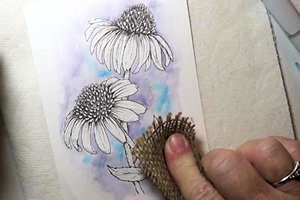
Take a piece of textured fabric such as burlap and wet it with alcohol or Copic blender refill. Lightly touch the background with the wet burlap.
-
The color will bleach out, leaving a textured look.
-
Step 3
Look at the image and determine where the hills and valleys are. The valleys will get the darkest color, whereas the “hills” will get the lightest color or no color. Use our lightest marker to make a plan or map of where to color. This helps keep the highlight area where we want it. (E51 used here)
TIPS:
Make a plan to keep from getting sidetracked and covering up too much of the highlighted area. Be sure to leave plenty of white area, because you will use it up quickly in these small spaces. Leave twice as much white area as you think you will need.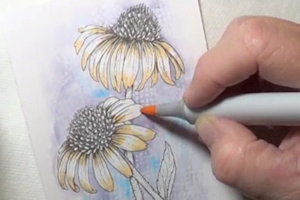
-
Step 4
With a plan, it’s not so intimidating to start with the darkest color. Place your darkest color in the deepest valleys. (YR23 used here)
-
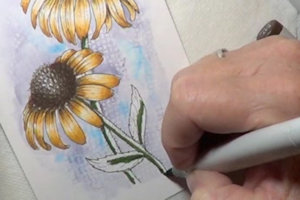
Step 5
Now blend in with a medium color. Start the stroke by softening the inside edge of the previous color. In other words, wet the edge of the previous color with the lighter marker. Use squiggle motions or small circular motions.
NOTE:
It’s very important that you do not bleach out the entire previous color - you just want to soften the inside edge. Pull the color towards the top of the hill, towards your highlight. (YR21 used here)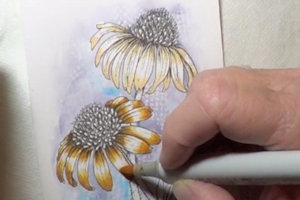
-
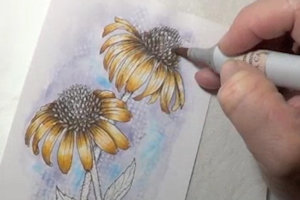
Step 6
Now use a lighter color and do the same as in the previous step. Soften the edge of the previous color without bleaching out the entire previous color. Use squiggle motions or tiny circles. Pull the color towards the highlight. (E51 used here)
NOTE:
If you are using four colors, complete the contour shape by very lightly pulling the two sides together using flicking motions from each side. Leave white space for a more dramatic highlight.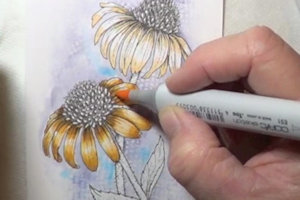
-
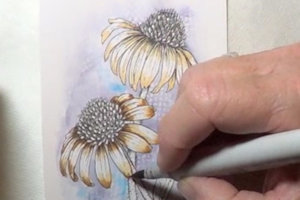
Step 7
For a cone shape, create a highlight in the center of the image. Here, the lightest area is towards the top of the center, because most likely a flower would have a secondary light source from above (the sun). Again, make a plan using the lightest marker. (E43 used here)
-
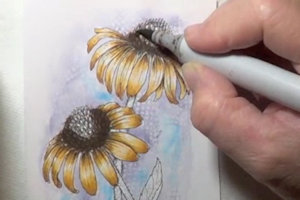
Step 8
Add the darkest color first in a half sphere shape (E47 used here).

-
Step 9
Add the next lighter marker (E44 used here). Soften the inside edge of the previous color and pull toward the highlight.
-
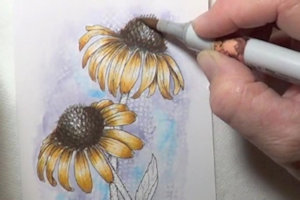
Step 10
Again, soften the inside edge of the previous color and work your way towards the highlight. (E43 used here)
-
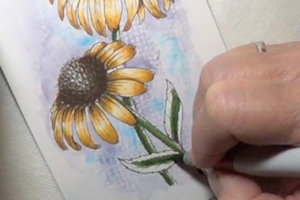
Step 11
For the leaves, begin with the darkest color. (Because these spaces are narrow, creating a plan with the lightest color can oversaturate the area.) Put the darkest color in the center of each leaf. You can also use this color for any cast shadows where leaves are folded over, with the dark color on the back layer.
-
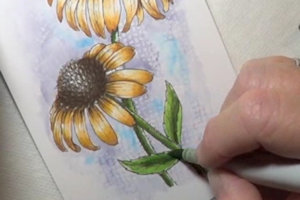
Step 12
Add your medium and light colors to finish up each leaf.
-
Blend as before.
-
Step 13
Use the colored image to complete a card or other project.
Video!
Your Turn
You've seen the tutorial, now you try it! We've got a section of the gallery set aside for Coloring Contours. Try this technique, then upload your artwork to the gallery. Show us your creations!
***Please note - Internet Explorer/Edge is not a supported browser, and will not allow you to see the videos. Please use Chrome, Firefox or Safari to view our tutorial videos.

Questions and Comments
We'd love to get your feedback or questions. Leave your comment below.
Page 1 of 1 pages