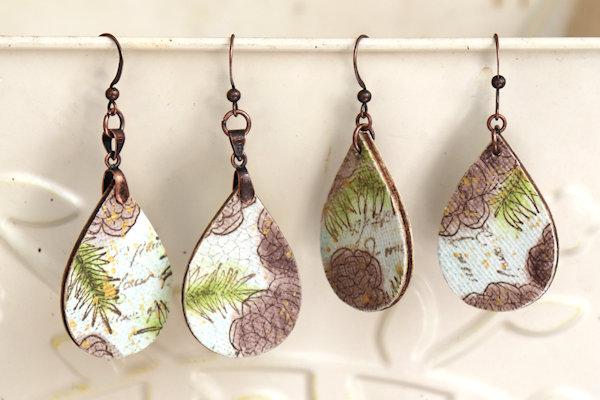
Colored Canvas Pendants
by Dina Kowal
Transform canvas sheets into wearable art.
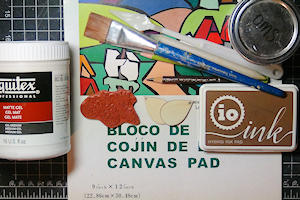
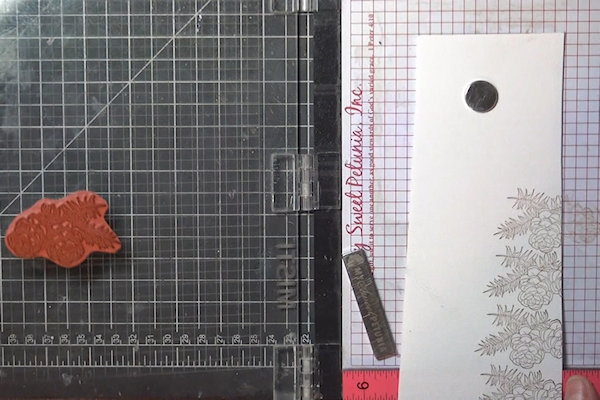
Supplies
- Gessoed canvas sheet (available at Amazon and art suppliers – foreign brand used here)
- Stamps with small designs or patterns (Impression Obsession D13928 Small Pinecones, H9336 French Poem, and G6148 Porcelain Crackle used here)
- Colored pencils (Faber Castell Polychromos used here)
- Supplies for blending (odorless mineral spirits and paper stump, rubbing alcohol and paint brush, alcohol blender marker, water and brush, blender pencil, Finesse blender marker or Dove or Stampin' Up!® blender pen)
- Hybrid ink (must dry on canvas and be compatible with your blending method - Impression Obsession Chocolate hybrid ink used here)
- Metallic paint (gold Lumiere acrylic paint used here)
- Liner brush
- Water
- Matte gel medium (Liquitex brand used here)
- Palette knife
- Wood shapes for pendants (Bead Landing teardrop wood components used here)
- Sharp scissors (Tonic Studios Tim Holtz Scissors 5" Mini Snips used here)
- Varnish (Vallejo Matte Polyurethane Varnish used here)
- Flat or angled brush
- Piercing tool (weaving needle used here)
- Jewelry tools and findings (chain nose pliers, jump rings, pinch bails, earring hooks)
Step-by-Step
-
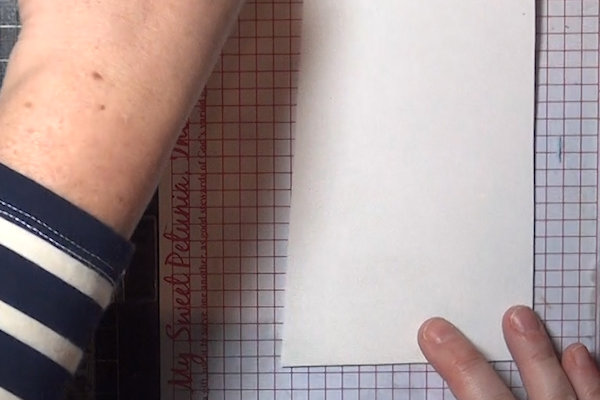
Step 1
Cut a small area of prepared canvas to work with. The canvas sheets that come in a pad are already ready to work with. If this product is unavailable to you, light-medium weight canvas can be purchased in a fabric store and coated with gesso. Most canvas pads are 7-8 lb. weight.
-
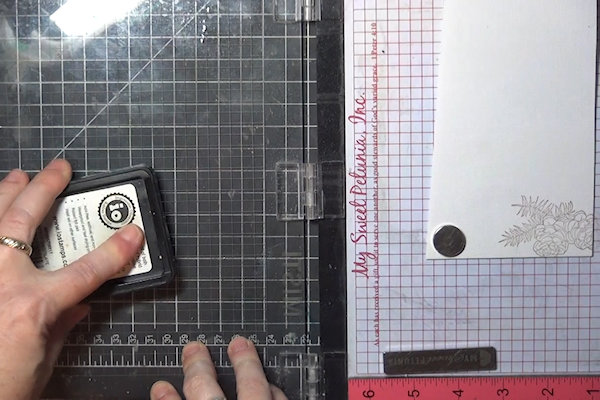
Step 2
Stamp onto the canvas using a hybrid or permanent ink. (Be sure the ink is compatible with your blending method.)
-
Continue stamping to fill the surface, keeping the impressions close together so that shapes cut from any angle will have some stamping on them.
-
Step 3 (Optional)
Use a texture or filler stamp to cover any open space between impressions (script and crackle used here).
TIP:
An unmounted stamp can be held in a curve so that only one portion of the image stamps when finger-pressed. -
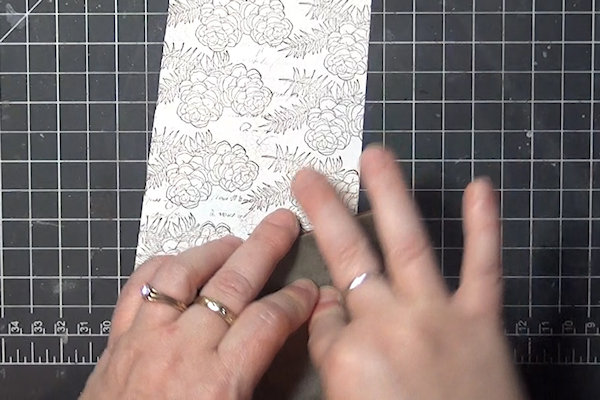
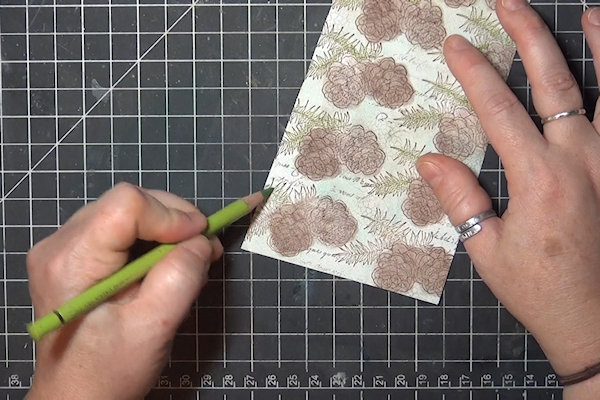
Step 4
Using a colored pencil, fill in the open areas in a loose scribble (click HERE for more instruction on coloring and blending with pencils on canvas).
-
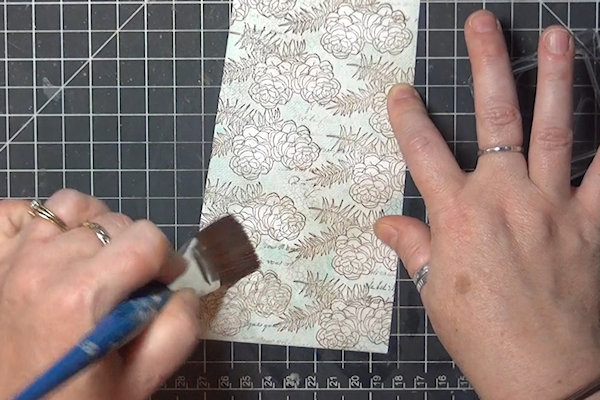
Blend out the colored pencil with a brush and rubbing alcohol for a soft colored background.
-
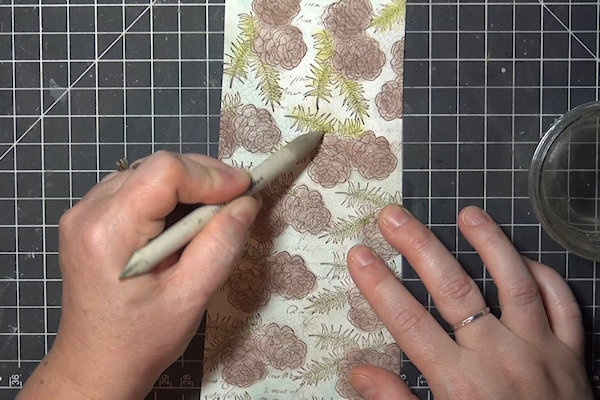
Step 5
Color in other areas of the panel. For these pinecones I used a single brown pencil.
-
Blend with your solvent of choice. I wanted a full, even and dense coverage of the pinecones, so odorless mineral spirits were used.
NOTE:
Feel free to spend more time on your coloring! Because of the small size of the finished pieces, I felt free to color loosely and not add much detail. -
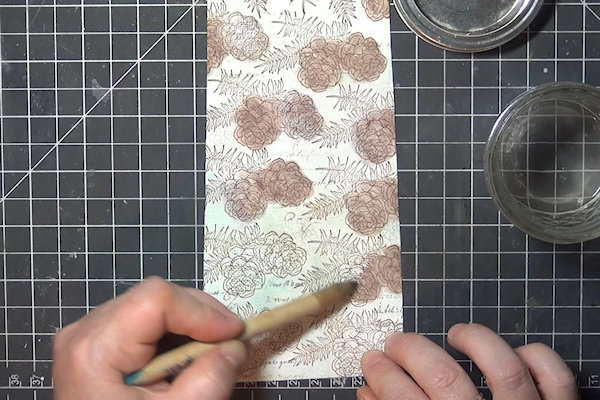
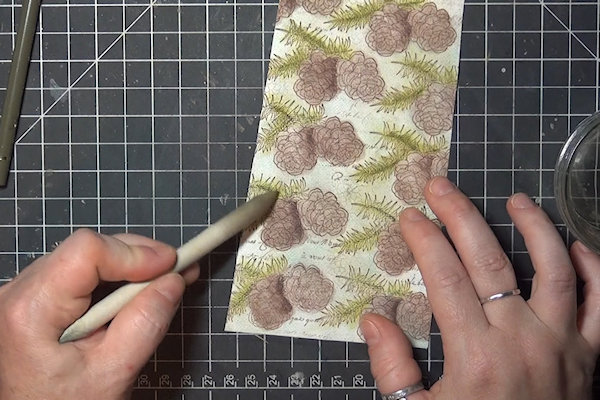
Step 6
Repeat coloring as needed for other areas of the images.
-
Blend with your method of choice.
Add shadows and layer color as needed for your design. -
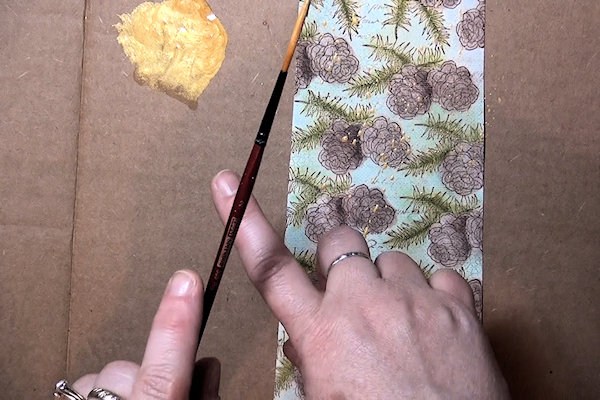
Step 7 (Optional)
Add splatters of acrylic paint or additional stamping or inking to embellish the panel before cutting.
-
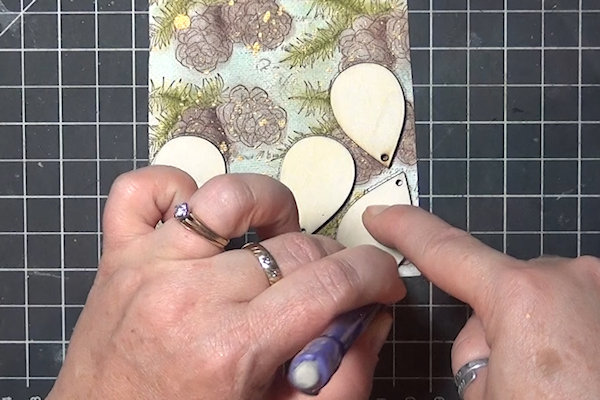
Step 8
Cut pieces of the canvas to fit your wood shapes. You can trace the shape on the top side to be sure the design appears within the shape to your liking.
NOTE:
Leave a small space between pieces so that there is room for your scissors to cut them out. -
Step 9
Spread matte gel medium on the back of the canvas and adhere it to the wood piece.
TIP:
Hold the pieces up to the light to be sure the wood is within the traced outline.
Set the pieces under an acrylic block or other flat weight until dry. -
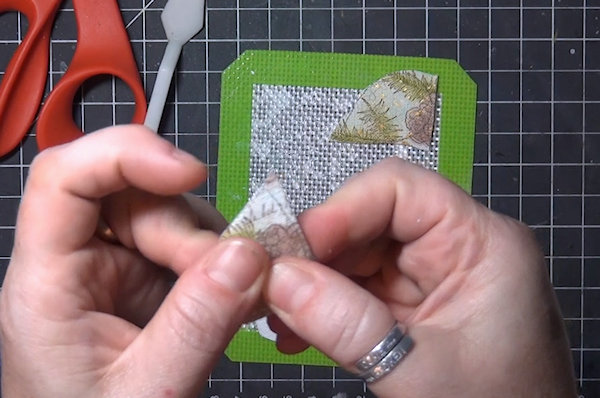
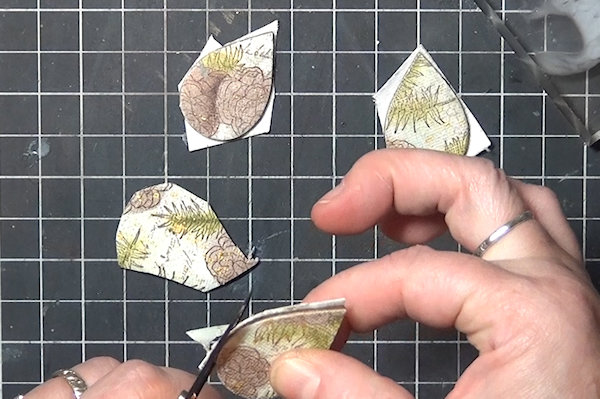
Step 10
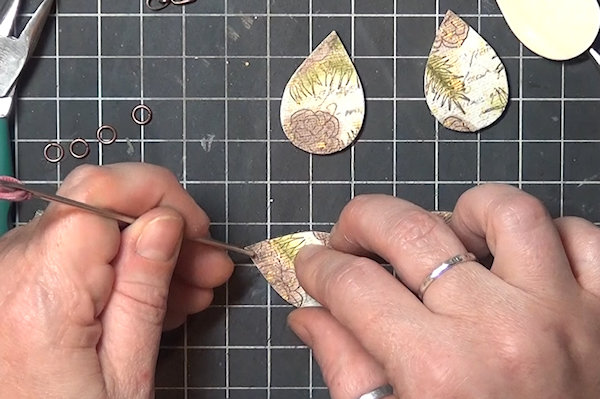
Trim closely around the edge of the wood piece with scissors.
-
Use your finger to apply gel medium around the cut edge of the canvas, pressing any loose threads down toward the side of the wood piece.
-
Step 11
Repeat steps 8-10 on the back side of the wood pieces, if desired.
-
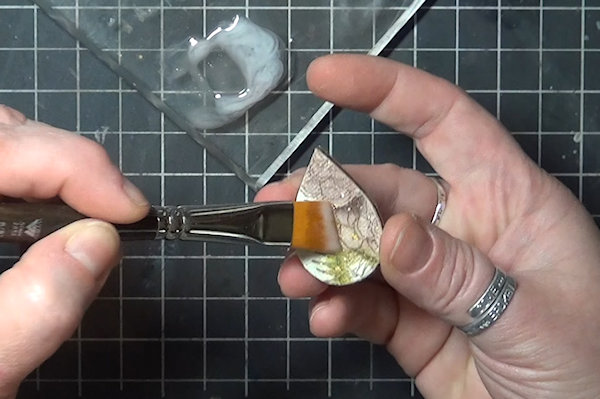
Step 12
When the pieces are dry on both sides, coat the canvas with a matte or gloss varnish (matte used here). If using gloss, more than one coat may be needed.
-
Step 13
Pierce holes through the canvas to the holes in the wood.
-
Attach jewelry findings. Pinch bails are easily applied to this style pendant.
-
Step 14
Complete the project.


Video!
Variations
Use printed or reclaimed fabric instead of colored canvas (thrift stores are a wonderful place to pick up unique clothing and fabric pieces for projects).
Paint, dye or gel print the canvas instead of coloring with pencils.
Use paper instead of fabric.
Your Turn
You've seen the tutorial, now you try it! We've got a section of the gallery set aside for Colored Canvas Pendants. Try this technique, then upload your artwork to the gallery. Show us your creations!
***Please note - Internet Explorer/Edge is not a supported browser, and will not allow you to see the videos. Please use Chrome, Firefox or Safari to view our tutorial videos.

Questions and Comments
We'd love to get your feedback or questions. Leave your comment below.
Page 1 of 1 pages