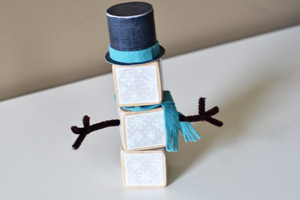
Chunky Snowman
by Thienly Azim
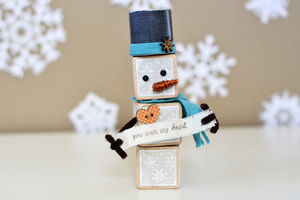
Create an adorable snowman out of wooden blocks.
Supplies
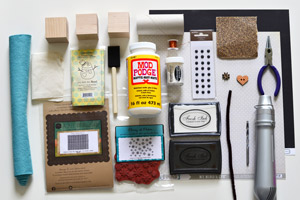
- Three 1 3/4" wooden blocks
- Cardstock for body and hat
- Stamps, Unity stamp sets Flurry of Flakes, A Bit of Burlap, You Melt My Heart used here
- Pigment Ink white and brown used here
- White Embossing Powder
- Heat Gun
- Felt
- Buttons, for hat accent and heart
- Two Dots for eyes
- Cotton Muslin Fabric
- Pipe Cleaner
- Toilet Paper Roll
- Wire
- Needle-nose Plier sandpaper Mod Podge small foam brush drill to make small hole Heat Glue Gun
Step-by-Step
-
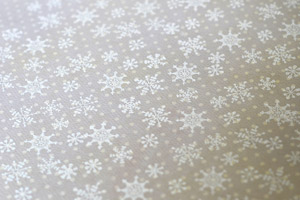
Step 1
Stamp snowflake background stamp in white pigment ink onto cardstock. Pour out white embossing powder onto the stamped area.
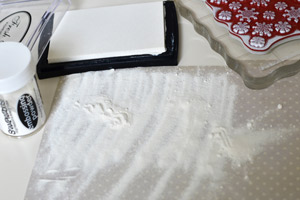
-
Step 2
Shake off the embossing powder that is not adhered onto the stamped image and emboss using heat gun.
-
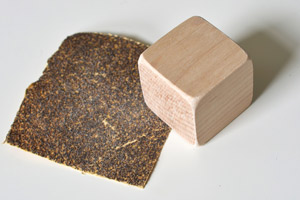
Step 3
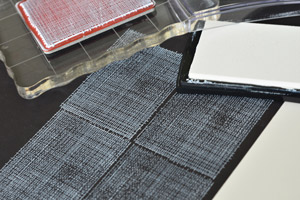
Cut twelve 1 1/2" squares. Sand the edges to give it a distressed look.

-
Step 4
Round off the corners and edges of a 1 3/4" wooden craft block, using sandpaper.
-
Step 5
Adhere the square paper pieces to the blocks withMod Podge.
Hint:
You do not have to do the top and the bottom of the cube as it won't be visible.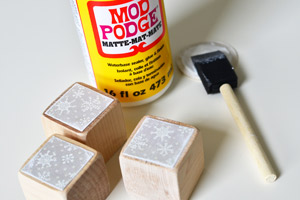
-
Step 6
Drill a small hole (about 1/2" deep) on the two sides of only one block. This is used to insert the pipe cleaner and to hold it into place.

-
Step 7
Stamp texture background stamp using white ink onto a black/dark grey cardstock.
-
Step 8
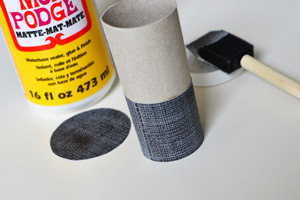
Cut a 1 3/4" x 6" strip of the above cardstock and wrap and adhere around a toilet paper roll, using Mod Podge. Cut off the portion of toilet paper roll not used.
-
Step 9
Trace the circumference of the roll onto the burlap stamped paper from step 7. Adhere to the top of toilet paper roll to create the top of your hat.
You will need to cut another circle for the base of the hat that is a bit bigger than the roll circumference, by using a jar top, compass or circle die. Cut it out and using Mod Podge, adhere to the top and bottom to create a hat.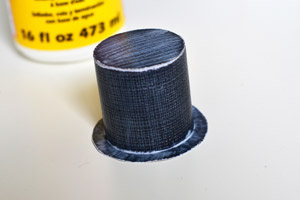
-
Step 10
Stamp the sentiment onto a cotton muslin fabric.
Hint:
You can substitute the muslin for twill.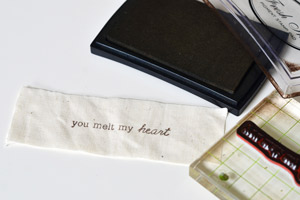
-
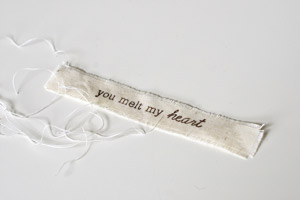
Step 11
Cut around the sentiment, and fray the edges, pulling strand at a time.
-
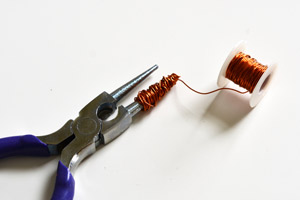
Step 12
Using needle-nose pliers, or any thin object that comes to a pointy end, wrap the wire around to create a 'carrot' for the nose.
-
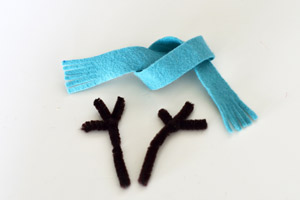
Step 13
Cut 3/4" x 12" strip of felt for the scarf, and make few incision at the ends to create a 'frayed' scarf look. Cut another 6" x 0.4"h strip to wrap around the base of the hat. Cut a full length pipe cleaner into quarters. Using one quarter, wrap it around another one to create an arm. Repeat for the other two.
-
Step 14
Adhere the wooden blocks together slightly off from each other using glue gun, making sure that the block with the side holes is in the middle. Attach the scarf between the top and the middle block and adhere the arms into the holes using glue gun.
-
Step 15
Add the rest of the embellishments - the sentiment banner, eyes, nose, hat band and the accent button, and the heart button
Video!
Your Turn
You've seen the tutorial, now you try it! We've got a section of the gallery set aside for Chunky Snowman. Try this technique, then upload your artwork to the gallery. Show us your creations!
***Please note - Internet Explorer/Edge is not a supported browser, and will not allow you to see the videos. Please use Chrome, Firefox or Safari to view our tutorial videos.

Questions and Comments
We'd love to get your feedback or questions. Leave your comment below.
Page 1 of 1 pages