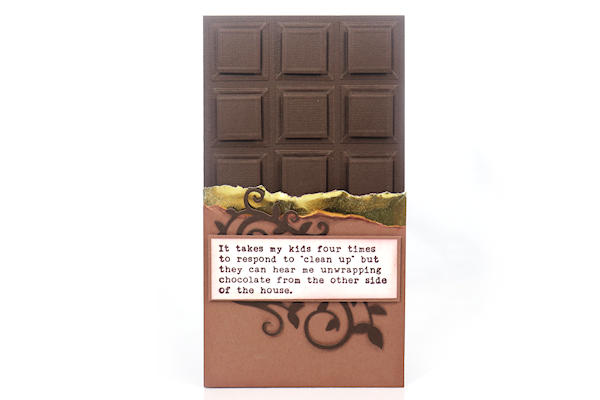
Chocolate Bar Card
by Dina Kowal
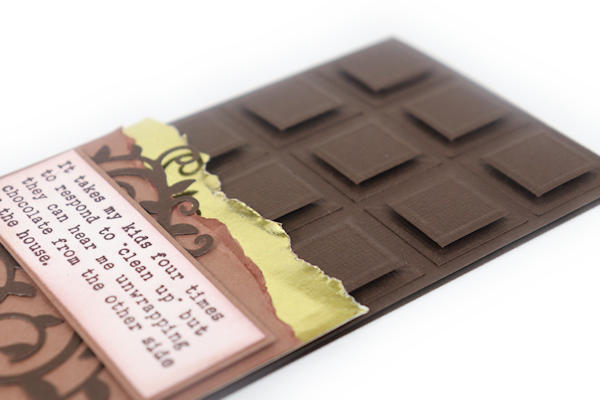
Delight a friend with a card shaped like a bar of chocolate.
Supplies
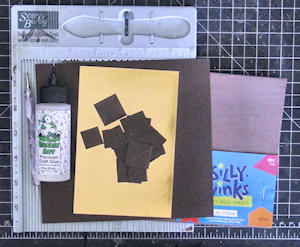
- Brown cardstock
- Trimmer or square dies (1" and 3/4")
- Adhesives (Bearly Art Glue and brown adhesive craft foam sheets used here)
- Scoring tool
- Foil paper
- Other supplies as needed to complete the project (used here: Impression Obsession C13861 Unwrapping Chocolate, Spellbinders Aug 2018 Small Die of the Month kit (flourish dies))
Step-by-Step
-
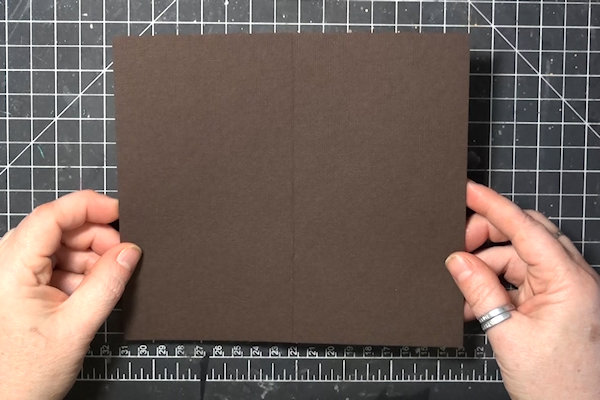
Step 1
Prepare a mini slimline card base from brown cardstock, 7” wide by 6 1/2" high. Score at 3 1/2" on the long side and fold.
-
Step 2
Cut nine 1” squares of the same brown cardstock, and nine 3/4" squares using a trimmer or dies.
-
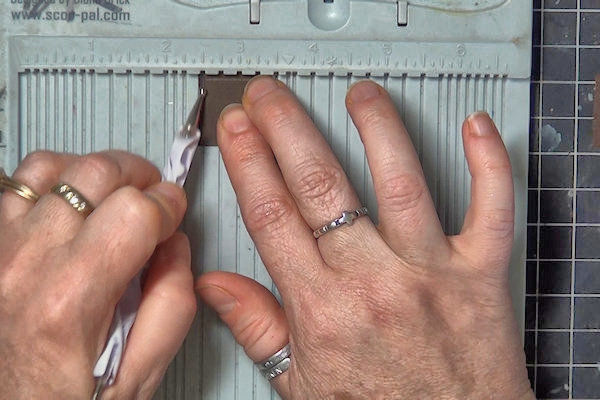
Step 3
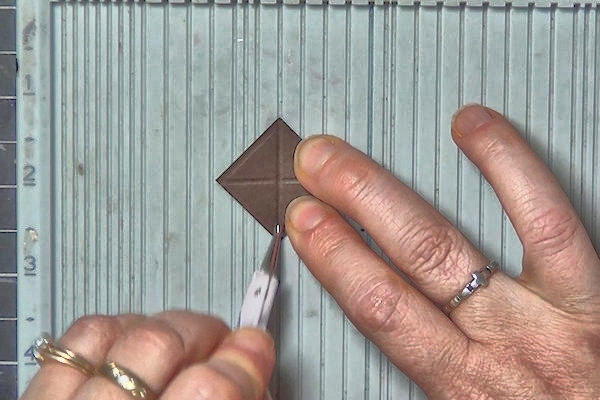
Score on each edge of a 1” square from the back side of the cardstock to create a raised edge.
-
Score an X from corner to corner, also from the back side.
TIP:
When doing the angled lines, begin scoring from the center out rather than starting at the outside. This will preserve the sharp corners of the square. -
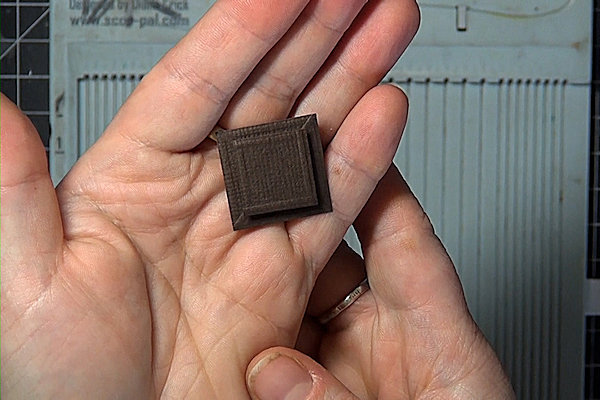
Step 4
On a 3/4" square, score around the edges from the back side of the cardstock to create a raised edge as before.
-
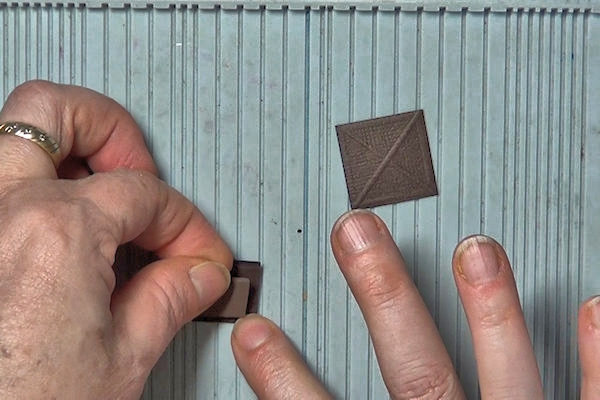
Step 5
Apply foam tape or colored craft foam to the back of the small square.
-
Adhere the small square onto the larger square, using the cross lines as a guide for centering.
-
Step 6
Repeat the above steps for the remaining squares.
-
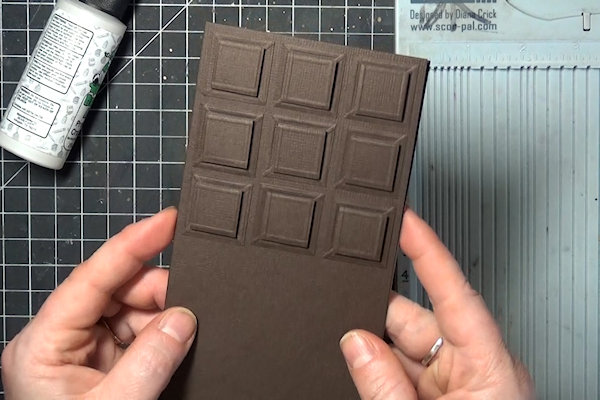
Step 7
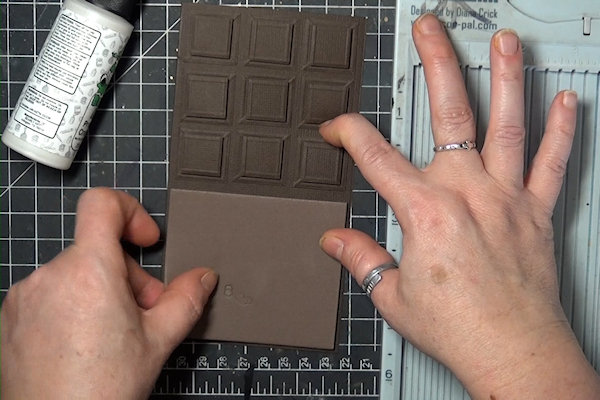
The 3 1/2” width of the card allows for 3 squares across with 1/8” borders between and at the edges. It’s helpful to position the corner pieces first, then use them as a guide for the other pieces. Create 3 rows of squares.
-
Step 8
Cut another piece of foam to cover the remaining card front (for the sample the foam is cut just smaller than the space, at 3 3/8” x 2 7/8”).
-
Step 9
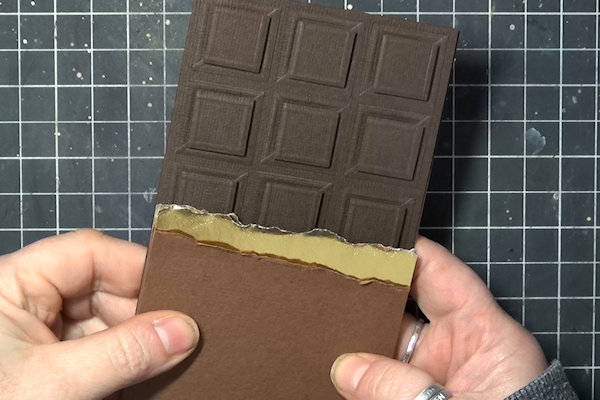
Cut a piece of cardstock for the wrapper and a piece of foil paper for the liner, both to 3 1/2” wide and about the same height.
-
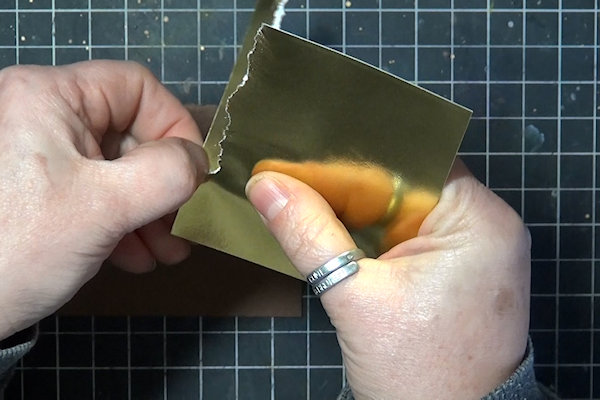
Tear across the top of each piece.
TIP:
Tear the foil paper away from the foiled side so the foil goes to the edge (tearing toward you will create a white edge). -
Step 10
Adhere both pieces to the card front as shown.
-
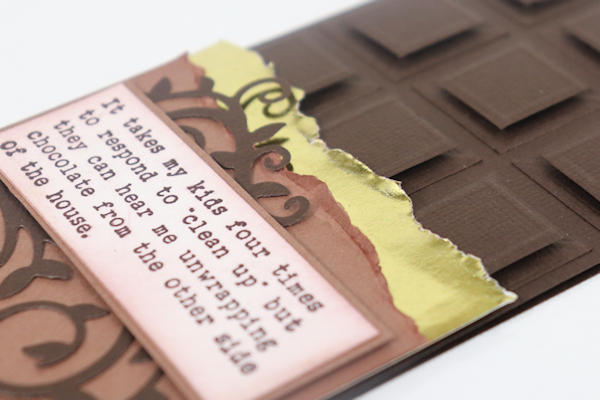
Decorate the card front as desired.
-
Step 11
Complete the project.


Video!
Your Turn
You've seen the tutorial, now you try it! We've got a section of the gallery set aside for Chocolate Bar Card. Try this technique, then upload your artwork to the gallery. Show us your creations!
***Please note - Internet Explorer/Edge is not a supported browser, and will not allow you to see the videos. Please use Chrome, Firefox or Safari to view our tutorial videos.

Questions and Comments
We'd love to get your feedback or questions. Leave your comment below.
I also noticed you have the original Scor-Buddy, as do I. I make hundreds of cards I donate to the VA Hospital each year for our hospitalized vets. I was making mistakes counting out different measurements to score. (Perhaps its just me when I get in a hurry or when making multiples my mind wonders and I end up with score lines in the wrong place......) I did not want to buy a newer one with the actual ruler measurements listed at the top. I emailed them at their web address listed on the Scor-Buddy and asked them if they had a sticker with the ruler measurements. They were super nice and replied the did have a sticker that shows the measurements and sent it out to me. I stuck it on the top and am quickly able to find the exact measurements without counting it out. Fabulous company.
(Not to mention entirely true!)
Page 1 of 1 pages