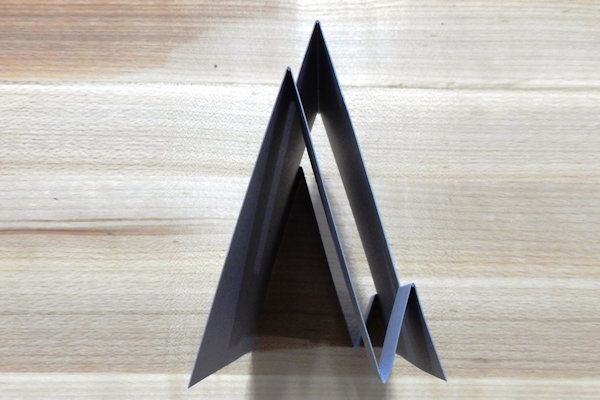
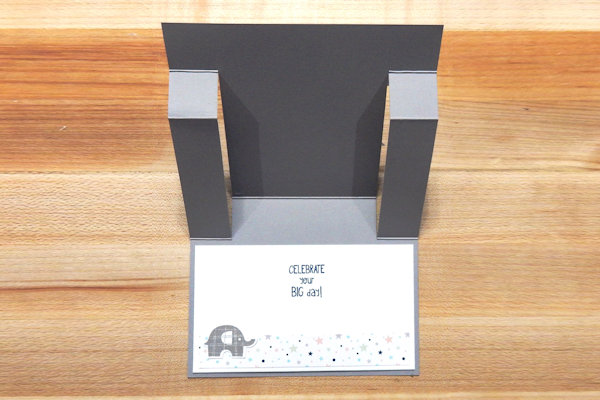
Center Step Gift Card
by Wendy Lee
Tuck a gift inside this fancy fold card.

Supplies
- Cardstock – 5 1/2” x 8 1/2”, 4” x 5 1/4” (Stampin’ Up!® Gray Granite and Whisper White cardstock used here)
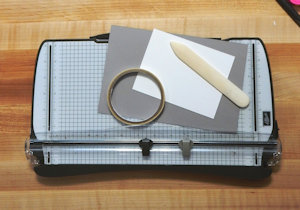
- Paper trimmer
- Scoring tool
- Bone folder
- Adhesive
- Other supplies as needed to complete the project (SU supplies used here: Night of Navy & Whisper White cardstock, Twinkle Twinkle Designer Series paper, Night of Navy & Gray Granite ink, Stitched Labels Framelit dies, Elephant Builder punch, 1/8” Sheer white ribbon, Twinkle adhesive backed sequins, Dimensionals)
Step-by-Step
-
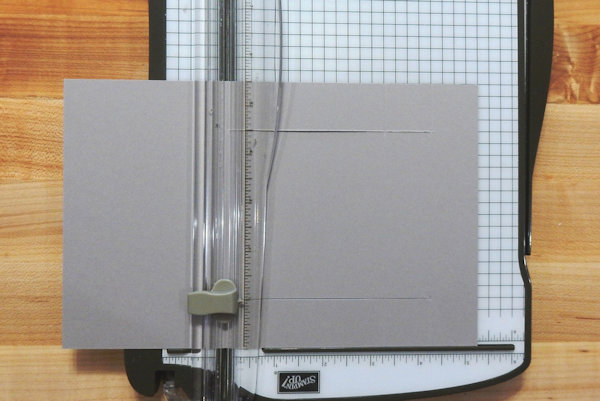
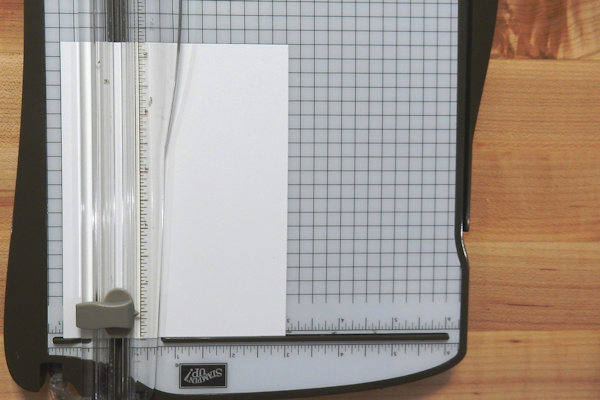
Step 1
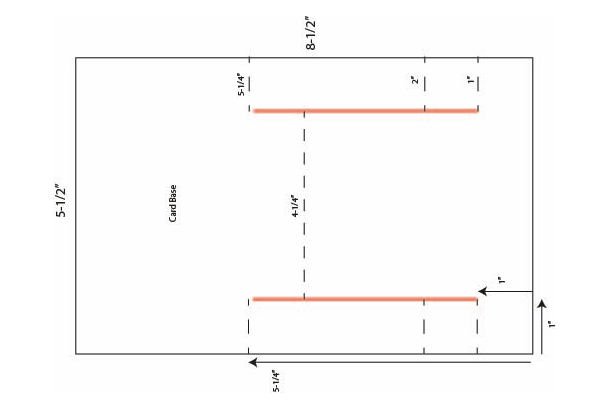
Cut in 1” from each side of a piece of 8 1/2” x 5 1/2” cardstock between 1” and 5-1/4” on the long side. (Cut lines are shown as red lines on the template.)
-
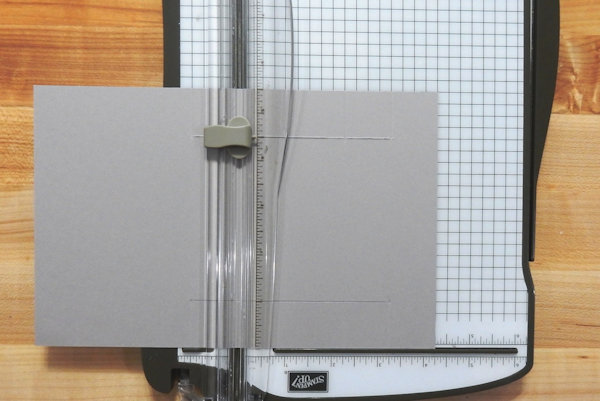
Step 2
Turn the cardstock and score along outside sections on the short side at 1”, 2” and 5 1/4”.
-
Score the middle section at 4-1/4”. (Score lines are shown as dashed lines on the template.)
-
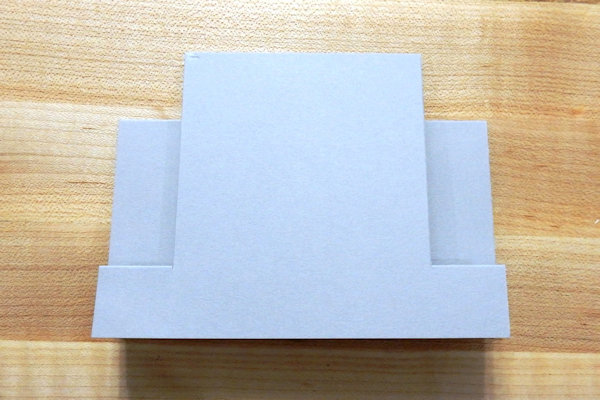
Step 3
Mountain fold the card base along the score lines.
-
-
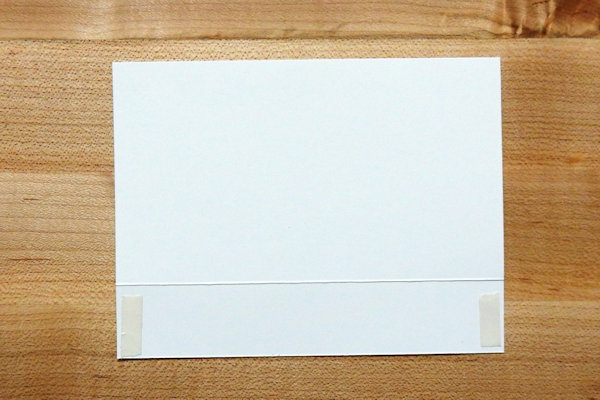
Step 4
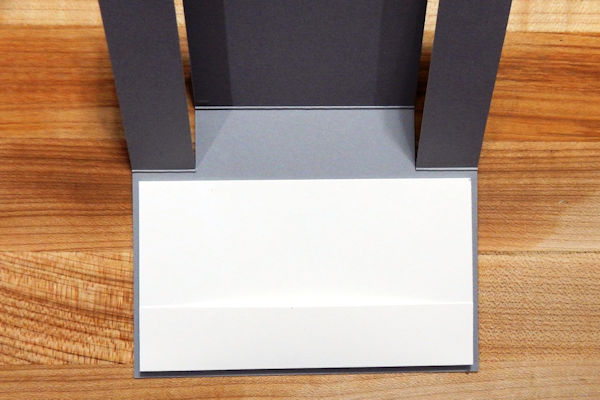
For the inside pocket, score 4” x 5-1/4”cardstock from the short side at 1”.
-
Step 5
Fold along the score line.
-
Add adhesive to the outer edges of the bottom flap. Fold the flap up to create a pocket.
-
Step 6
Add adhesive to the back of the pocket and adhere it to the inside of the card base.
-
Step 7
Embellish the card as desired.
-
Complete the project.


Video!
Your Turn
You've seen the tutorial, now you try it! We've got a section of the gallery set aside for Center Step Gift Card. Try this technique, then upload your artwork to the gallery. Show us your creations!
***Please note - Internet Explorer/Edge is not a supported browser, and will not allow you to see the videos. Please use Chrome, Firefox or Safari to view our tutorial videos.

Questions and Comments
We'd love to get your feedback or questions. Leave your comment below.
Thank you for this great tutorial. Such a fun and creative way to present a gift card. I'm going to CASE this to make my Christmas gift cards this year.
And I send gift cards for ice cream with all family birthday cards, so I hope to make quite a few! Thank you!
Thanks for sharing this tutorial - super cute card idea! I love the little details you added and the clear instructions.
Page 1 of 1 pages