Center Stage
by Dina Kowal
Use masking to create a stage floor and spotlight for a character image.

Supplies
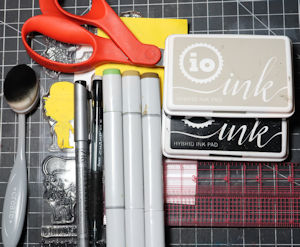
- Cardstock
- Masking paper (Post-It Note and letter weight paper used here)
- Scissors
- Black ink for stamping
- Stamps (Kindred Stamps Golden Age set used here)
- Fine line pen (black or brown)
- Ruler
- Grid mat (optional)
- Coloring medium (Copic markers used here)
- Grey and black ink for sponging (Impression Obsession hybrid inks used here)
- Ink applicator (blender brushes used here)
- Other supplies as needed to complete the project (battery eraser, pearl metallic ink, colored pencils, Impression Obsession DIE175-W Instant Photo Frame die set)
Step-by-Step
-
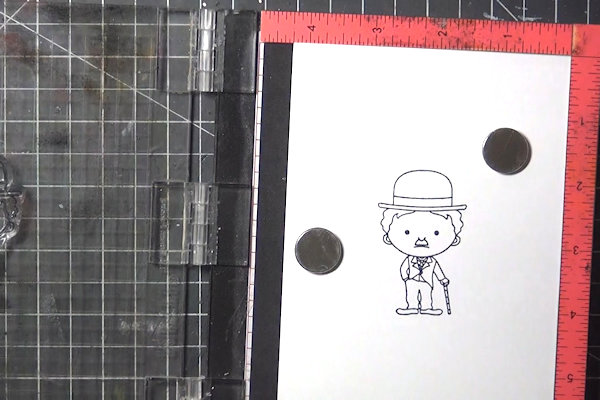
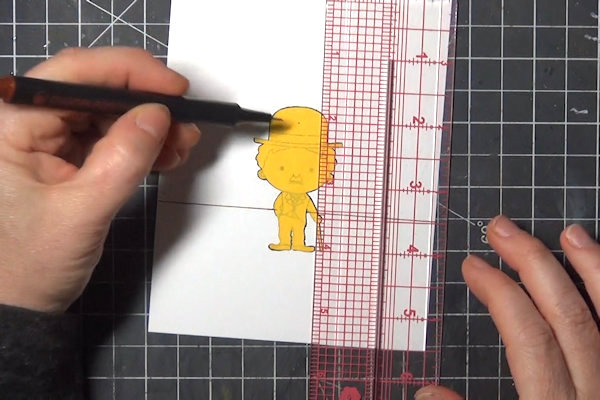
Step 1
Stamp a character in the center of a white card panel.
-
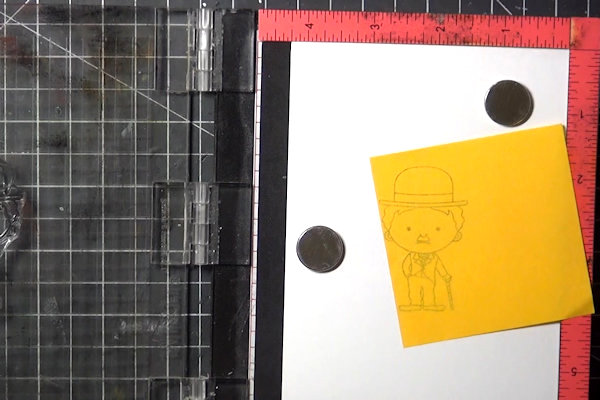
Step 2
With the stamp still in place, ink and stamp onto a sticky note or masking paper.
-
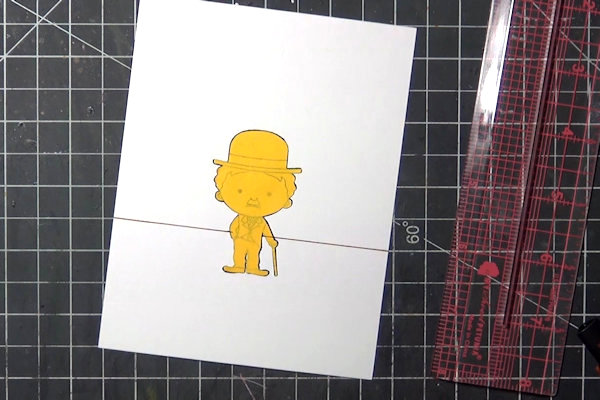
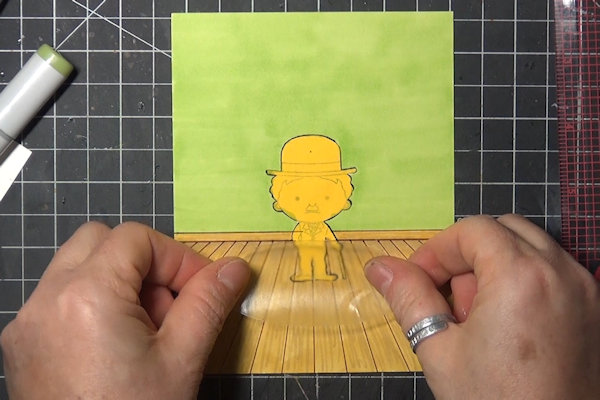
Cut out the mask and apply it to the card panel.
Draw a horizontal line across the card, somewhere above the character’s feet. (The higher the line, the further back it will appear to be.) -
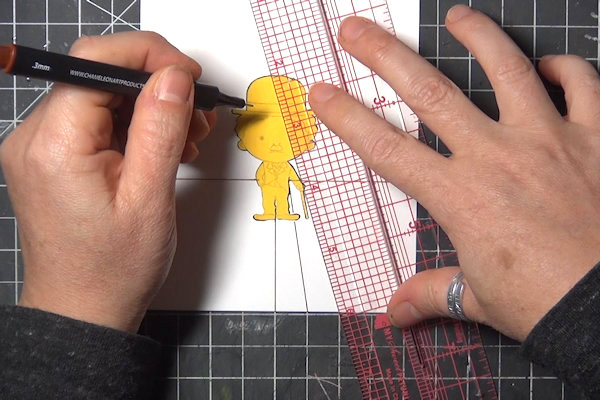
Step 3
Pick a 'vanishing point' – for the sample this is on his hat - and mark it with a pencil. This should be somewhat centered horizontally but it can go anywhere above the floor line.
NOTE:
If the point is lower, the floor will look more eye-level and the boards will have a wider spread. -
Step 4
Mark 1/2" increments across the bottom of the panel with a pencil, or use a gridded mat or paper for alignment.
For each floor board line, align your ruler with the vanishing point and with a 1/2" mark, then draw the line from the horizontal line down. -
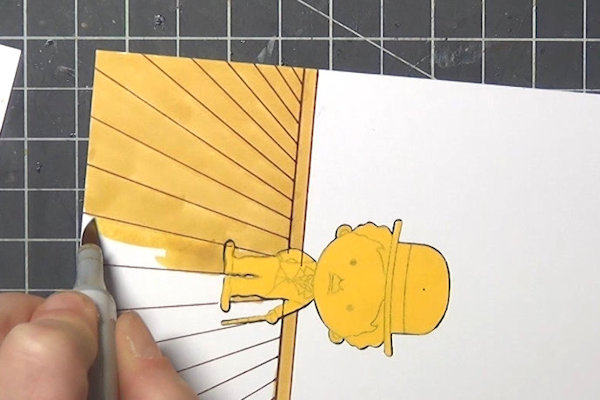
Keep drawing lines until the floor is full - you'll need 1/2" (or whatever increment) lines out beyond the panel to the left and right to fill the space. Add a second line across the panel above the first one to create a baseboard.
-
Step 5
Color in the base color of the floor.
-
Add slightly darker strokes in the same direction of the floor board lines to create a wood grain effect.
-
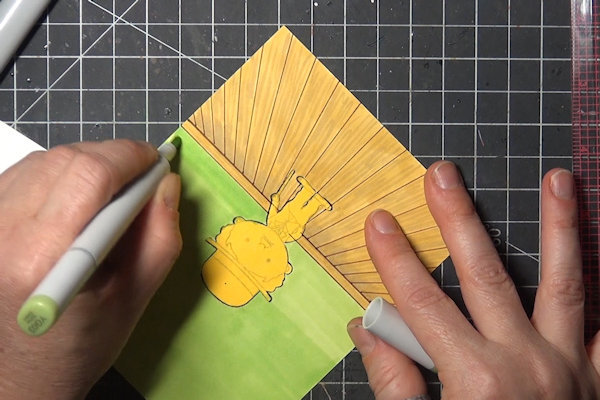
Step 6
Color the wall.
-
Step 7
Die cut a long oval out of masking paper or clear removable contact paper for the stage light. Place it so the character’s feet are in the central area of the oval.
-
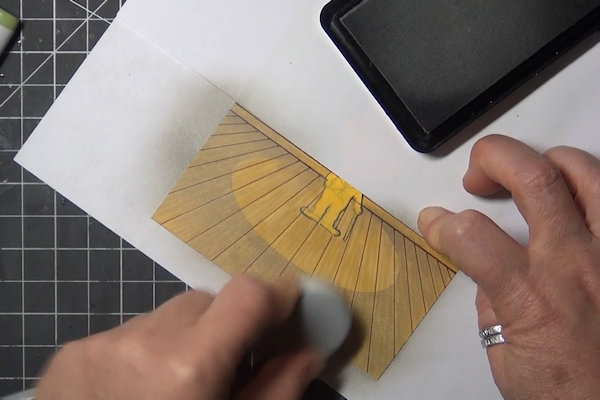
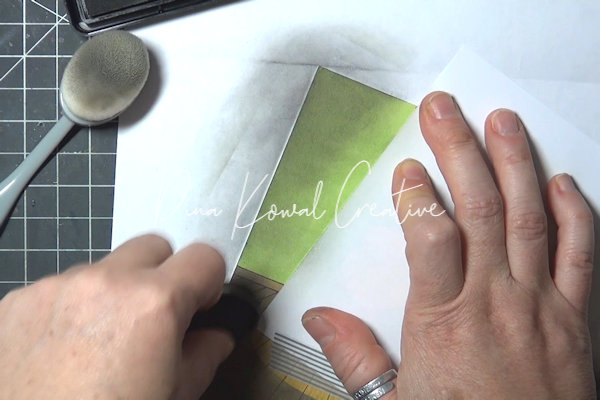
Step 8
Mask off the panel at that baseboard line, then sponge or brush grey ink around the whole floor, and black around the edges.
-
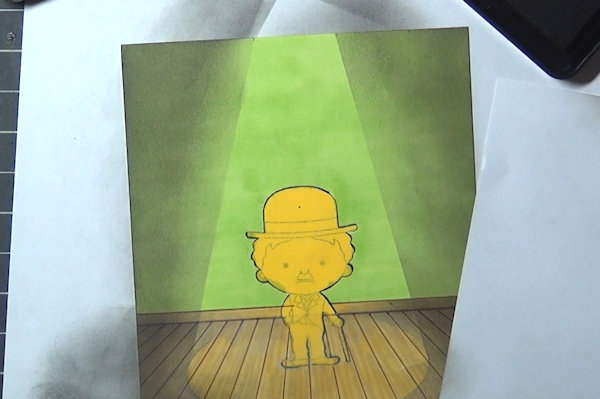
Step 9
Mark two points at the the top of the panel for your spotlight. They can be centered or off set, and 1/2" to 1-ish" apart. No need to measure.
-
Step 10
Mask a straight line from the left mark to the outside of the oval (but not beyond the oval).
-
Repeat on the other side.
-
Step 11
Sponge or brush black ink toward the edge of the panel.
-
Repeat on the other side.
-
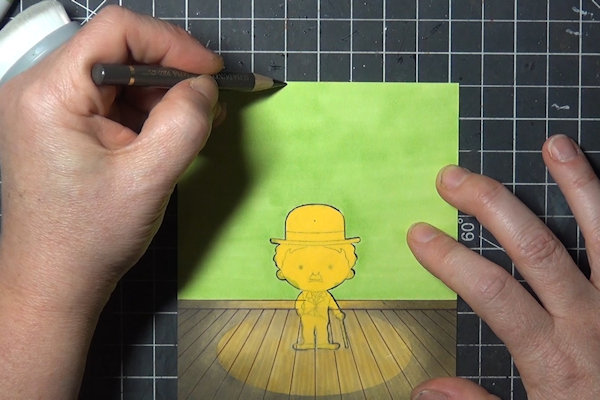
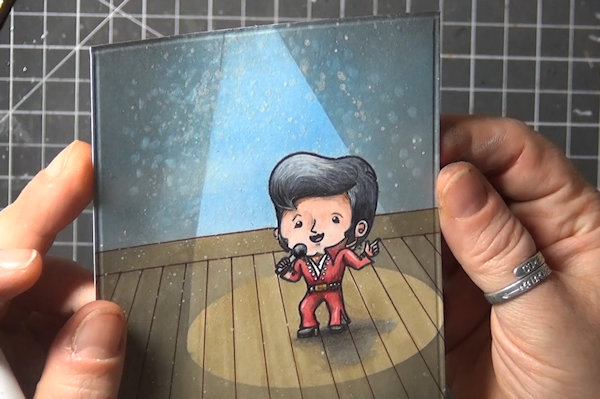
Step 12
Remove the masks and color in the character. Add a shadow to the floor (remember the shadow will be ‘short’ since the light is directly above).
-
Step 13
Add the panel to a card front and embellish to complete the project.


Video!
Variations
-
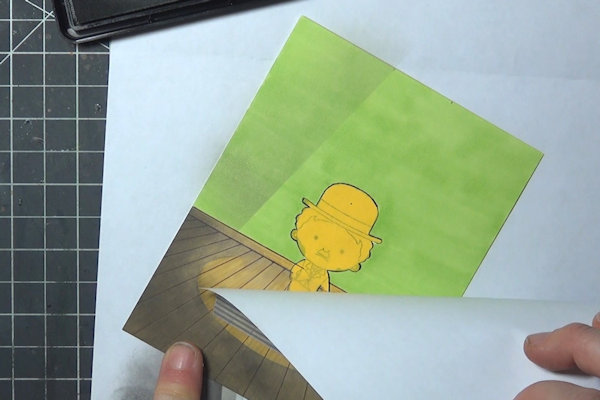
Try different placement of the vanishing point, image, and/or spotlight.
For this sample the vanishing point for the floor boards was about 1/2" above the top of the card panel. This makes it look more like we're looking down on the stage. The character is off-center, so the spotlight is angled.
Your Turn
You've seen the tutorial, now you try it! We've got a section of the gallery set aside for Center Stage. Try this technique, then upload your artwork to the gallery. Show us your creations!
***Please note - Internet Explorer/Edge is not a supported browser, and will not allow you to see the videos. Please use Chrome, Firefox or Safari to view our tutorial videos.

Questions and Comments
We'd love to get your feedback or questions. Leave your comment below.
Page 1 of 1 pages