Card Purse
by Jodi Collins
Slip a few cards and envelopes into this purse for a quick and personal gift.
Supplies
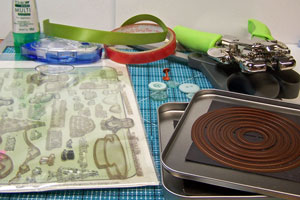
- One piece of cardstock 5 3/4" X 11"
- Two pieces of cardstock 4 1/8" X 4 3/4"
- Two pieces of cardstock 1/2" X 4 3/4"
- Patterned Paper as desired
- Scor-Pal™, or other scoring tool
- Scissors
- Circle Nestabilities™ or circle punches
- Crop-A-Dile™
- Tacky Tape™, or other strong adhesive
- Two 11" strips of ribbon
- Adhesive
- Your choice of brads, buttons or eyelets (something to attach the ribbon handles)
- Stamps and Embellishments of your choice
Step-by-Step
-
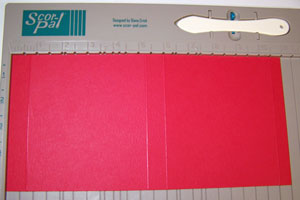
Step 1
Score your 5 3/4" X 11" piece of cardstock at 10.5", 6", 5.25" and 3/4".
-
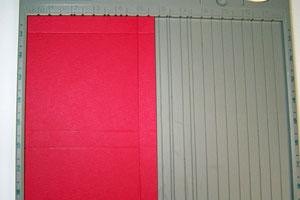
Step 2
Turn the cardstock and score lengthwise at 5".
-
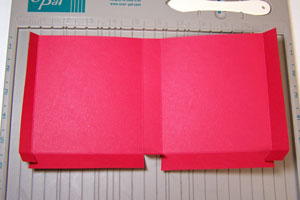
Step 3
Cut the bottom flaps as shown.
-
Step 4
Decorate the front, back and side panels using your patterned paper or stamped panels as you wish.
Do not adhere these to the box yet.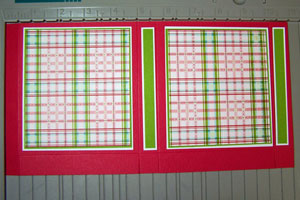
-
Step 5
Using a die cutting machine (I used a Cuttlebug™ and Circle Nestabilities™) or circle punches, cut a circle notch in the center of both the front and back of the box.
Do the same with your decorated panels.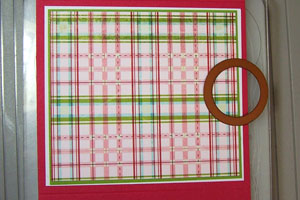
-
Step 6
Place Tacky Tape™ as indicated. Fold and assemble the box.
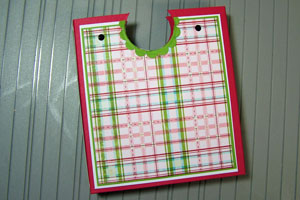
Once assembled, adhere your front, back and side panels to the purse.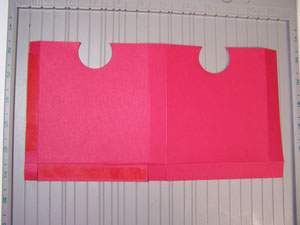
-
Step 7
Using a small circle punch or Crop-A-Dile™, punch two holes on either side of the circle notch. Do this to the front and back of the purse in the same spot.
-
Step 8
Attach your ribbon handles using brads.
Hint:
You can use any random brads from your stash if you plan to cover them up in the finished project. If not, use something that will match your final project.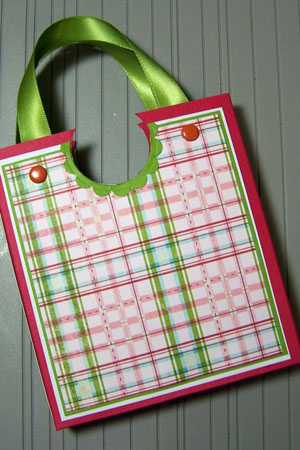
-
Step 9
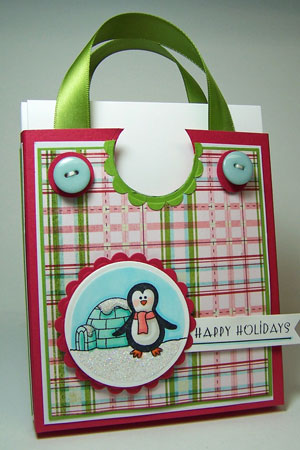
Embellish your purse as desired.
-
Step 10
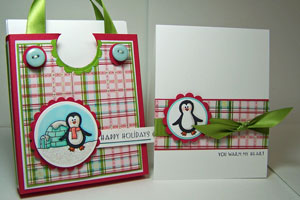
Make a set of matching notecards and envelopes for a fast, easy, handmade gift!
Video!
Your Turn
You've seen the tutorial, now you try it! We've got a section of the gallery set aside for Card Purse. Try this technique, then upload your artwork to the gallery. Show us your creations!
***Please note - Internet Explorer/Edge is not a supported browser, and will not allow you to see the videos. Please use Chrome, Firefox or Safari to view our tutorial videos.

 *
*
Questions and Comments
We'd love to get your feedback or questions. Leave your comment below.
Thanks for pointing that out. I mispoke in the video. The score line is at 5 1/4". I added a text to the video to point that out. The allignment I show to get that score line on the Scor-Pal is correct though.
I apologize for the mistake.
I check the supply list for this tutorial. Click on the word Scor-Pal and it will take you directly to the Scor-Pal website. You can purchase the tool there, or you can also type Scor-Pal into your google search engine and find a lot of other stores that carry my very favorite scoring tool!
Happy Thanksgiving!
Hugs and smiles
Beate - thanks so much for making the videos! It goes to show how FAST one of these can be made - and makes it easier for me to create one since I am a visual person!
Thanks!
Rachel
The box is 3/4" wide. How many cards with envelopes you get in there, depends on how thick you make them. I would suggest cards without ribbon and brads. Then you should fit four in there.
Happy Thanksgiving.
Hugs and smiles
Thanks for sharing, Wish you and your Happy Thanksgiving
Page 1 of 3 pages 1 2 3 >