Card Pouch
by Cindy Lawrence
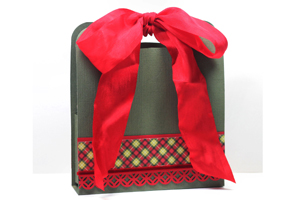
Make a sweet card pouch to hold a set of note cards…perfect for holiday gift-giving!
Supplies
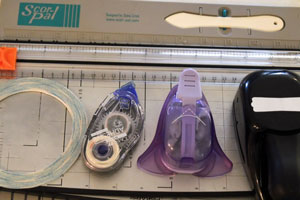
- Paper Trimmer
- Scor-Pal™, or other scoring tool
- One 5" x 12" piece of cardstock
- Two 2 3/4" x 5 3/4" pieces of cardstock
- Scor-Tape™
- Tag Punch, or other punch for pouch handle
- Corner Rounder
Step-by-Step
-
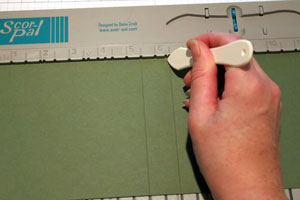
Step 1
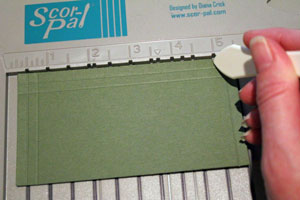
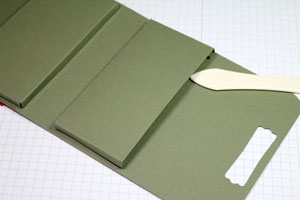
Score a 5" x 12" piece of cardstock at 5 1/2" and 6 1/2".
-
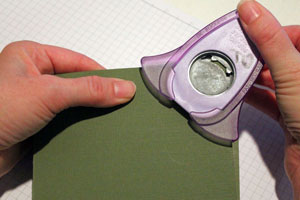
Step 2
Round all four corners.
-
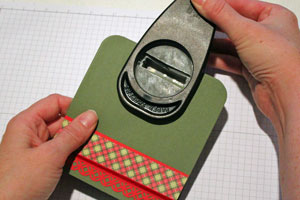
Step 3
Punch through top of both layers to make handle.
-
Step 4
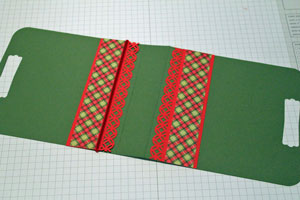
Decorate the outside of your pouch as desired.
-
Step 5
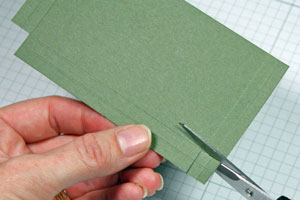
Score both 2 3/4" x 5 3/4" pieces of cardstock at 1/4" and 1/2" on one of the long and both short sides.
-
Step 6
Cut the little squares off in each of the two bottom corners.
-
Step 7
Adhere Scor-Tape™ to each flap.
-
Step 8
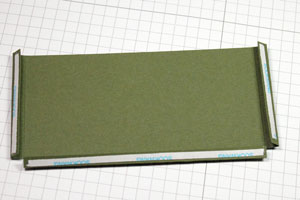
Attach pockets to inside of pouch, almost all the way to the bottom. Use bone folder to secure pockets.
-
Step 9
Enjoy your completed project!
-
To learn how to create matching envelopes, check this tutorial.
To make this hold A2 cards, see this update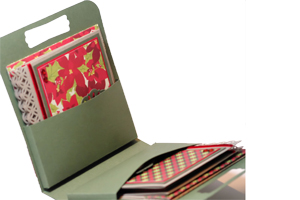
Video!
Your Turn
You've seen the tutorial, now you try it! We've got a section of the gallery set aside for Card Pouch. Try this technique, then upload your artwork to the gallery. Show us your creations!
***Please note - Internet Explorer/Edge is not a supported browser, and will not allow you to see the videos. Please use Chrome, Firefox or Safari to view our tutorial videos.

 *
*
Questions and Comments
We'd love to get your feedback or questions. Leave your comment below.
kind regards ..
Thanks!
I knew your tutorial would be wonderful! I like this pouch even more now that I see that I could even make them! Thank you for taking the time to show us in clear steps how to make this project one of our "Must-Do's!"
He IS Able!
Traci S.
http://He-IS-Able.blogspot.com
We give away a card set each week!
God Bless!
Kris K
I have watched your video about the holiday card pounch. In the end of this video you say that you made a tutorial about the making of envelops. I want to see this, can you tell me where I can gind this one ?
Caroline Church
Rensselear County Home
Bureau Craft Chairman.
Check Step 9. A link to the envelope tutorial is posted there.
Hugs and smiles
Page 1 of 2 pages 1 2 >