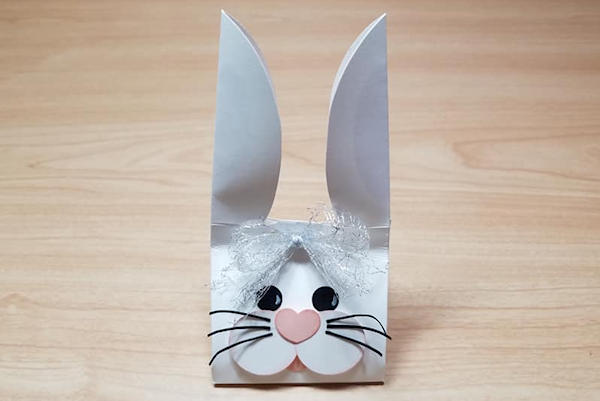
Bunny Carton
by Twila Davis
Make a bunny-shaped carton for sweet treats.
Supplies
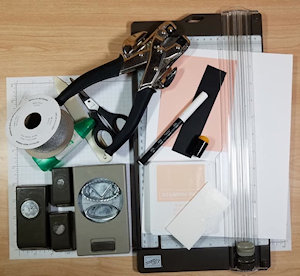
- Cardstock (8" x 10 1/2" base, Stampin' Up!® Whisper White used here), scrap of black (1 1/4" x 5", SU Basic Black used here) and scrap of pink (SU Petal Pink used here)
- Paper Trimmer with scoring blade
- Punches or dies - 3/8" circle, 1" circle, small heart, oval, 3/4" circle (optional)
- Pink ink (SU Petal Pink used here)
- Scissors
- Bone folder
- Crop-a-dile
- Adhesives (Dimensionals and Tombow Mono Liquid Glue used here)
- Other supplies as needed to complete the project (Stampin' Chalk Marker, Sponge Dauber, Wide Ribbon, Easter Grass & Candy)
Step-by-Step
-
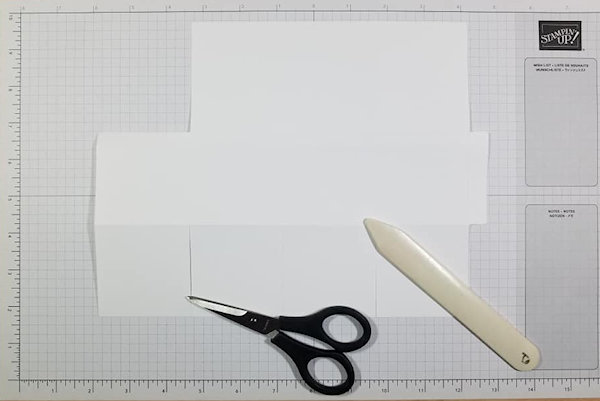
Step 1
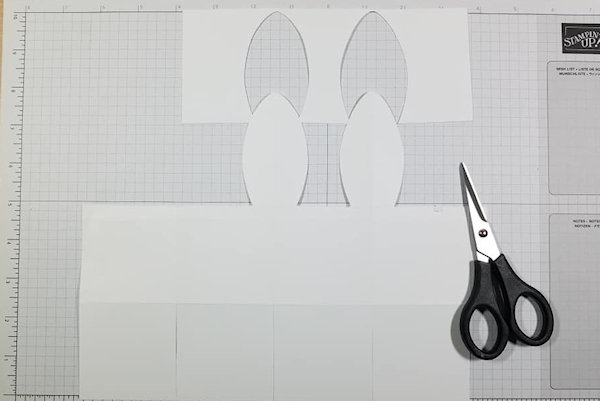
Score the piece of white cardstock along the long side at 2 1/2", 5", 7 1/2", and 10".
Turn the cardstock a quarter turn to the right and score at 2 1/2", 4 5/8" and 5". -
Step 2
Using the bone folder, crease all folds. Cut away the spaces marked in the picture. Cut the three slits at the bottom as shown.
-
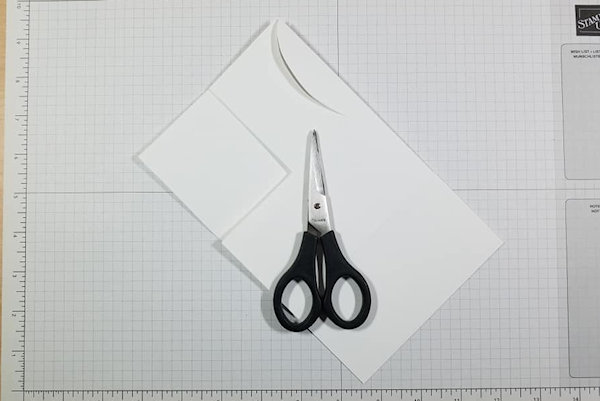
Step 3
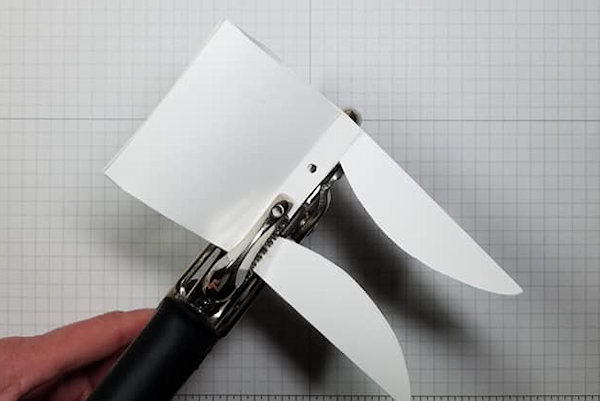
Fold the cardstock in half as shown. Use scissors to cut an ear shape from the top to the fold line.
-
Step 4
Flip the cardstock over and refold in half again. Cut out another ear shape stopping at the fold line.
-
Step 5
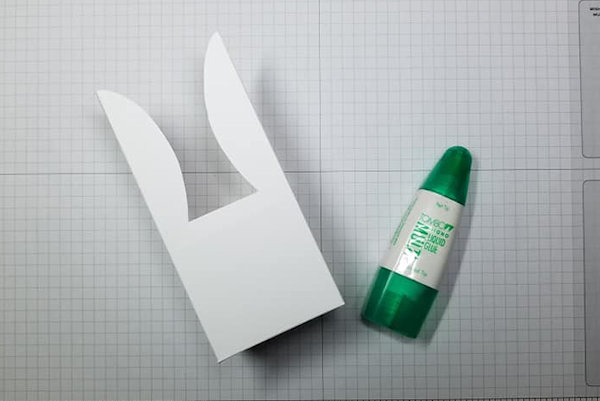
Cut off the remainder of the cardstock from the top as shown below.
-
Step 6
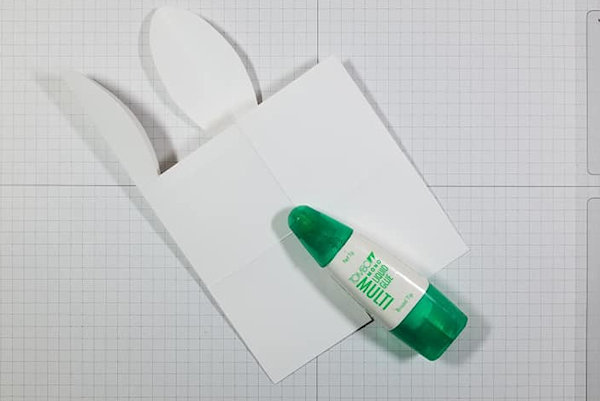
Attach the sides of box together by adding glue to the side flap and attaching to the other side.
-
Step 7
To form the bottom of box, add glue to one of the bottom side flaps and fold the other on top. Then fold the back flap down and add glue and fold the front flap back over it.
-
Step 8
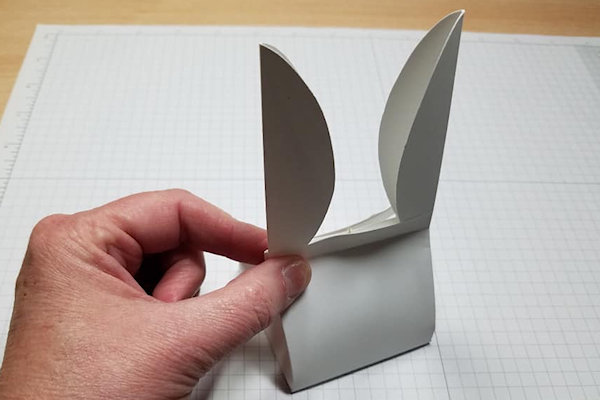
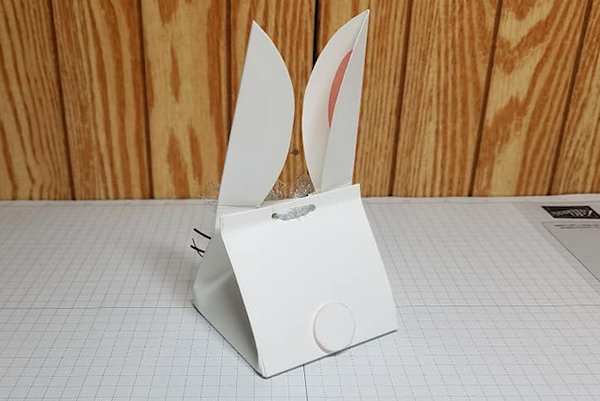
Using your fingers, pinch the top in from both sides to form a box that resembles a milk carton.
-
Step 9
From each side using the Crop-a-dile and the smaller hole, punch in 7/8" in the middle of the score line at the top, while folded in.
-
Step 10
Punch two 3/8" circles from black cardstock. Add a few highlight to them using a chalk marker.
Cut six narrow strips of black cardstock for whiskers.
Punch a 3/8" circle, a heart, and two ovals from pink cardstock. Use pink ink and a sponge dauber to sponge around all of the pink pieces.
Score the ovals in the middle to fit inside the ears.
Punch two 1" white circles and sponge around them using pink ink. -
Step 11
Glue the pink ovals inside the ears.
-
Step 12
Attach the cheeks to the front of box as shown with Dimensionals. Using glue attach the rest of pieces. Curl up the ends of the whiskers before attaching them. Trim the whiskers as needed.
-
Step 13 (Optional)
Punch a 3/4" white circle and sponge with pink. Attach it to the bottom on the back side with a dimensional for the tail.
-
Step 14
Add some Easter grass and candy to the inside of box. Cut a 10" piece of wide ribbon; thread it through the holes in the box and tie in a bow to the front to complete the project.


Video!
Your Turn
You've seen the tutorial, now you try it! We've got a section of the gallery set aside for Bunny Carton. Try this technique, then upload your artwork to the gallery. Show us your creations!
***Please note - Internet Explorer/Edge is not a supported browser, and will not allow you to see the videos. Please use Chrome, Firefox or Safari to view our tutorial videos.

Questions and Comments
We'd love to get your feedback or questions. Leave your comment below.
Page 1 of 1 pages