Bubble Background
by Dina Kowal
Catch bubbles on cardstock to create a unique background every time.
Supplies
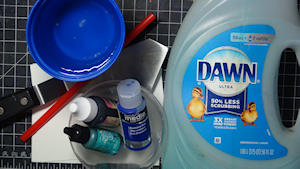
- Container
- Water
- Dish soap
- Water-soluble medium (watercolor powder, dye reinker, acrylic/craft paint, etc - alcohol inks will even work)
- Drinking straw
- Heavy cardstock or watercolor paper
- Palette knife (opt.)
- Other supplies as needed to complete the project (used here: Inkadinkado vintage stamp 9072X, Sweet 'n Sassy Stamps Fin-tastic Friends Clear Stamp Set, Versafine Clair inks, black detail embossing powder, Impression Obsession DIE797 Crazy Stitched Set and DIE837 Wacky Stitched Circles, bleach and nylon brush, QoR watercolors, flat back pearls, white acrylic craft paint, foam tape)
Step-by-Step
-
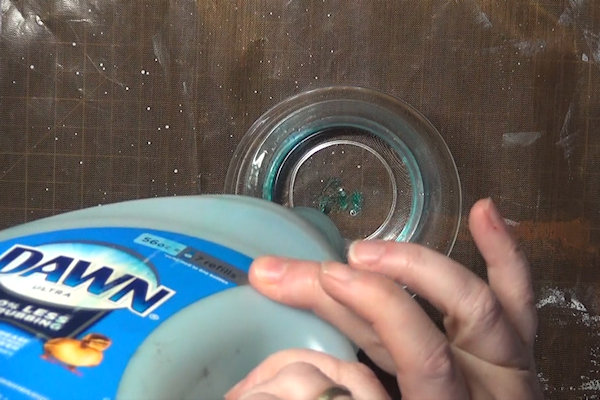
Step 1
Add a small amount (about 1/2" depth) of water to a bowl. Drizzle in a little dish soap.
-
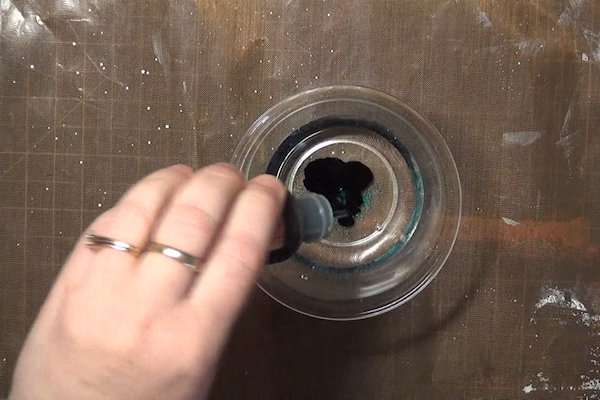
Step 2
Add in a liquid coloring medium of your choice. Ideas:
Dye reinker
Watercolor powder (Brusho or other brand)
Acrylic/craft paint
Alcohol ink (this will work because the dish soap breaks the surface tension)
NOTE:
Experiment with different amounts based on your desired results – more of the medium will produce a darker background. -
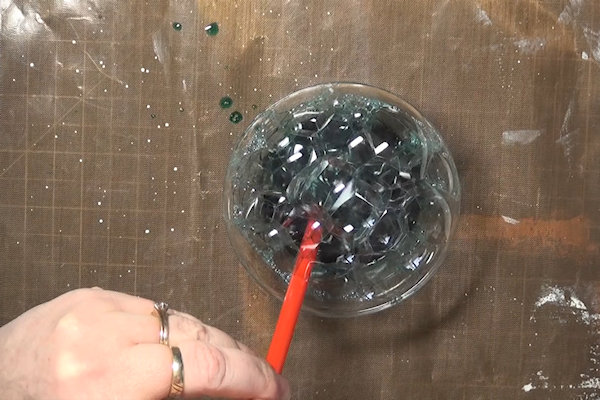
Step 3
Put a straw down into the mixture and blow air through the other end of the straw to create bubbles.
-
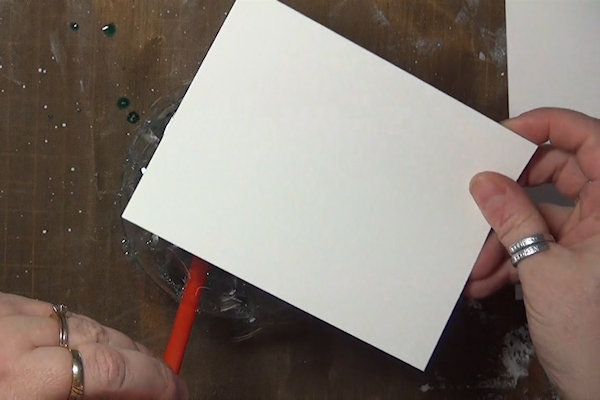
Step 4
While still blowing, hold a piece of cardstock or watercolor paper over the bubbles to catch them on the surface.
-
Use a scrap of paper to take a sample and determine if you need to add more of the medium into the mixture for darker results. Adjust as needed.
-
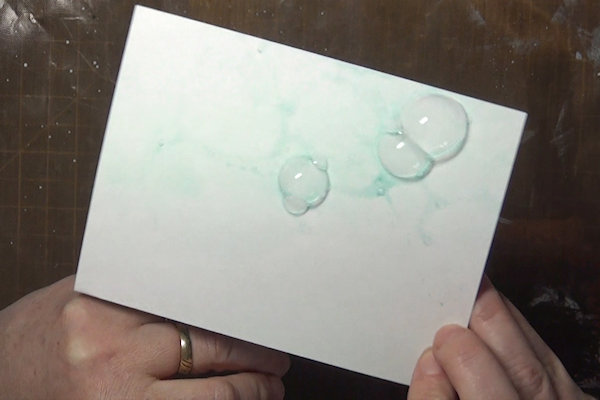
Step 5
Continue blowing and applying the bubbles to the cardstock until the area is full or you have the effect you want.
NOTE:
The longer bubbles sit on the cardstock, the clearer their outlines will be. -
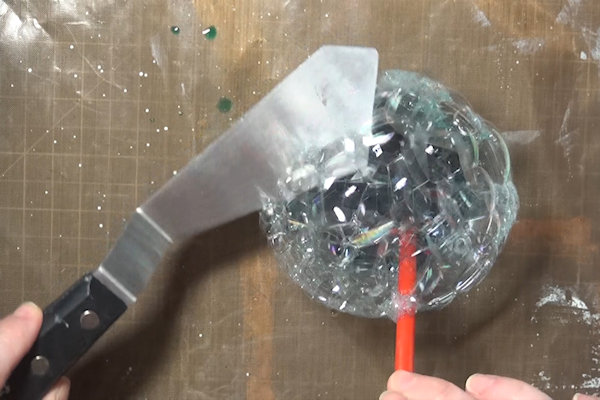
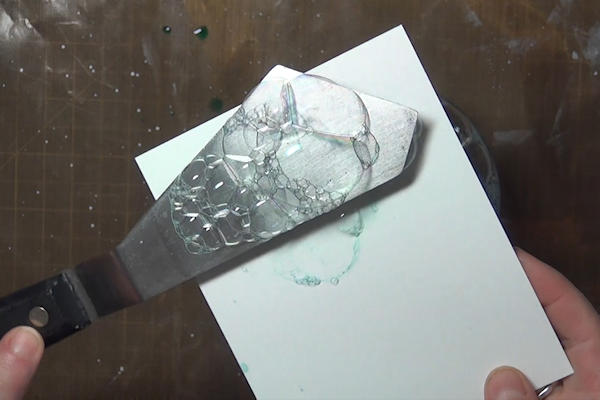
Step 6
An alternate way to apply the bubbles – pick them up with a palette knife and spread them gently onto the cardstock.
-
-
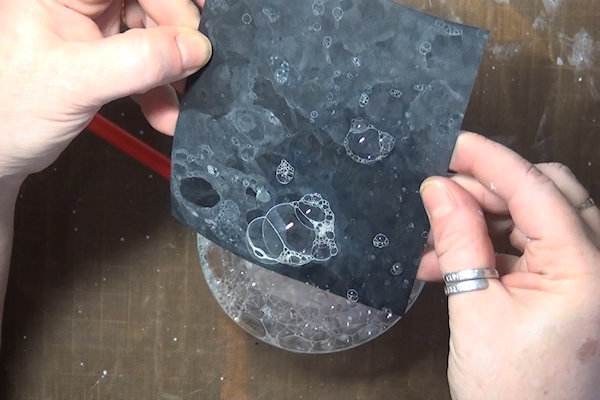
Step 7
Try an opaque medium on dark cardstock for a different look. Here, white acrylic craft paint was used on black cardstock.
-
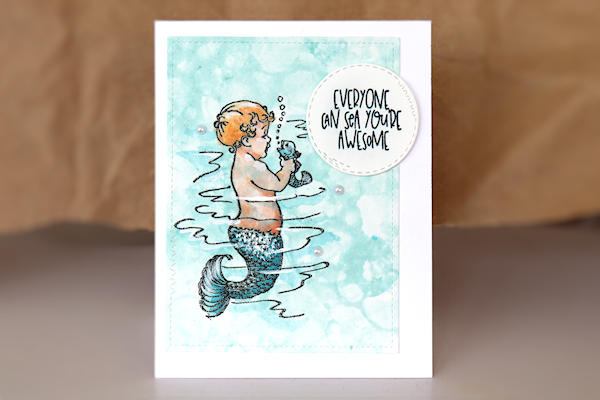
Step 8
Use the finished panel to create a card or other project.

Video!
Your Turn
You've seen the tutorial, now you try it! We've got a section of the gallery set aside for Bubble Background. Try this technique, then upload your artwork to the gallery. Show us your creations!
***Please note - Internet Explorer/Edge is not a supported browser, and will not allow you to see the videos. Please use Chrome, Firefox or Safari to view our tutorial videos.

Questions and Comments
We'd love to get your feedback or questions. Leave your comment below.
Page 1 of 1 pages