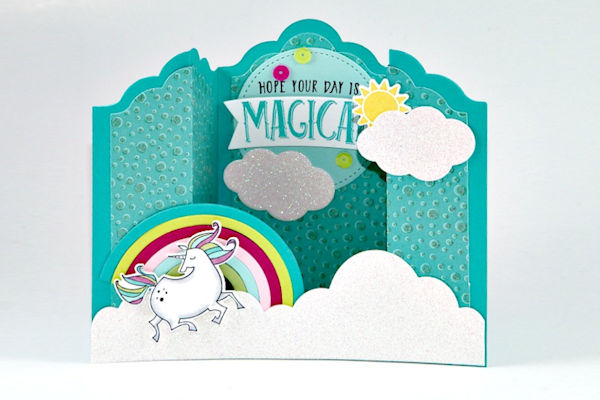
Bridge Fold Card
by Sandi MacIver
Add dimension to your card with this special fold.
Supplies
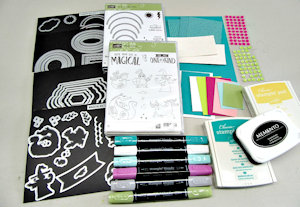
- Cardstock and patterned papers (Stampin’ Up!® Bermuda Bay, Myths & Magic Specialty Designer Paper, Whisper White, Lemon Lime Twist, Berry Burst, Pink Pirouette, Pool Party, Pear Pizazz, Myths & Magic Glimmer Paper used here)
- Scoring tool
- Nested label or arched border die (Lots of Labels Framelits used here)
- Die cutting machine
- Paper trimmer
- Adhesive (Multipurpose glue and Tear-and-Tape used here)
- Other supplies as needed to complete the project (Magical Mates, Rainbow Builders, and Stitched Shapes die sets, Magical Day and Sunshine and Rainbows stamp sets, Daffodil Delight, Bermuda Bay and Memento Tuxedo Black inks, Tutti Frutti Adhesive Back Sequins)
Step-by-Step
-
Step 1
Cut a cardstock base to 5 1/2" x 9”.
Score at 3” on either end. Fold in a Z and burnish. -
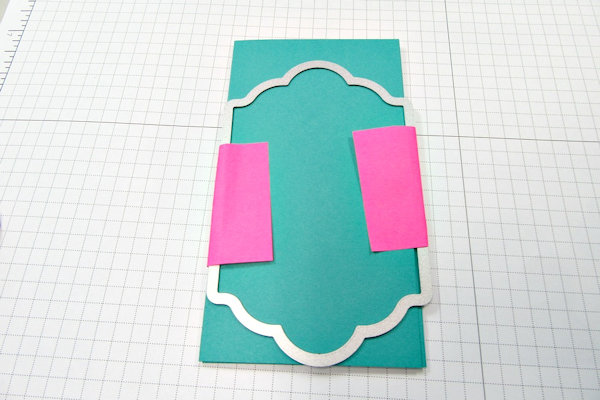
Step 2
Center a large label or border die over the folded piece. Secure with Post it notes or Washi tape.
-
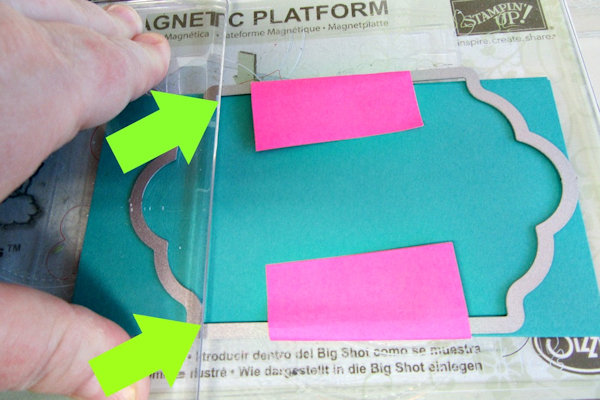
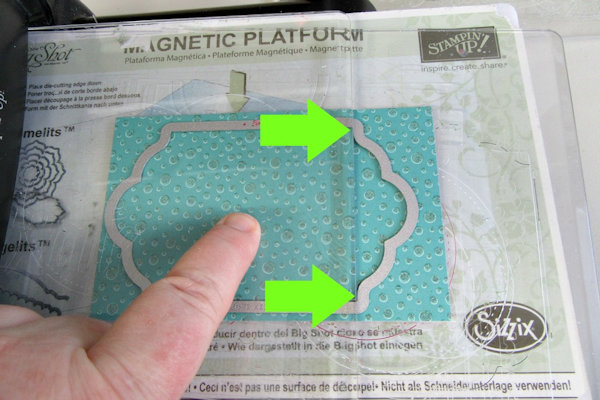
Step 3
Place the edge of the cutting pad where the die meets the folds of the base panel. Run the sandwich back and forth through your die cutting machine 3-4 times until the top edge cuts (or at least leaves an impression) through all three pieces. Trim as needed.
-
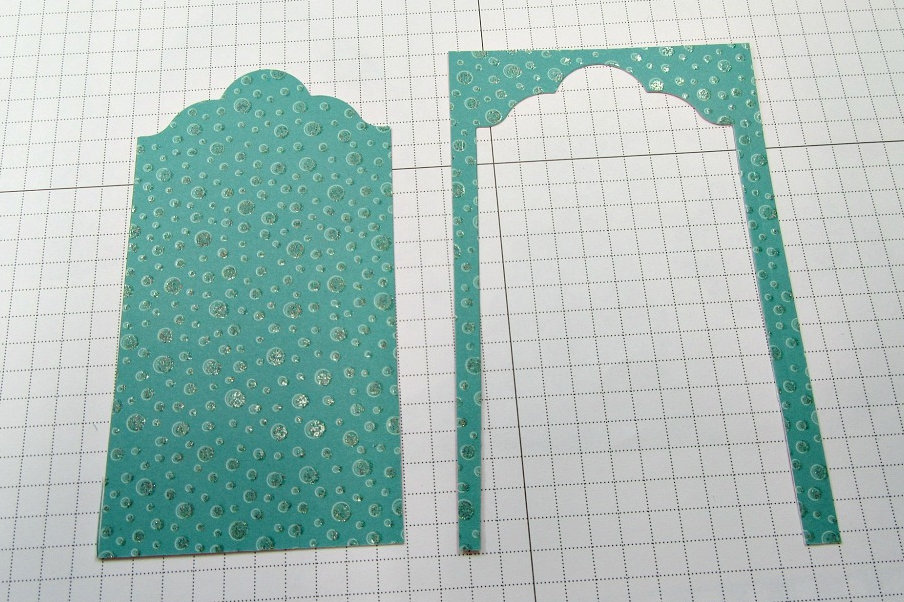
Step 4
Cut 3 pieces of designer paper to 3” x 4 3/4". Using a nesting die, cut down to the bottom angles.
-
Use a trimmer to finish the straight cuts to the bottom of each piece.
-
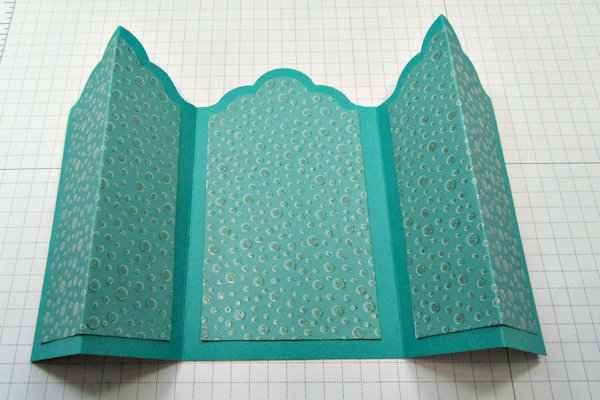
Step 5
Score down the center of the outside two pieces and the Designer paper for both. Refold the card base so the outside panels are mountain folds. Adhere the designer paper to the card base.
-
Step 6
Cut a 6” piece of cardstock that will be the bridge piece on the front of the card.
Use strong adhesive to attach the bridge piece to the two outside panels of the card base. -
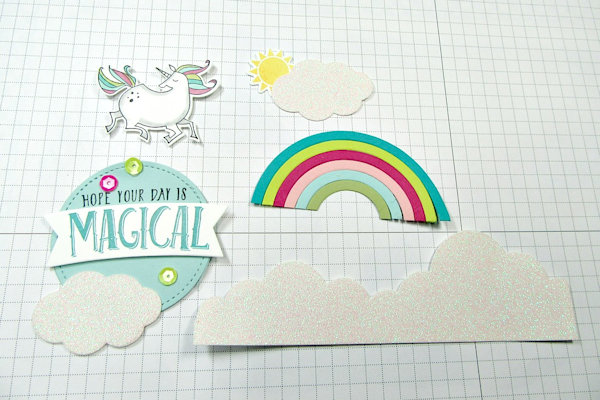
Step 7
Embellish the card as desired.
-
Step 8
Complete the project.
This finished card will be 5 1/2" x 6" when folded flat. See below for instructions on making any size bridge card.


Video!
Variations
To create a bridge card of any size, determine your card height. Determine the width you want your card to be when folded flat, then add 1/2 that width again. (Example - for a card that is 6" x 4" when folded flat, cut the base at 6" x 6" (4" + 2"). Score at that 1/2-width (2") from both ends.
Your Turn
You've seen the tutorial, now you try it! We've got a section of the gallery set aside for Bridge Fold Card. Try this technique, then upload your artwork to the gallery. Show us your creations!
***Please note - Internet Explorer/Edge is not a supported browser, and will not allow you to see the videos. Please use Chrome, Firefox or Safari to view our tutorial videos.

Questions and Comments
We'd love to get your feedback or questions. Leave your comment below.
Page 1 of 1 pages