Brick Wall
by Birgit Edblom
Create a unique look for your main image by cutting it apart and adhering it in brick form.
Supplies
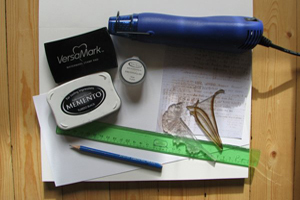
- Cardstock
- Black Ink Pad
- Stamp
- Patterned Paper
- Versamark™
- Black Embossing Powder
- Heat Tool
- Ruler
- Pencil
- Scissors
- Adhesive
Step-by-Step
-
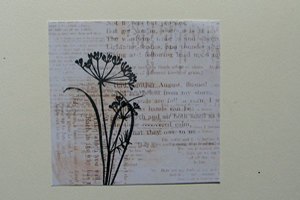
Step 1
Stamp image in black ink on patterned paper.
-
Step 2
Stamp again, slightly beside the first image in Versamark ink to add some depth.
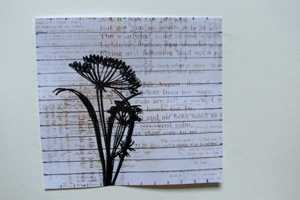
Pour black embossing powder over the image and heat emboss. Allow to cool.
Hint:
If your paper is thin, you can glue it to a piece of cardstock for stability.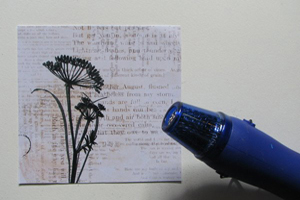
-
Step 3
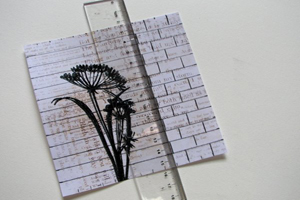
Use a ruler and pencil to draw horizontal lines every 1/2".
-
Step 4
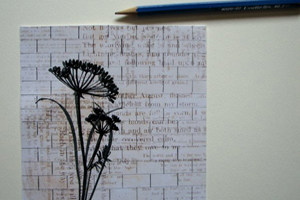
Draw vertical lines every 1" between the horizontal lines, offsetting them 1/2" every other line to create your bricks.
-
When all the lines are drawn it looks like this.
-
Step 5
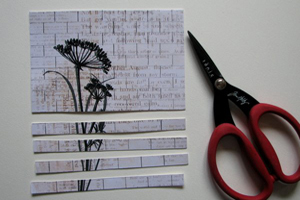
Cut along your horizontal lines and place them in order.
-
Step 6
Begin from the bottom and cut the first strip of paper along the vertical line.
Adhere the bricks one by one, placing them on the cardstock with small spaces between to build a wall of bricks.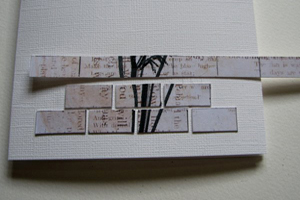
-
Step 7
Finish your card.

Video!
Your Turn
You've seen the tutorial, now you try it! We've got a section of the gallery set aside for Brick Wall. Try this technique, then upload your artwork to the gallery. Show us your creations!
***Please note - Internet Explorer/Edge is not a supported browser, and will not allow you to see the videos. Please use Chrome, Firefox or Safari to view our tutorial videos.

Questions and Comments
We'd love to get your feedback or questions. Leave your comment below.
J'ai beaucoup aim� la vid�o de cette magnifique carte. J'esp�re que d�s que j'aurai un peu de temps, j'essaierai de la faire.
Merci
amicalement
Annick
I will be trying this as soon as possible, but I think I should do some cooking & eating first!
thanks....it makes a simple design very interesting.
Love it can't wait to try it.
Can't wait to give this a go.
Page 1 of 5 pages 1 2 3 > Last »