Bordered Sentiment
by Jen Mitchell
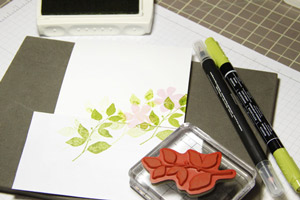
Add framing to your sentiment with markers.
Supplies
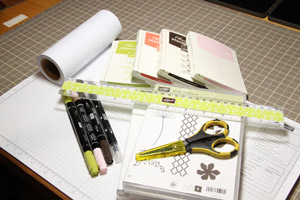
- Stamps
- Cardstock
- Marker, black and matching colors to the ink you use
- Ruler
- Masking Paper
- Scissors
Step-by-Step
-
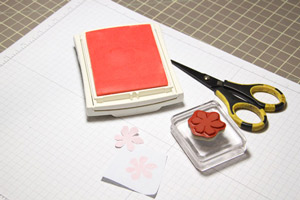
Step 1
Stamp the floral image onto masking paper twice. Cut out the images, trimming closely so there is no white space around them.
-
Step 2
Decide where you want the sentiment on your card and draw two lines with a marker and ruler far enough apart to fit the sentiment.

-
Step 3
Place masking paper along the edge of your bottom line so that the top of the card is covered. Adhere the masking paper so that you can see the line that you’ve drawn.

-
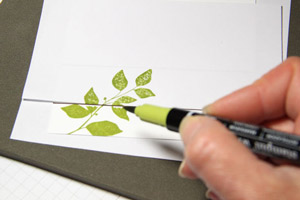
Step 4
Stamp the leafy image on your card below the area you’ve masked off. Press firmly to try and miminize any “halo effect” (white space where the stamp meets the masking paper). Fill in any “halo effect” areas with a marker and/or blender pen.
-
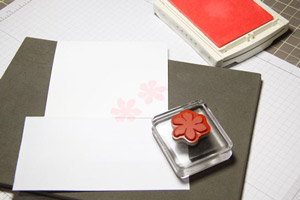
Step 5
Move the masking paper so that the bottom of the card is covered. Adhere the masking paper so that you can see the live that you’ve drawn. Stamp the floral image twice, once above the line and once on the line. Press firmly and fill in any “halo effect” with markers and/or blender pen.
-
Step 6
Cover the floral images with the mask of the flowers that you stamped earlier. Then stamp the leafy image several times around the flowers. Fill in any areas where you get a “halo effect” with markers and/or blender pen.
-
Step 7
Stamp your sentiment between the lines and stamp an accent color to finish the center of the flowers.

Video!
Your Turn
You've seen the tutorial, now you try it! We've got a section of the gallery set aside for Bordered Sentiment. Try this technique, then upload your artwork to the gallery. Show us your creations!
***Please note - Internet Explorer/Edge is not a supported browser, and will not allow you to see the videos. Please use Chrome, Firefox or Safari to view our tutorial videos.

Questions and Comments
We'd love to get your feedback or questions. Leave your comment below.
thank you.
Page 1 of 3 pages 1 2 3 >