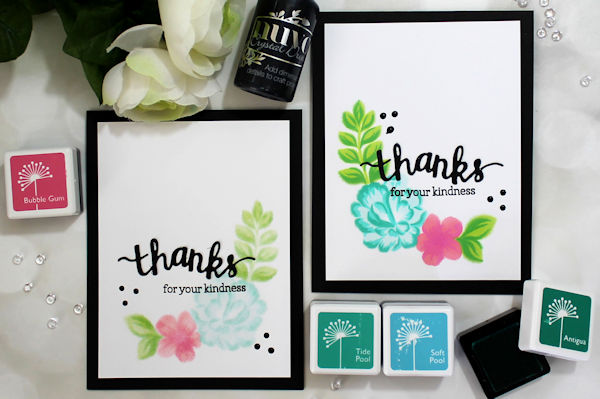
Blender Pen Bleed
by Ilina Crouse
Use a colorless blender pen for 2 faux effects with ink.
Supplies
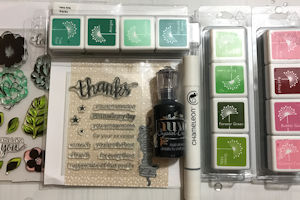
- Colorless blender pen (alcohol or solvent marker - Chameleon pens used here)
- Cardstock (Neenah Solar White used here)
- Layering stamps (Hero Arts For You Flowers and Thanks sets used here)
- Stamp positioning tool (MISTI used here)
- Shadow ink pads (Colors used here: Hero Arts Soft Pool, Tide Pool, Antiqua, Cotton Candy, Bubblegum, Lime Green and Fresh Lawn. Other branded dye ink pads by Stewart Superior will also work. )
- Other supplies as needed to complete the project (used here: Versafine Onyx black ink, Stampin Up!® Basic Black cardstock, Nuvo Crystal drops in Ebony Black, Fun Foam or mounting tape)
Step-by-Step
-
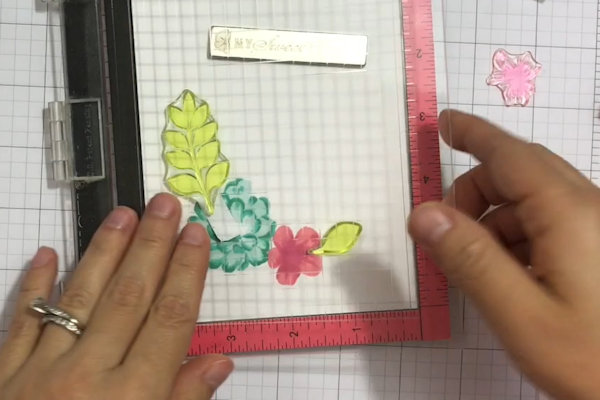
Step 1
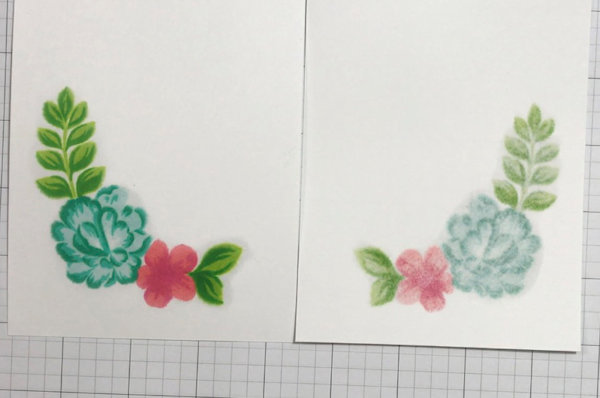
Stamp layering images onto a white cardstock panel using a stamp positioner.
-
TIP:
Print multiple panels while your stamps are in place in the positioner. Here, two samples were stamped to show two different final effects. -
Step 2
Turn the cardstock over and start applying blender pen on the images from the back side, covering all areas.
TIP:
Be generous. The more you apply the better bleeding effect you will get on the image.
Allow the panel to dry. -
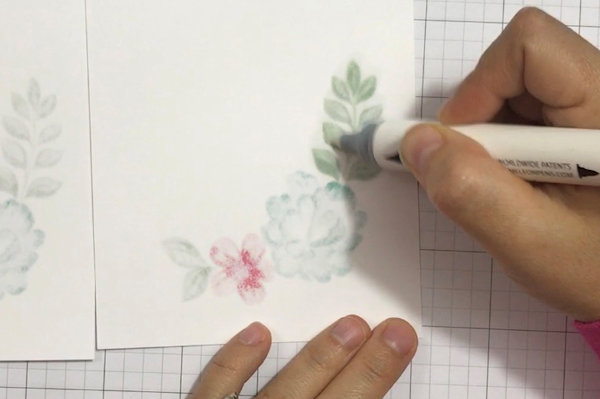
Step 3
Turn the panel over to the stamped side. You'll notice how the inks have started bleeding slightly to give you a faux watercolor look.
As well, on the back side you have an effect of vellum overlay (like you have added vellum on top of your panel). -
Step 4
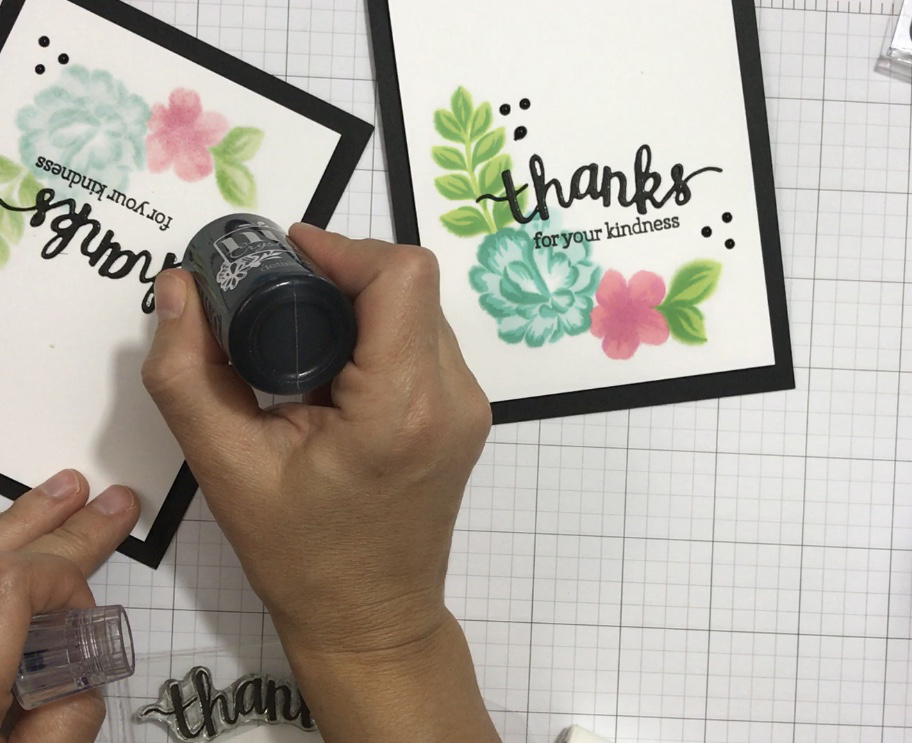
Choose your favorite side, and embellish the panel as desired.
-
Step 5
Complete the project.

Video!
Your Turn
You've seen the tutorial, now you try it! We've got a section of the gallery set aside for Blender Pen Bleed. Try this technique, then upload your artwork to the gallery. Show us your creations!
***Please note - Internet Explorer/Edge is not a supported browser, and will not allow you to see the videos. Please use Chrome, Firefox or Safari to view our tutorial videos.

Questions and Comments
We'd love to get your feedback or questions. Leave your comment below.
Page 1 of 1 pages