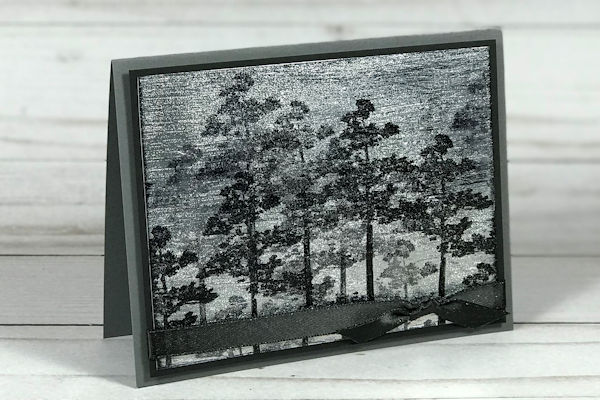
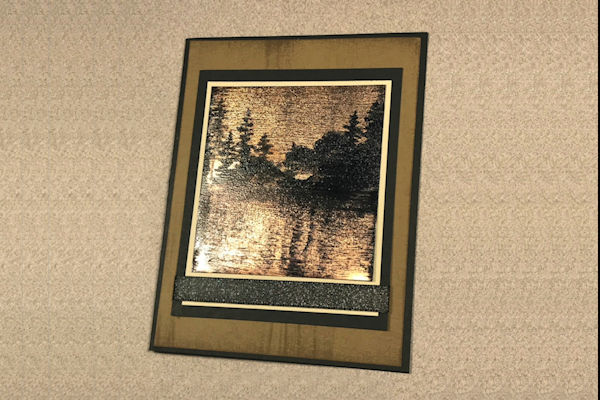
Black Ice Technique
by Melissa Kerman
Layer inks on foil paper for a beautiful effect.
Supplies
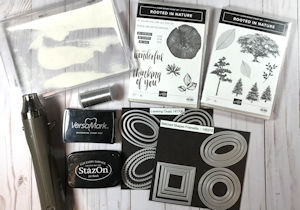
- Stamps (Rooted In Nature Stamp Set by Stampin’ Up!® used here)
- Foil sheet (Silver foil sheet by Stampin’ Up! used here)
- Versamark ink pad
- Archival Black or Jet Black StazOn ink pad
- Clear embossing powder
- Heat tool
- Other supplies as needed to complete the project (SU Basic Black, Mossy Meadow and Pear Pizzazz Cardstock used here)
Step-by-Step
-
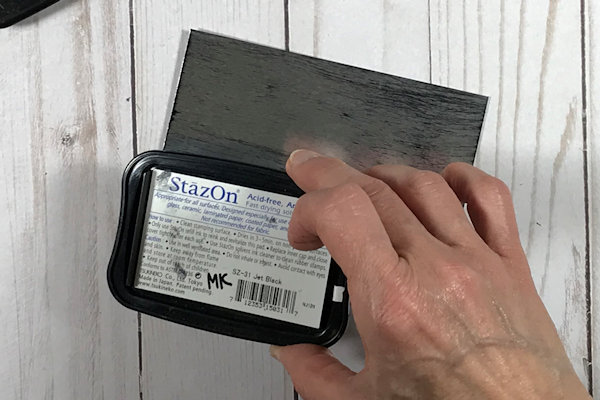
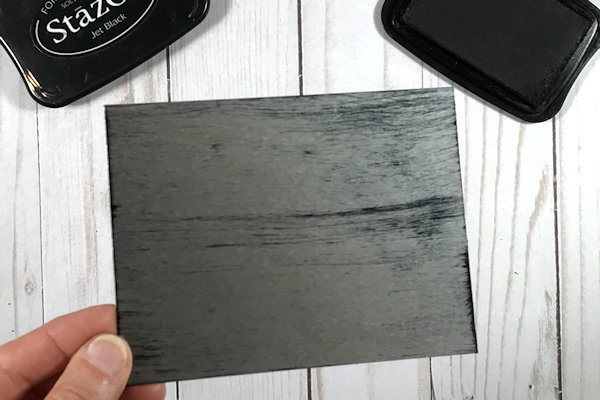
Step 1
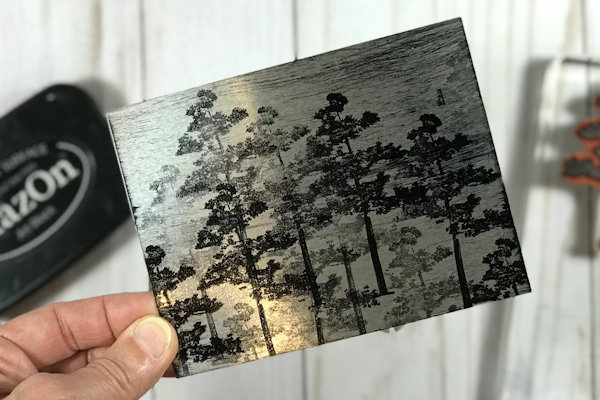
Use temporary adhesive or a scrap piece of paper to hold the foil focal piece in place. Use the Direct to Paper technique to create subtle streaks, using a Black Archival OR Jet Black StazOn ink pad. Lightly run the ink pad from top to bottom. Try to catch some black along the edge, while getting more subtle streaks down the center. Repeat these steps to get a black edge on the top and bottom of the foil sheet, and subtle streaks all over.
-
NOTE:
If you hold the foil sheet down with your hand, you may get finger prints on the foil, which can show up when you heat emboss later. It’s important to hold the paper so it doesn’t move. By doing this it’s easier to get straight lines. -
Step 2
Stamp an image(s) on the silver foil sheet using Archival Black or Jet Black StazOn ink.
-
Step 3
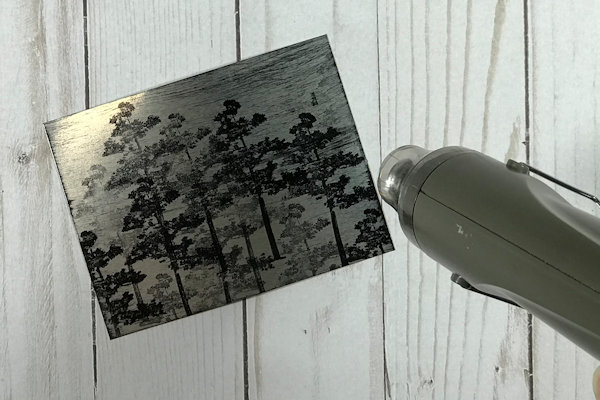
Dry the ink using a heat tool, for a short bit, on the low setting.
NOTE:
If you do not dry the black ink, your image may smear in the next step. -
Step 4
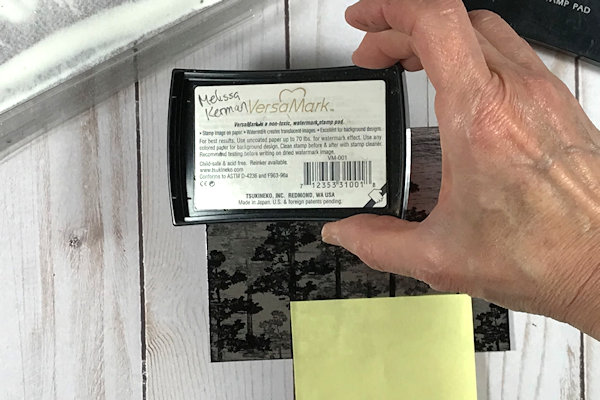
While holding down the foil sheet with a piece of paper (or temporary adhesive), use the Direct to Paper technique to create subtle streaks using a Versamark ink pad. Create streaks that run in the same direction, so they are parallel to the lines created in step #1.
NOTE:
Barely touch the foil paper when applying the Versamark. Don’t press but rather simply use the weight of the ink pad to lightly brush against the surface. Try to brush evenly all over the front of the foil sheet. The Versamark ink is a clear sticky ink. You won’t be able to see the streaks until you complete step #5. -
Step 5
Put clear embossing powder over the entire surface and tap off the excess.
-
Step 6
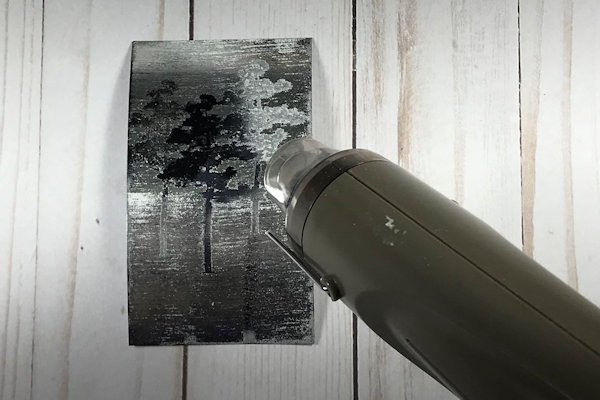
Heat to melt with a heat tool.
-
Step 7
Use the panel to complete a card or other project.

Video!
Variations
-
Here are some variations on the technique that are also fun to do.
1: Try using Copper or Gold foil sheets instead of Silver.
2: Eliminate the use of the black ink described in step 2 for a less dramatic, cleaner look.
3: Instead of stamping your images in black, heat emboss your images in white, gold, copper, black or any color you wish.
4: Choose images that can be colored in and use alcohol markers to color the images as desired. This would be an additional last step after the clear embossing powder has been applied and heated. Please Note: Alcohol applied directly to some foil sheets can, in some cases, remove the metallic finish.
Your Turn
You've seen the tutorial, now you try it! We've got a section of the gallery set aside for Black Ice Technique. Try this technique, then upload your artwork to the gallery. Show us your creations!
***Please note - Internet Explorer/Edge is not a supported browser, and will not allow you to see the videos. Please use Chrome, Firefox or Safari to view our tutorial videos.

Questions and Comments
We'd love to get your feedback or questions. Leave your comment below.
Page 1 of 1 pages