Bendi Frame Card
by Kittie Caracciolo
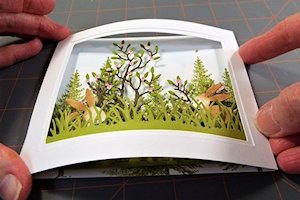
Give your card dimension and create more room for a layered scene with a curved frame front.
Inspired by Bibiana's Bendi Fold tutorial.
Supplies
- Cardstock for card base, cut to 5 3/8" x 8 1/2" and folded in half
- 2 cardstock layering panels, cut to 5 1/2" x 4 1/4" and 5 1/4" x 4"
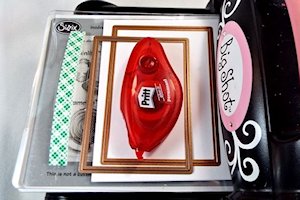
- 2 rectangle nesting dies, 1/4" different in size. (Spellbinders Matting Basics A and B used here)
- Die cutting machine and magnetic platform (Sizzix brand used here) or low-tack tape to keep dies in place
- Adhesive
- Foam mounting tape
- Dies, stamps and other accessories as needed to complete the card (used here: Impression Obsession Fir Tree stamp, Bunny & Grass Border dies; Memory Box Small Alder tree die; Sizzix Accessory Tool Kit; Inkssentials Ink Blending Tool; Sofft Mini Applicator; Vintage Photo, Tumbled Glass, & Peeled Paint Distress Inks; Dark Brown & Pale Olive Copic Markers; 1/8” circle punch, deckle scissors, hand cut cloud template, Glossy Accents, cardstock - white, olive, pink)
Step-by-Step
-
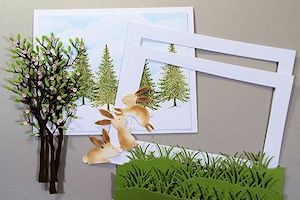
Step 1
Cut card base and cardstock panels as instructed above, and prepare layers as desired. Here, the base panel has been stamped and die cuts have been colored and assembled in preparation for creating a scene.
-
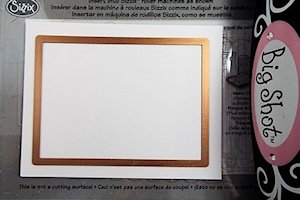
Step 2
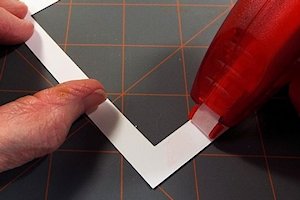
Die cut an opening in the 5 1/2" x 4 1/4" cardstock panel using the largest rectangle die.
-
Repeat this step with the smaller cardstock and smaller die to create the mat for the double matted frame.
NOTE:
If you don’t have a magnetic platform, secure the die in place with small pieces of painter's tape or removable Post-it tape.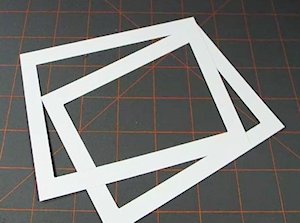
-
Step 3
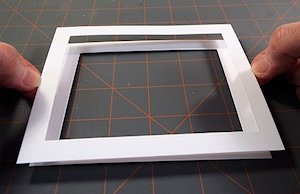
Apply adhesive to the back of the largest frame.
-
Line up larger frame over the top of the smaller frame and attach.
-
Step 4 (Optional)
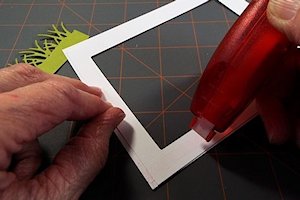
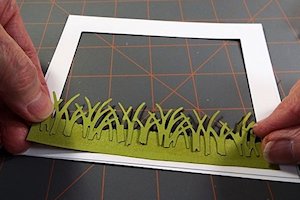
Apply adhesive to the back of the double matted frame.
-
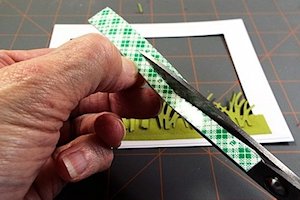
Apply grass border to the back of the frame.
-
Step 5
Cut two thin strips of mounting tape 4 1/8" long.
-
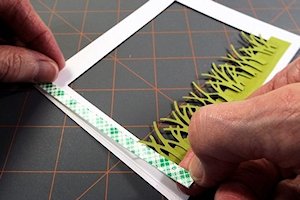
Attach mounting tape to the back of sides of the frame.
-
Step 6
Line up one side of the frame over the decorated and assembled card base and secure the tape in place.
-
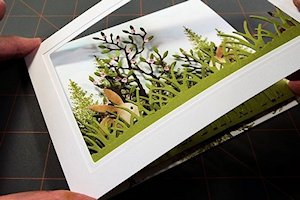
Hold the secured side of the frame and base in place. Push the other side of the frame in to line up with the edge of the card base and secure in place.
-
Step 7
Assemble and complete the card.
NOTE:
To protect the dimensional elements of the card, mail in a plastic box inside a padded envelope.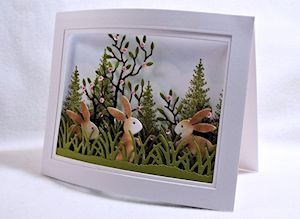
Video!
Your Turn
You've seen the tutorial, now you try it! We've got a section of the gallery set aside for Bendi Frame Card. Try this technique, then upload your artwork to the gallery. Show us your creations!
***Please note - Internet Explorer/Edge is not a supported browser, and will not allow you to see the videos. Please use Chrome, Firefox or Safari to view our tutorial videos.

Questions and Comments
We'd love to get your feedback or questions. Leave your comment below.
I also have a tutorial on my blog showing how I mail a dimensional card with one item popped up on it like a flower. You can find my tutorial HERE.
Page 1 of 1 pages